Chapter 2: Preparing for Use
To attach the optional trackball
2–6
2
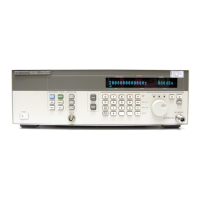
While holding the latch in, slide the metal tabs up and to the rear of the oscilloscope
until they fully engage the slot.
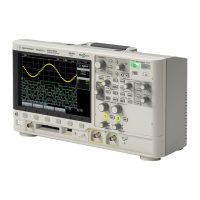
3 Release the latch. The trackball baseplate should now be secure against the side of the
oscilloscope.
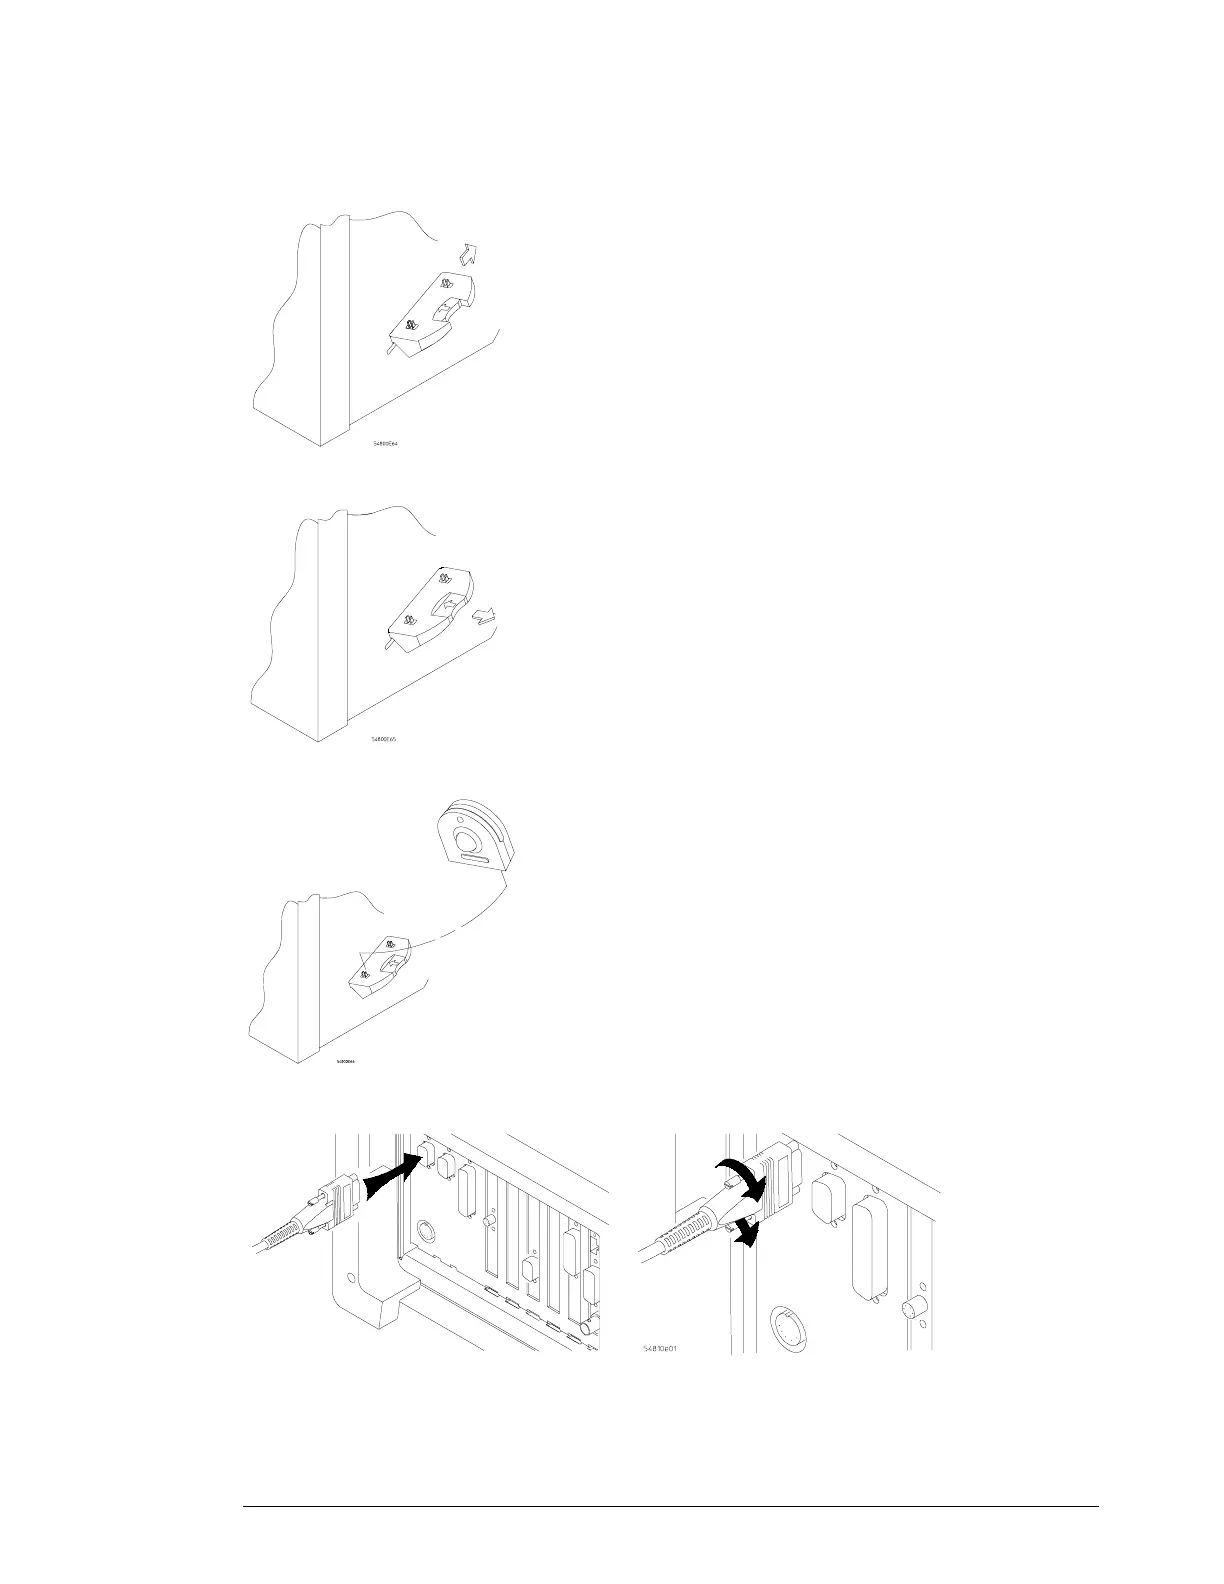
4 Snap the trackball assembly onto the pins of the baseplate. The trackball and buttons
should face up and toward the front of the oscilloscope.
5 Connect the 9-pin “D” connector on the trackball cable to the COM1 port on the back
panel. Tighten the retaining screws.
For information on changing the trackball settings, see the User’s Quick Start Guide.