Maintenance 3
Maintenance 63
6
If using the installed 1/4- inch nut, skip this step.
Slide the stainless steel ferrule over the 1/16- inch tube
end of the reducer, then install into the open valve port.
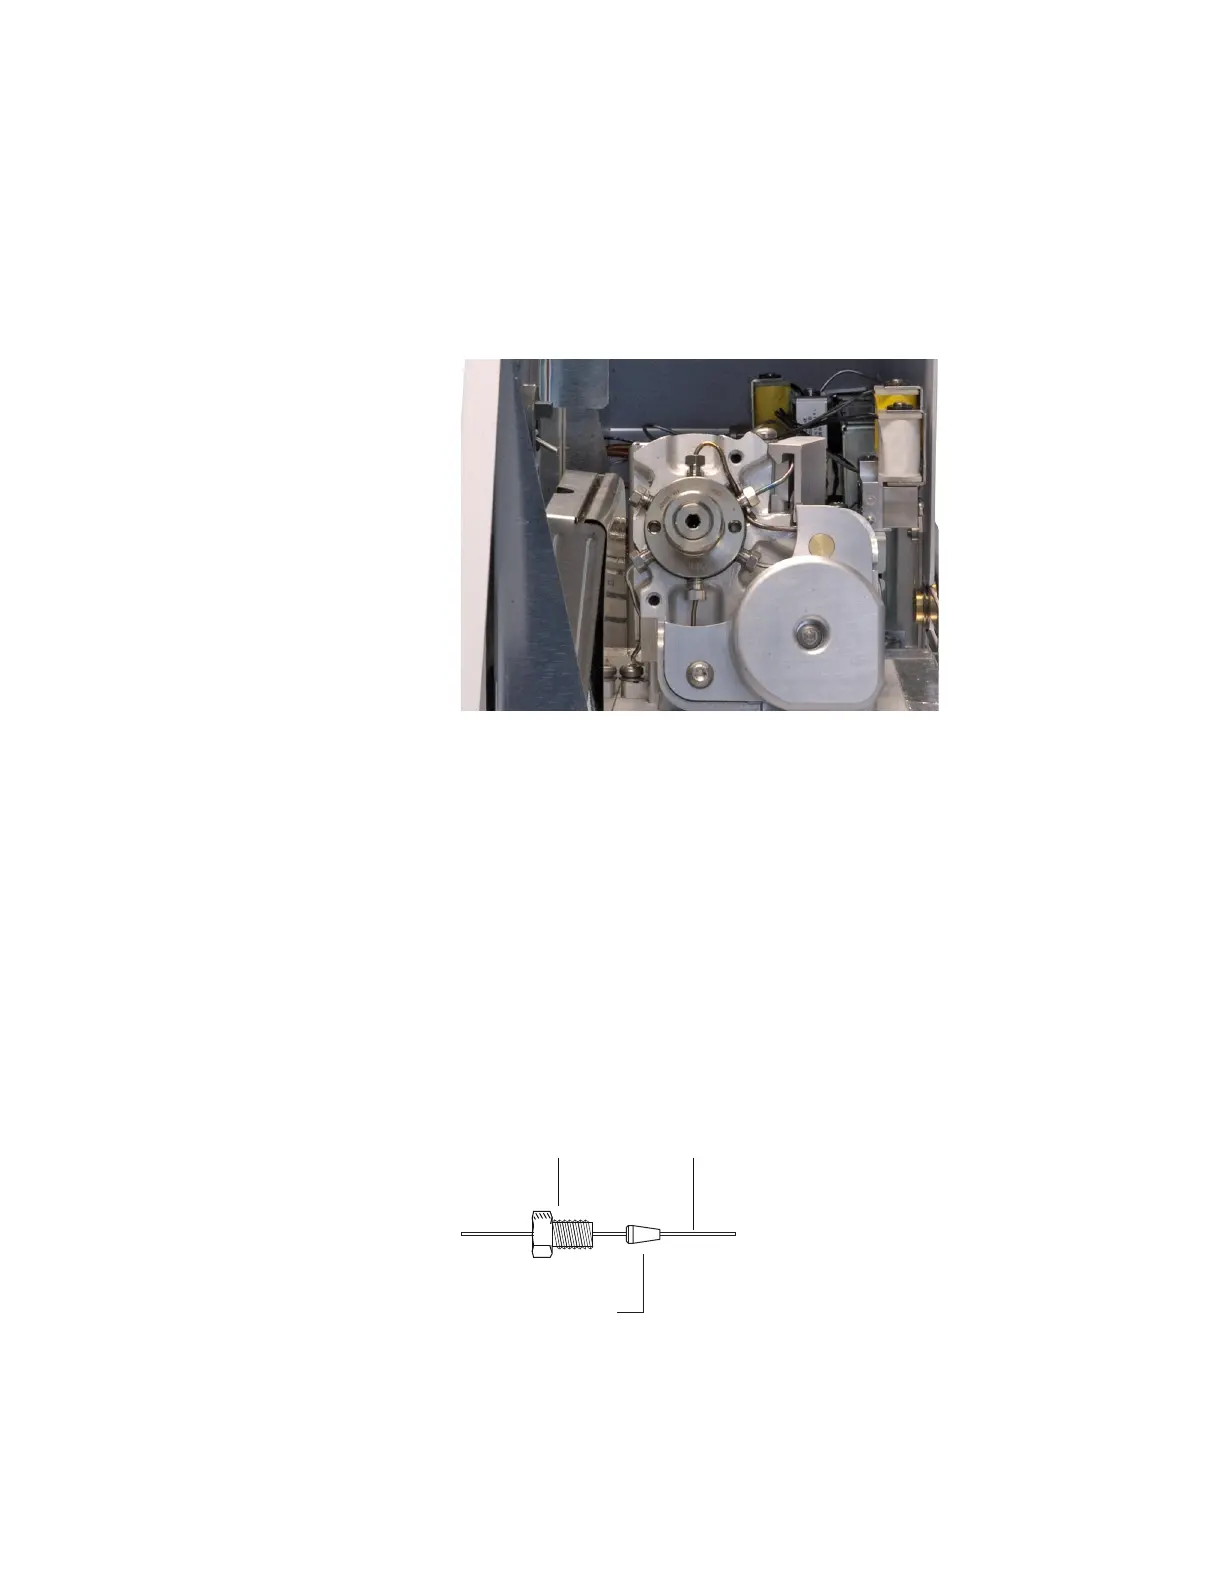
Finger- tighten, then tighten 1/4- turn more (Figure 37).
Figure 37 Installing into the open valve port
7 Uncoil about 1 m of the fused silica tubing. Working from
the open end that will connect to the GC (not the end
near the 6 port valve), gently slide the tubing through the
transfer line until it comes out the end near the 6 port
valve.
8 Gently grasp the fused silica tubing at the Headspace end
and gently push and pull the tubing to verify that it is
unbroken in the transfer line. The fused silica should
move back and forth.
9 Assemble the 3/16- inch nut and polyimide ferrule onto
the fused silica tubing as shown below.
3/16-inch nut
Polyimide ferrule
Tubing

 Loading...


