To measure signal to noise ratios
1 Initialize the analyzer:
Press [
Preset
].
2 Supply a signal from the internal source:
Connect the SOURCE output to the CHANNEL 1 input with a BNC cable.
Press [
Source
], [
source on
], [
sine freq
], 5, [
MHz
]
3 Place the marker on the signal peak:
Press [
Marker⇒
], [
marker to peak
]
or
Press [
Shift
], [
Marker
]
4 Select video averaging:
Press [
Average
], [
average on
].
5 Turn on the carrier-to-noise marker:
Press [
Marker Function
], [
band power markers
], [
band pwr mkr on
], [
power ratio C/N
].
6 Press [
Marker|Entry
]
Rotate the knob to move the measurement band from the signal to a noise area.
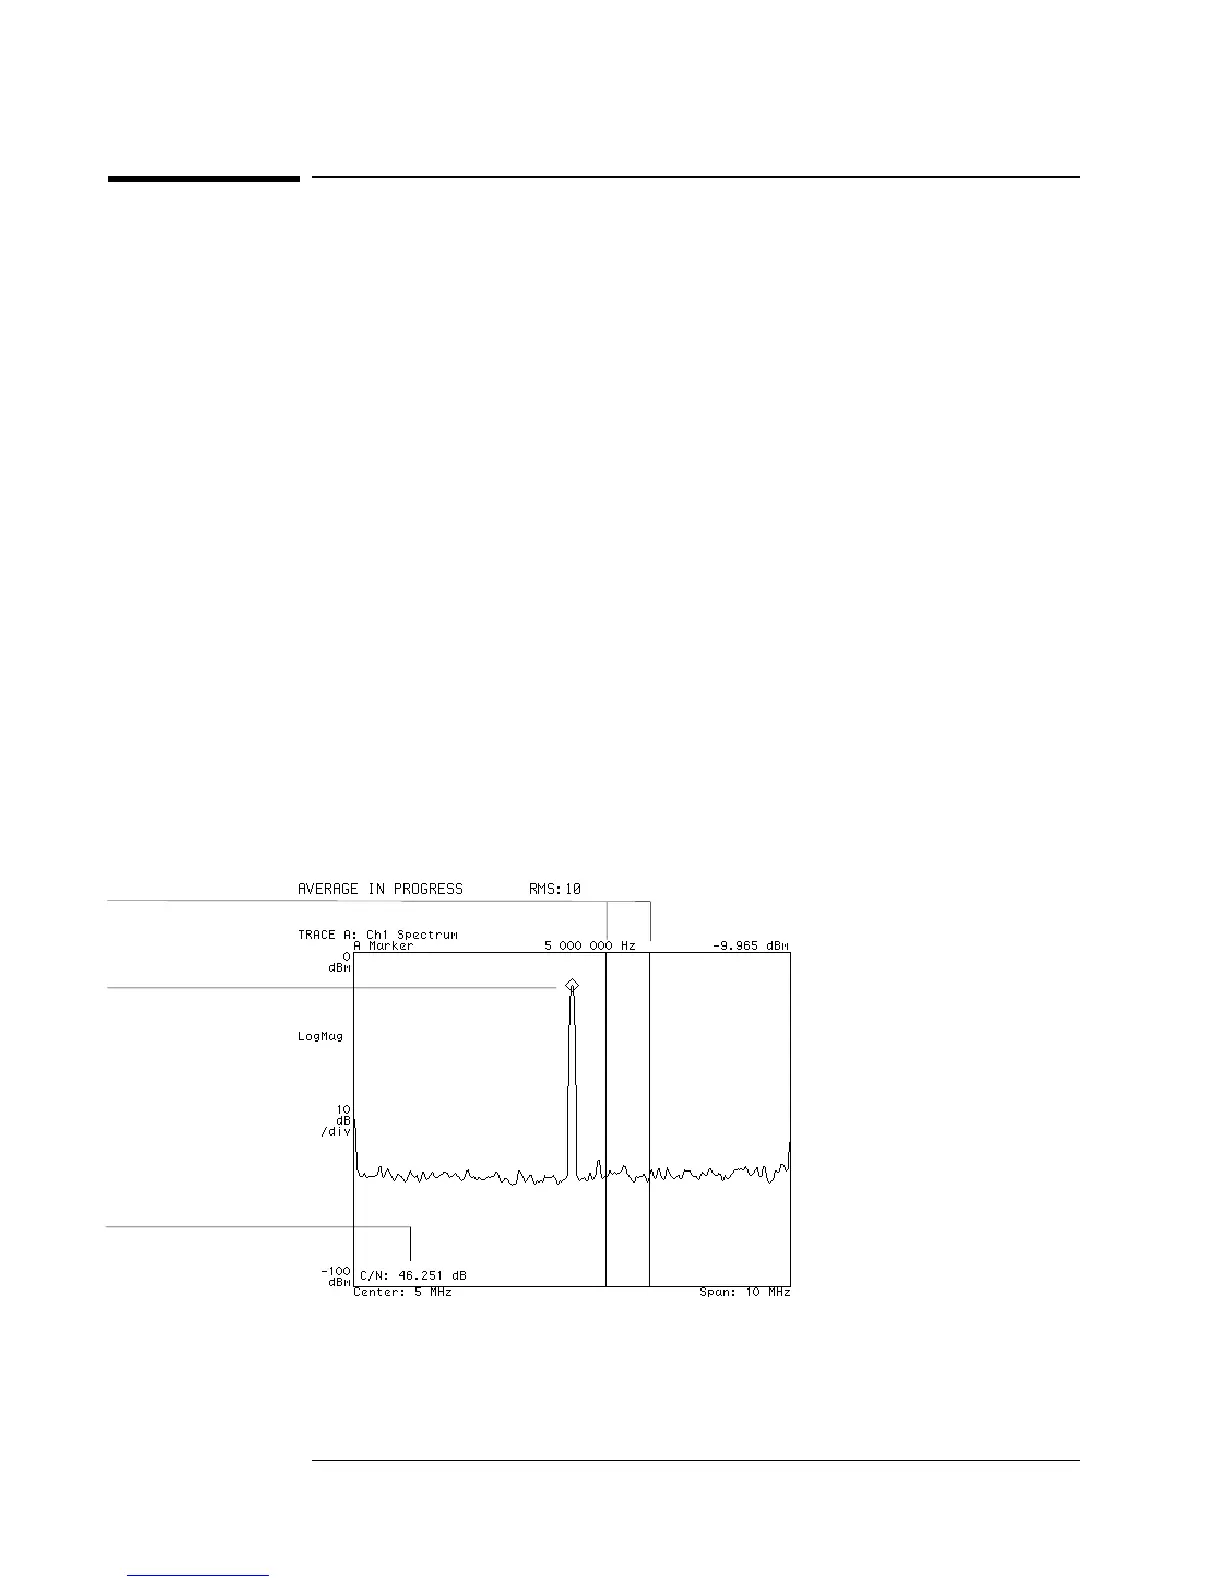
The display should appear as below. The grid lines have been turned off to
highlight the band power markers.
Step 3 above illustrates that there are two ways to perform certain actions—by
using the hardkey/softkey sequence or by using the short-cut shift/hardkey
sequence.
The value indicated in the lower left corner of the display reflects the difference
between the marker level at the carrier peak and the total noise within the band
markers.
Carrier to noise ratio
Measured noise band
The diamond-shaped
marker provides a
reference point
Making Simple Noise Measurements
2-4

 Loading...


