474911_d 37
Unpacking appliance (03)
■
If engine oil has leaked out:
■
Do not start the engine.
■
Pick up leaked oil using an oil binding
agent or cloth and dispose of in the prop-
er manner.
■
Clean the appliance.
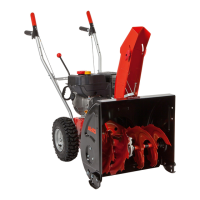
4 UNPACKING APPLIANCE (03)
WARNING! Danger of crushing if the ma-
chine tips over! The appliance is heavy! If it tips
over, limbs can be crushed and persons can be
seriously injured.
■
At least two persons are required for unpack-
ing the appliance!
■
Avoid tipping the appliance!
The appliance is supplied with all accessory parts
in a cardboard box. The box is located on a euro
pallet.
1. Place the box on a level horizontal surface.
2. Remove the packing straps.
3. Open the box at the top (03/a).
4. Remove the packaging material.
5. Carefully remove loose parts, bag with small
parts and operating instructions.
6. Use a knife to carefully cut open the rear wall
of the box (i.e. where the engine is located)
so that the appliance is not damaged.
7. Fold down the rear wall of the box (03/b).
8. Carefully remove the other loose parts and
other packaging material.
9. Roll the snow blower backwards, i.e. with the
engine at the front, out of the box (03/c).
5 ASSEMBLY
WARNING! Danger if assembly is not
carried out completely! Use of an incompletely
assembled device can result in serious injury.
■
Only use the device when it is fully assem-
bled!
■
Before switching on, check that all safety and
protective devices are in place and function-
ing correctly!
Necessary tools
No. Tool
1 Open-end or ring spanner WAF 10 (x2)
2 Open-end or ring spanner WAF 13
No. Tool
3 5 mm Allen key
4 Combination or long-nose pliers
5 Screwdriver
6 Spray oil
7 700 E only: Tyre pump with pressure
gauge (car tyre valve)
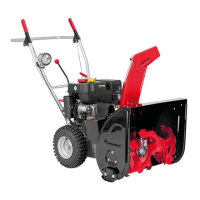
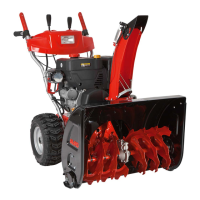
5.1 Fitting the lower brace (04, 05)
Mount the lower brace on the left and right at the
bottom of the snow blower.
1. Undo the screws (04/1).
2. Attach the lower brace (05/1).
3. Insert the bolts (05/2) through the lower
brace and tighten.
5.2 Fitting the operating panel (06)
1. Left lower brace: Unfasten 2 bolts (06/1) on
the mounting bracket (06/2) and remove the
mounting bracket.
2. Attach upper brace (06/3) with control panel.
3. Right upper brace: Insert 2 bolts (06/4)
through the upper brace and lower brace and
tighten with washers and nuts.
4. Left upper brace: Insert 2 bolts (06/1) through
upper brace, lower brace and mounting
bracket and tighten slightly with washers and
nuts.
5.3 Installing and adjusting Bowden cables
for travel and worm drives (07 - 12)
1. Attach the Bowden cable (07/1) for the travel
drive (07/2) into the lower hole (07/3) of the
right-hand lever.
2. Attach the Bowden cable (08/1) for the worm
drive (08/2) into the upper hole (08/3) of the
left-hand lever.
3. Adjust the Bowden cables as follows:
■
Turn the adjuster on the Bowden cable
(09/1) in the direction of the arrow (09/a)
until the Bowden cable no longer sags (is
slightly tensioned). While turning the ad-
juster, hold the cable so that it does not
become twisted.
■
Tighten lock nut (09/2) (09/b).
4. Fix the Bowden cables (10/1) with the clamps
(10/2) on the left and right of the handlebar.
5. Tension the Bowden cable:
■
Loosely tighten the lock nuts (11/1, 12/1).

 Loading...