38 | Setting up the monitor
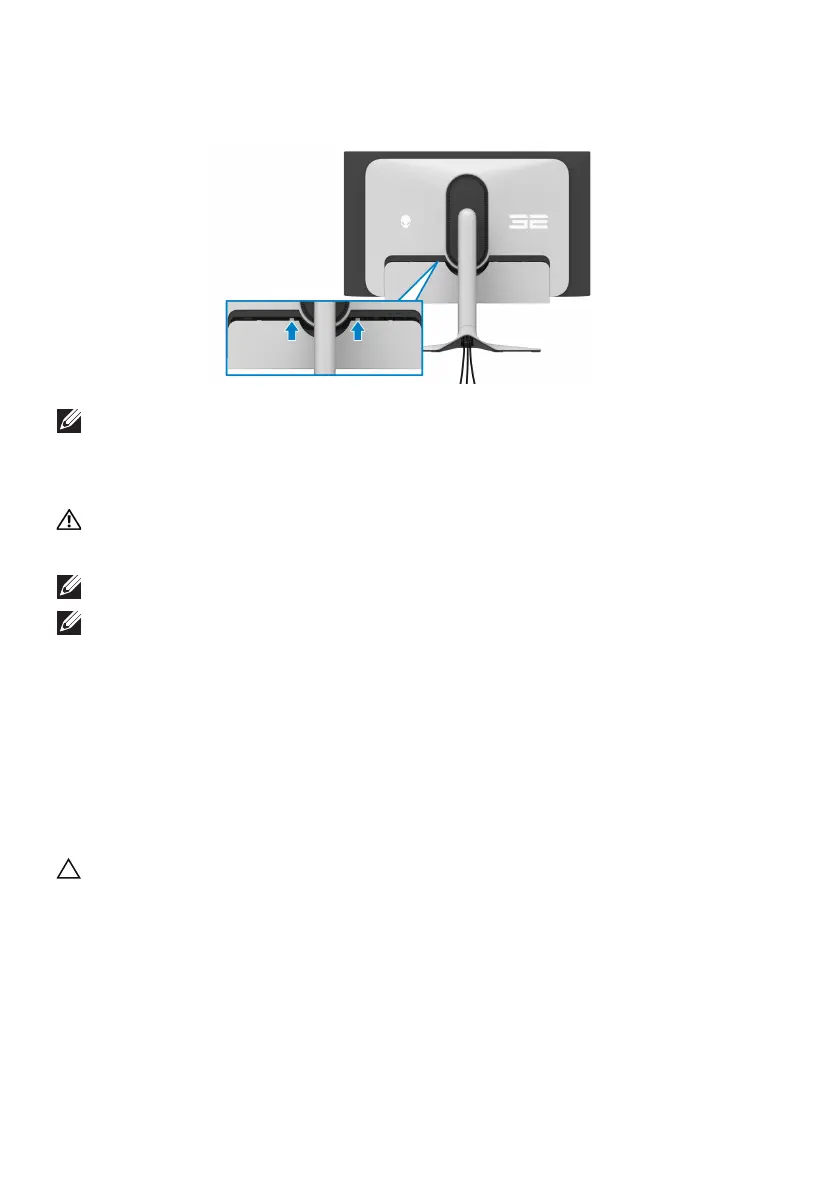
13. Slide the tabs on the I/O cover into the slots on the display back cover until
it snaps into place.
NOTE: Ensure that all cables pass through the I/O cover and cable-
management slot on the stand riser.
Connecting the computer
WARNING: Before you begin any of the procedures in this section,
follow the Safety instructions.
NOTE: Do not connect all the cables to the computer at
the same time.
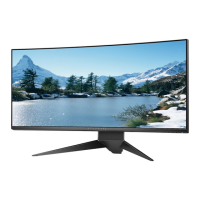
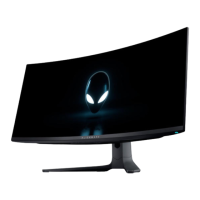
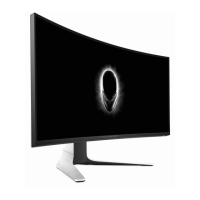
NOTE: The images are for the purpose of illustration only. The
appearance of the computer may vary.
1. C
onnect the other end of the DisplayPort-DisplayPort/HDMI cable to
your computer.
2. Connect the
other end of the USB 3.2 Gen 1 upstream cable to an
appropriate USB 3.2 Gen 1 port on your computer.
3. C
onnect the USB peripherals to the SuperSpeed USB 5 Gbps (USB 3.2
Gen 1) downstream ports at the bottom of the monitor.
4. Plug the
power cables of your computer and monitor into a wall outlet.
CAUTION: Before using the monitor, it is reco
mmended to fasten the
stand riser to a wall using cable tie or a cord that can support the weight
of the monitor in order to prevent the monitor from falling.