Configuring the Module 2–5
Setting Switches on SW3
Setting Block Transfer
SW 3.1 enables or disables block transfer. Enable block transfer if
you are using messages (refer to Chapter 5) in your ladder logic
program or if you are using DriveTools32 software.
Important:
You cannot use both messages and DriveTools32 software
at the same time.
Block transfer uses the first module group (word) in the rack and
group.
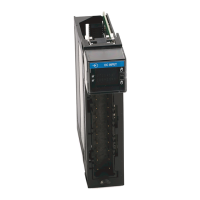
Figure 2.3 Block Transfer Switch
To edit the block transfer setting, you need to:
1. Refer to the following table to determine the setting for SW 3.1:
2. Slide the switch to its appropriate position.
3. If Block Transfer is enabled, record “Block Transfer” in the first
module group (word) of your I/O image table on page 2–4.
Settings take effect when a module or board first receives power.
When you change a setting, you must remove and then reapply power
for the new setting to take effect.
!
ATTENTION: Injury or equipment damage can result
from loss of PLC or Controller Logic Commands (Stop,
Start, etc.) when all these conditions are true:
• module firmware 3.04 or lower.
• 230.4k baud rate.
• block transfer is enabled (DIP switch SW3-1 is ON).
• block transfers to the module are used (in the ladder
program or by DriveTools/DriveTools32 using a
Remote I/O pass thru connection).
Do not use the 230.4k baud rate if you are using a module
with 3.04 or earlier firmware and your program uses block
transfers. Use the 57.6k or 115.2k baud rate instead.
Block Transfer SW 3.1
Disabled 0
Enabled 1
Off = 0
On = 1
Use SW 3.1 for setting the
block transfer
Artisan Scientific - Quality Instrumentation ... Guaranteed | (888) 88-SOURCE | www.artisan-scientific.com
 Loading...