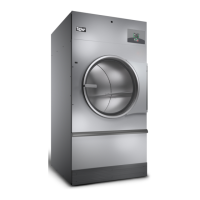
1. Door Latch
2. Door Catch
3. Acorn Nut
Figure 47
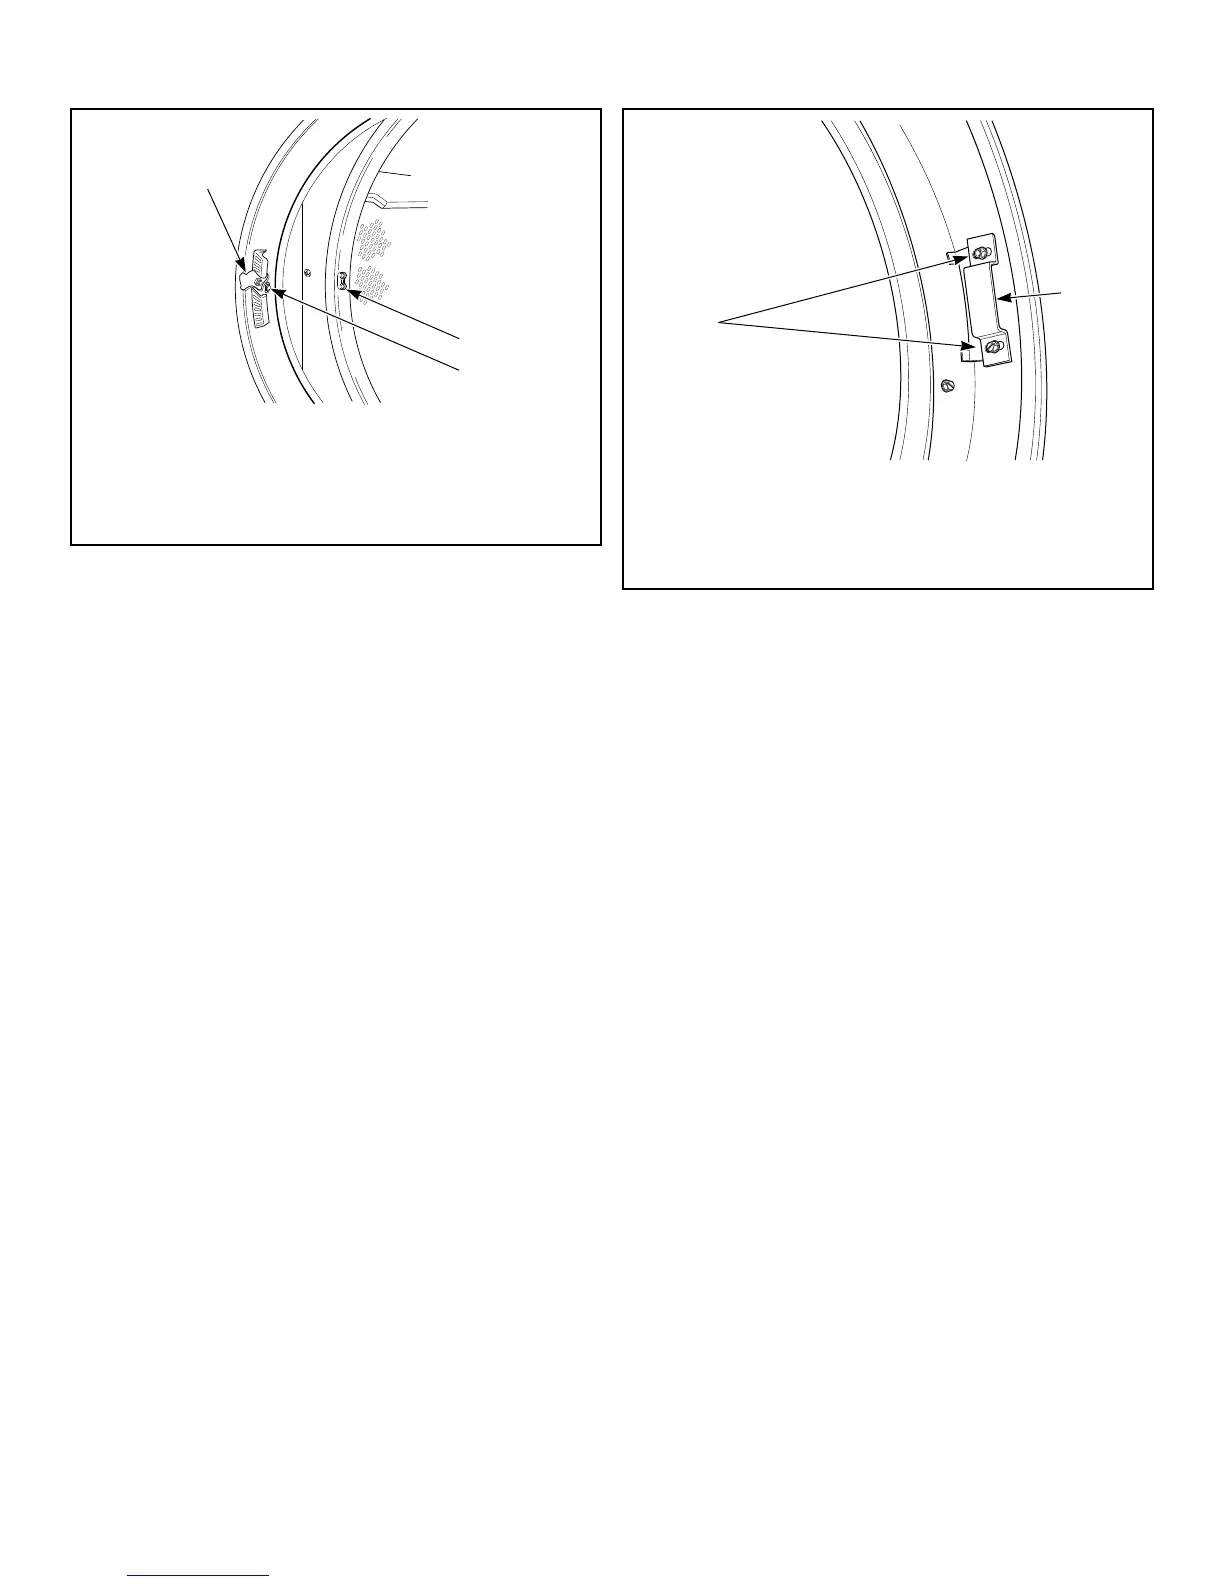
Loading Door Strike (200 Series Mod-
els)
The loading door strike must be adjusted to have sufficient ten-
sion to hold loading door closed against force of load tumbling
against it. Proper adjustment is when 8-15 pounds [35.6-66.7 N]
pull is required to open door.
If adjustment is required, refer to Figure 48 and proceed as fol-
lows:
1. Open door.
2. Loosen adjustment screws.
3. Position strike for desired magnet engagement.
4. Retighten screws.
1. Door Strike
2. Adjustment Screws
Figure 48
Belt Drive
The drive assemblies consist of motors, belts, eyebolts and a step
pulley.
The pulley diameters are sized to produce a cylinder speed of
37-39 RPM for 120 series models or 29-31 RPM for 170 and 200
series models.
The step pulley assembly is used for speed reduction as well as a
means of adjusting belt tension. The pulley mounting plate is at-
tached to the cabinet. The frame mounting plate has vertically
slotted holes allowing up and down movement of the step pulley
mounting plate for belt adjustment.
Adjust the belt tension as follows:
1. Disconnect electrical power to the tumble dryer before at-
tempting any adjustments to the drive assembly.
2. Loosen pulley mounting plate bolts.
3. Loosen the upper nut on the final drive eyebolt.
4. Rotate the lower nut of the final drive eyebolt clockwise until
proper belt tension is achieved.
5. Rotate upper nut clockwise against the lower nut in order to
lock it into place.
6. Tighten pulley mounting plate bolts. Recheck belt tension.
7. If necessary, adjust the drive motor belt tension eyebolt using
a similar procedure.
8. Adjust blower belt tension on 120 series 50 Hertz tumble dry-
ers and all 170 series tumble dryers using a similar procedure.
NOTE: Proper tensions for new belts are measured
with a Belt Tension Gauge:
Adjustments
©
Copyright, Alliance Laundry Systems LLC -
DO NOT COPY or TRANSMIT
80 Part No. 70458101ENR10