599400001-J1 Rev F
10. System Startup
Visually inspect the installation thoroughly. After completing the system installation and power system wiring, perform
the following startup and test procedure to ensure proper operation:
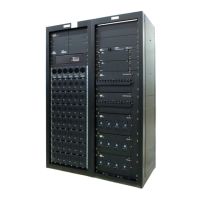
10.1 Check System Connections
1. Make sure that the AC input power is switched off, the batteries are disconnected, and all the power modules
are removed from the shelf.
2. Triple-check the polarity of all connections.
10.2 Verify AC and Power the Rectifier Shelf
1. Install one power module.
2. Verify that the AC input voltage is correct and switch on the corresponding feeder breaker. The power module
OK LED will illuminate after a preset start delay.
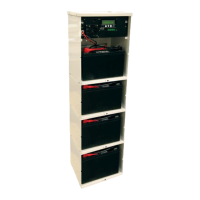
10.3 Check Battery Polarity and Connect
1. Use a voltmeter to verify that the battery polarity is correct. Ensure that no cells or batteries are reversed.
2. Connect the batteries or switch on the battery circuits.
3. Install the remaining power modules.
4. In the adjustments menu of the controller, set the battery parameters: float and equalize voltages to the capacity,
Peukert exponent, open circuit voltage levels specified by the battery manufacturer.
10.4 Final Configuration and Test
1. Configure other system parameters as required—changing the low and high voltage AC and DC warning and
cutout limits, for example.
2. At this point there should be no alarms present. Investigate and correct any alarm issues.
3. Test the functionality of various alarms and controls as follows:
Alarm Test
Minor alarm Pull one rectier (leave in the shelf) and then reinsert to clear the alarm.
Major alarm Pull two rectiers (leave in the shelf) and then reinsert to clear the alarm
AC Fail alarm Turn off all AC breakers and run on batteries.
Supervisory Fail At the controller, tap the Home icon at the lower left of the “home” page and select Reset
from the pop-up menu.
4. Perform a system load test using a resistive load box.
5. Turn off the AC input breaker to perform a full load test from DC power.
6. Enable the temperature compensation (temp comp) feature in the batteries menu. Program the settings for slope
and breakpoints (upper and lower) according to the specific batteries used.