BOOM BARRIER BV58681010
MAINS CONNECTION AND OPENCLOSE SETTING
4.6 ADJUSTING THE BOOM POSITION
Check that the boom vertical (open) and horizontal (closed) positions (Fig. 28) are correct. If the
boom is misaligned from its correct vertical and / or horizontal position, adjust the corresponding
end bolts:
• Unlock the barrier (see sub-section ‘4.4. Manual Unlocking’).
• Loosen the nut (Fig. 29).
• Adjust the bolt (Fig. 30) until the boom reaches its correct position. Secure the bolt in
position by tightening the nut.
Fig. 29 and 30 show vertical adjustment for aleft-hand installed barrier.
5. MAINS CONNECTION AND OPENCLOSE SETTING
Y
ATTENTION! When making electrical connections, make sure that the mains power is o (mains
circuit breaker o)!
Follow the standard electrical safety regulations!
1. Use the key to open the door lock, remove the door of the boom barrier cabinet (Fig. 10)
and carefully set it aside.
Y
ATTENTION! When the barrier cabinet door is removed, the door switch will activate.
The boom barrier will operate in manual mode (by pressing and holding the control
device, section ‘7.2. Setting operation parameters’ P3–F1)!
2. Carefully remove the control unit (Fig. 31) from the cabinet and place it next to the
cabinet on a dry, clean and stable surface; the electric cables of the boom barrier should
be free (not stretched).
3. Remove the casing cover of the control unit and connect the mains cable to the electrical
contacts of the unit (Fig. 32): L for phase conductor, N for neutral conductor, PE for
protective earthing yellow-green conductor.
4. Unlock the boom barrier (section ‘4.4. Manual unlock’).
5. Switch on the mains circuit breaker. After the power supply is applied, there will be an
indication on the control unit display.
6. Manually raise the boom to the fully open position, then the control unit LED LOP.L
should light up (Fig. 33). Manually lower the boom to the fully closed position, the LED
LCL.L on the control unit should light up (Fig. 34).
Y
If the LEDs are reversed, switch o the mains supply and swap the wiring of the
end position switches at the OP.Land CL.Lterminals of the control unit (Fig.37,
connector 12). Then check again that the LEDs in the end positions of the boom
are functioning (Fig. 33, Fig. 34).
7. Manually move the boom to the middle position and lock the barrier (Fig. 25).
8. In the settings (section ‘7.2. Setting the operation parameters’ P1–F1) set the value
corresponding to the length of the boom installed on the barrier.
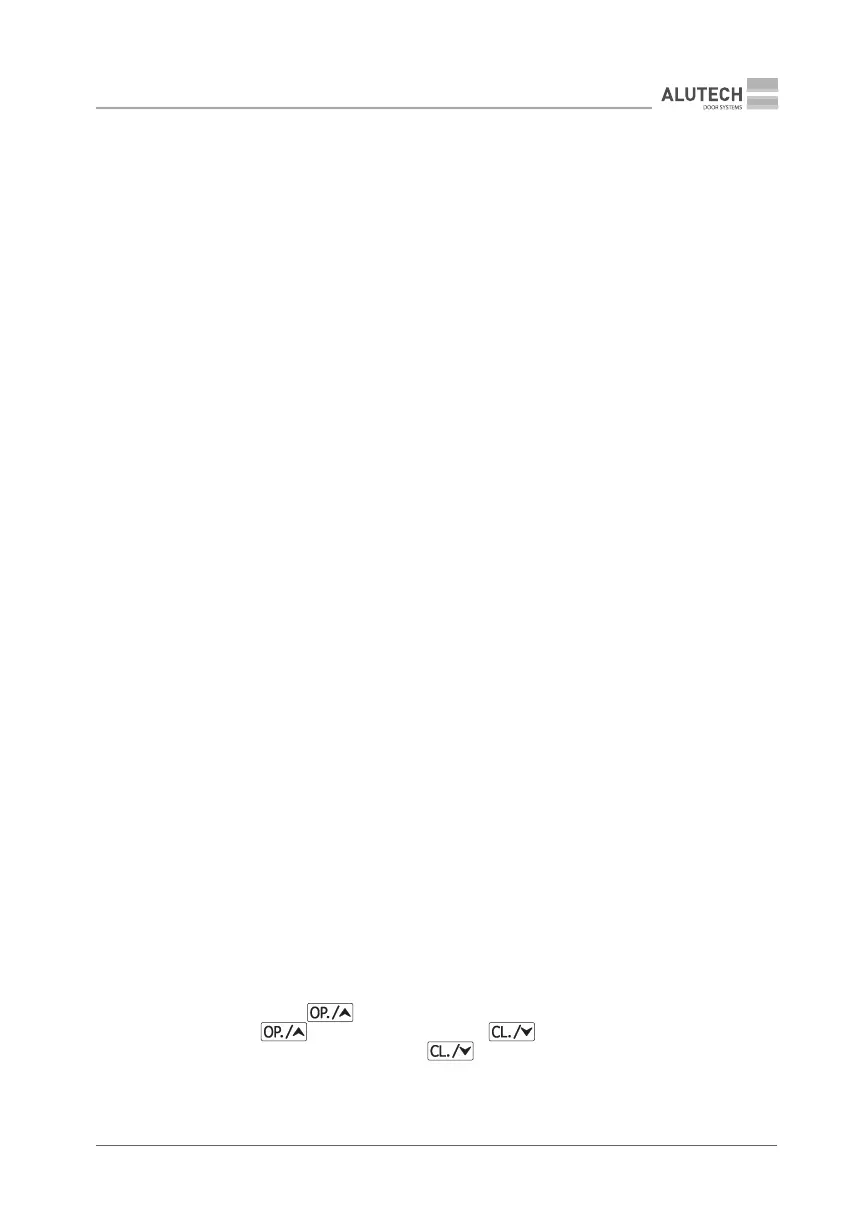
9. Press and hold the button on the unit, the boom barrier should open (Fig. 35).
Release the button. Press and hold the button on the unit, the boom
barrier should close (Fig. 36). Release button.
Y
If the direction of motion is wrong, switch o the mains supply and swap the motor
connection wires at the M1 and M2 terminals of the control unit (Fig. 37, terminal
block 13). Then check again the direction of motion of the boom (Fig. 35, Fig. 36).