en
17
16
19
18
20
NOTE: The settings are updated as soon as they are chosen.
5.6. Network Setup
In Network setup under the Setup menu you can setup connection to Wi-Fi and local area
network (LAN). For instructions on how to connect LAN cable or Wi-Fi antenna, see section
5.6.1.
NOTE: Always use a secure network when handling images and patient data. See technical
details about the configuration of
LAN and Wi-Fi in Appendix 3.
Setting up LAN connection:
Press the Settings
tab in the tool bar on the left.
Press Setup and select Network setup
21
.
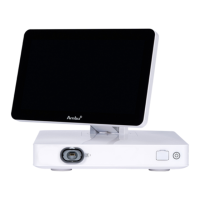
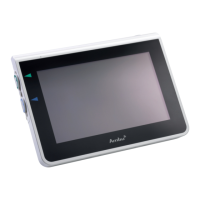
In the Network setup menu you can see if a LAN (ethernet) cable is connected to the
displaying unit
22
. If no LAN cable is connected, refer to section 5.6.1. for instructions on
connection to LAN.
Setting up Wi-Fi connection:
Press the Settings
tab in the toolbar on the left.
Press Setup and select Network setup
21
.
23
26
22
25
24
21
Open the Wi-Fi regulatory domain
23
drop-down menu and select your region from the list.
After selecting a region an ON/OFF slider will appear
24
. Turn on Wi-Fi by pressing the ON/
OFF slider so it switches to green
.
In the General menu you can set up the static/fixed Hostname
25
of the device. This is used
if it is required to have a fixed name by which the device is recognized on the network, similar
to a static IP address. The Hostname can be between 1 and 63 characters (excl. dot "."
separator) in the format of xxx.xxx.xxx
with dots separating e.g. domain names. The following
15