Configuration and Firmware Update
32
NI-3101-SIG Signature Series NetLinx Integrated Controller
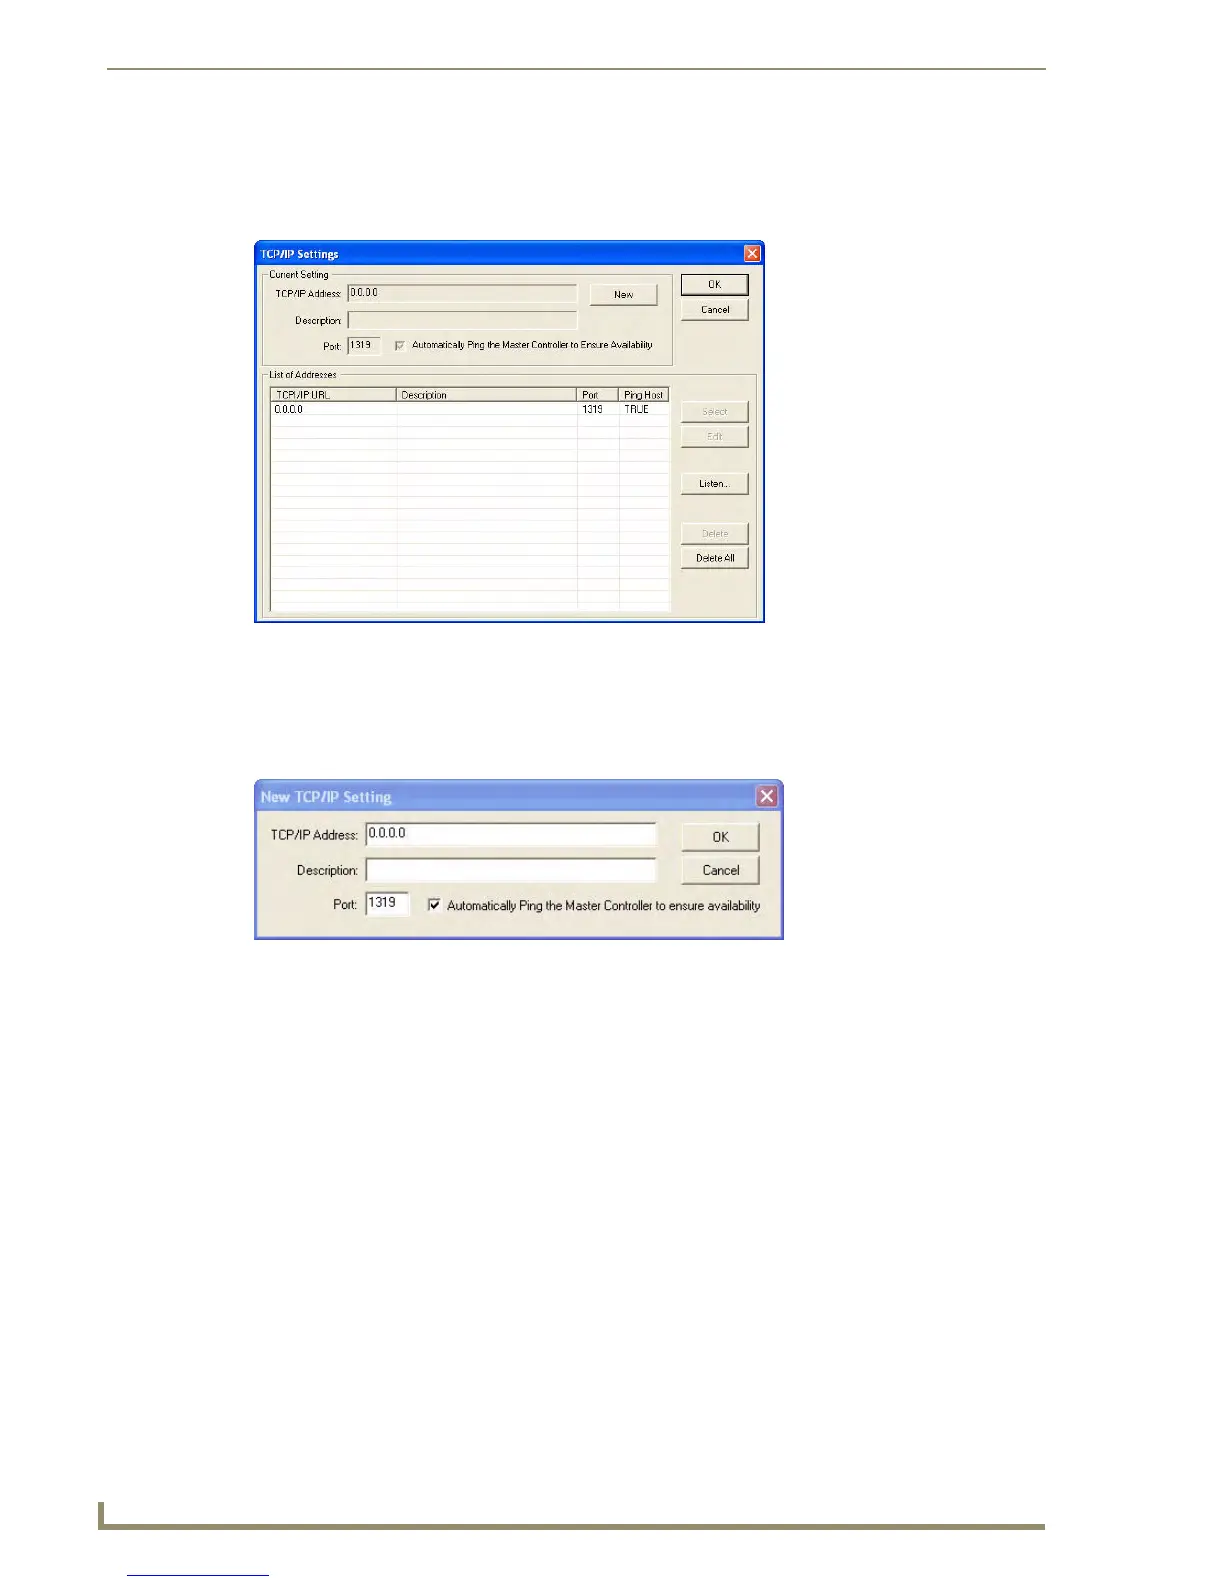
6. Click the Edit Settings button (on the Communications Settings dialog) to open the TCP/IP
Settings dialog (FIG. 23). This dialog contains a series of previously entered IP Address/URLs and
their associated names, all of which are stored within NetLinx Studio and are user-editable.
7. Click the New button to open the New TCP/IP Setting dialog box (FIG. 24), where you may enter
both a previously obtained DHCP or Static IP Address and an associated description for the
connection into their respective fields.
8. Place a checkmark within the Automatically Ping the Master Controller to ensure availability radio
box to make sure the Master is initially responding online before establishing full communication.
9. Click OK to close the current New TCP/IP Settings dialog box and return to the previous TCP/IP
Settings dialog box. Locate the new entry within the List of Addresses section.
10. Click the Select button to make the new entry the currently used IP Address communication
parameter.
11. Click OK to return to the Communications Settings dialog and place a checkmark within the
Authentication Required radio box if the Master has been previously secured with a username/
password.
FIG. 23 TCP/IP Settings dialog box
FIG. 24 New TCP/IP Setting dialog box
 Loading...


