WebConsole - System Options
44
NetLinx Integrated Controllers (Firmware v4)- WebConsole & Programming Guide
WebConsole - System Options
System Overview
The Manage System page is accessed by clicking on the System button. This page allows you to view and conf igure various aspects
of the NetLinx System, separated by four tabs:
Manage System - Options in this tab allow you to view/change the Master’s System Number, Control/Emulate system
devices, perform Diagnostics, configure Server settings and set the time/date via the Clock Manager. See the System -
Manage System section on page 44 for details.
Manage License - Options in this tab allow you to add device licenses (Product ID and License Key) to the Master. See the
System - Manage License section on page 58 for details.
Manage NetLinx - Options in this tab allow you to view a detailed list of NetLinx devices connected to the Master. See the
System - Manage NetLinx section on page 60 for details.
Manage Devices - Options in this tab allow you to view the details of additional attached devices (including module-
supported third-party devices). See the System - Manage Devices section on page 61 for details.
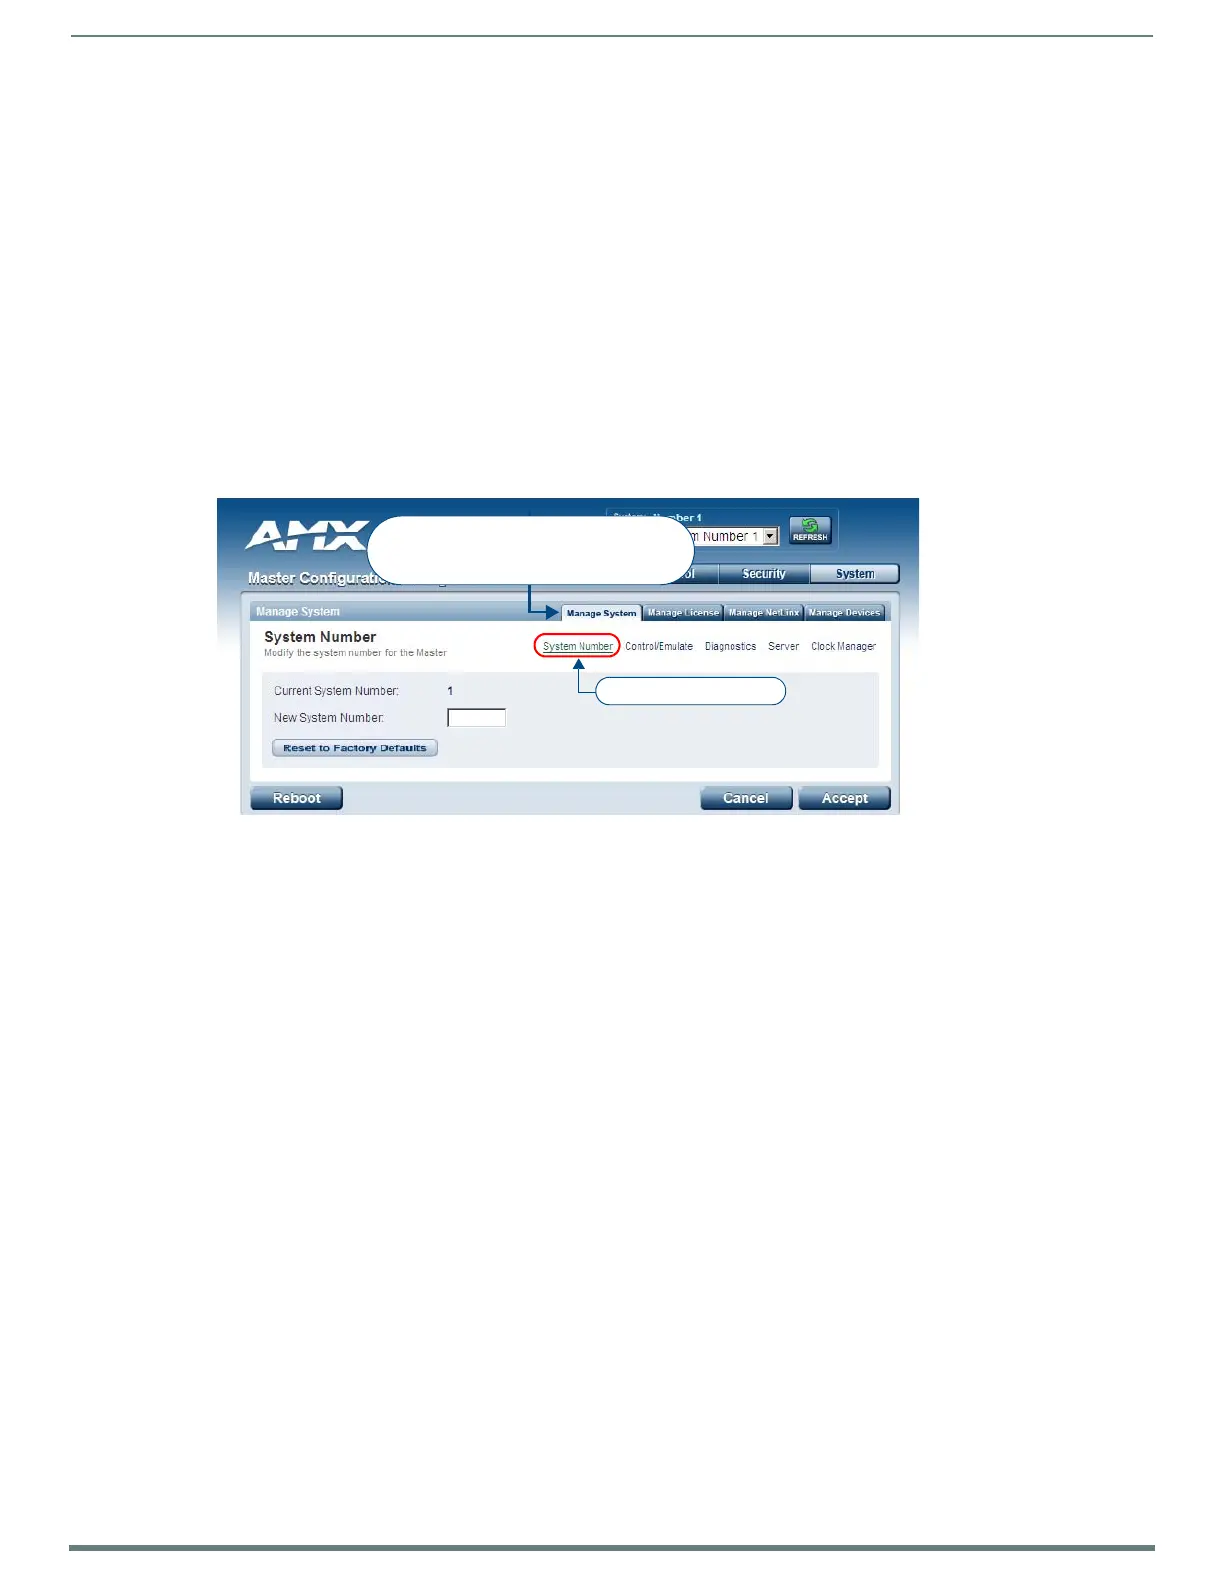
The default view for the System option is Manage System / System Number (FIG. 47).
System - Manage System
The Manage System tab contains links to several different System-related configuration pages, as described in the following
subsections:
Manage System - System Number
The options on this page display the current System Number assigned to the target Master (read-only), and allow you to change the
system number (see FIG. 47).
Changing the System Number On the Master
1. Enter the new numeric value into the New System Number field.
2. Click the Accept button to save this new value to the system on the target Master. The message; "System number changed to
X. Master must be rebooted for the change to take effect.", reminds you that the Master must be rebooted before the new
settings take effect.
3. Click Reboot to reboot the target Master. The Device Tree then reads "Rebooting...". After a few seconds, the Device Tree
refreshes with the current system information (including the updated system number assignment). If the Device Tree does not
refresh within a few minutes, press the Refresh button and reconnect to the Master.
Using Multiple NetLinx Masters
When using more than one Master, each unit must be assigned to a separate System value. A Master’s System value can be changed
but it’s device Address must always be set to zero (00000). The Device Addressing dialog will not allow you to alter the NetLinx
Master address value.
Example: Using an NI-2100 and NI-4100:
The NI-2100 could be assigned to System 1 (with an Address of 00000).
The NI-4100 could be assigned to System 2 (with an Address of 00000).
FIG. 47
Manage System (System Number)
These tabs provide access to the various
System Management features
(default view = Manage System)
Currently selected page

 Loading...


