24
oil level with the dipstick. Check that the oil level is even with
the mark on the dipstick, after it has been seated fully in the
dipstick hole. DO NOT OVERFILL.
Overfilling may result in oil being forced out the breather hole
that could contaminate the brake pads and lead to brake fail-
ure.
6.3 FILTER INFORMATION
6.3.1 Air Filter
(All C, F, R, B, N, S and A models)
All ARGO engines are equipped with a foam precleaner and
dry paper air filter element housed in an air cleaner assembly
attached to the carburetor.
Wash and oil the precleaner after every 25 hours of operation
or more often under extremely dusty or dirty conditions.
Check the paper air filter element every 100 hours of operation
or more often under extremely dusty or dirty conditions.
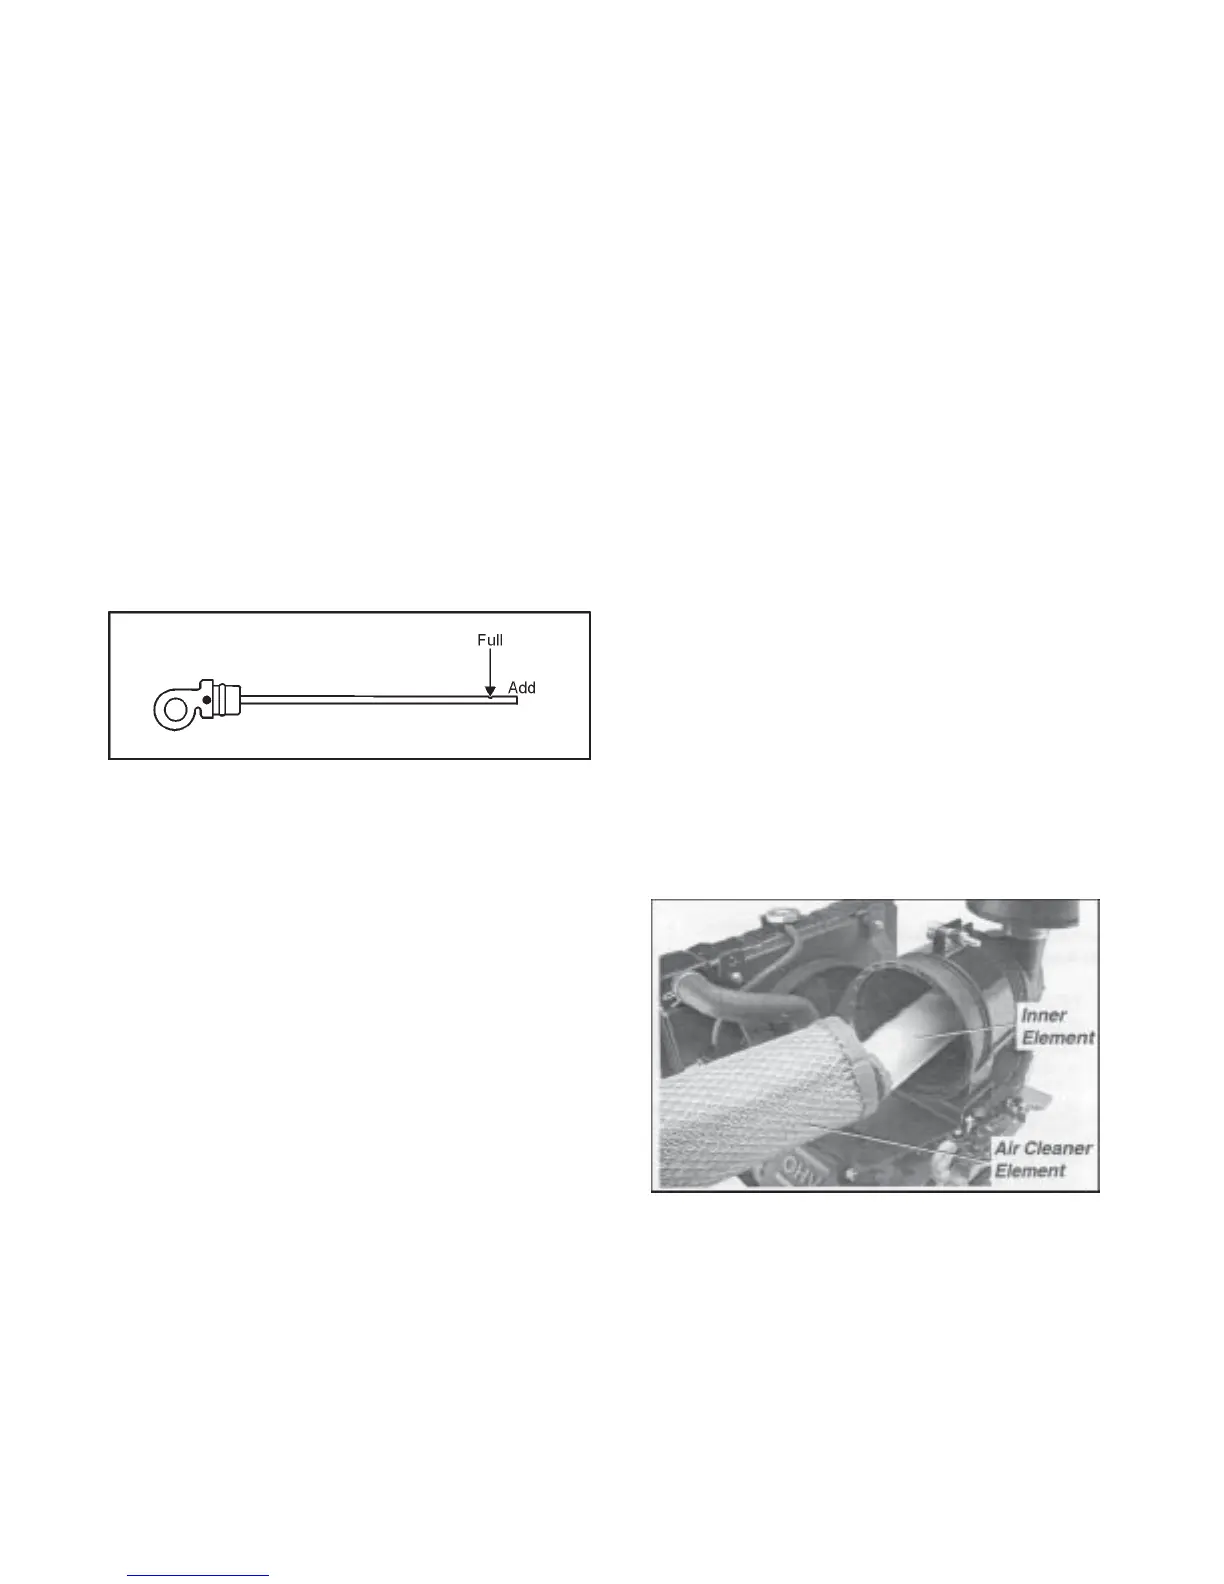
AVENGER Models
The Kohler Aegis engine is equipped with a heavy duty high
density paper air cleaner element surrounding a canister style
inner element. Cleaning is not recommended, each element
should be replaced when dirty. See figure 6-6 below.
Figure 6-6. Air Cleaner Element and Inner Element
For instructions to remove, clean and replace the air filter com-
ponents, refer to the air cleaner section of the engine Owner’s
Manual.
6.3.2 Fuel Filter
All models of the ARGO are equipped with an in-line fuel filter
(replacement fuel filter is ARGO Part No. 125-64). On Con-
quest models the fuel filter is located in the fuel hose, next to
Refilling the Engine
Refill the engine through the oil fill port with the correct amount
of oil (Figure 6-4). Make sure the appropriate grade of oil is
used (Section 6.1.2). As you add oil, frequently check the
level with the dipstick. Do not overfill. Start engine. Check
for leaks. Stop the engine. Check the oil level. Add oil only to
the “Full” or “H” mark on the dipstick.
6.2 TRANSMISSION OIL INFORMATION
6.2.1 Checking the Transmission Oil Level
Check the transmission oil level every 50 operating hours. All
models of the ARGO are equipped with a transmission oil dip-
stick (Figure 6-5). Clean the area around the dipstick before
removing. Remove the dipstick by pulling up.
Figure 6-5. Transmission dipstick
The transmission oil level should be even with the mark on the
dipstick as shown in Figure 6-5. Add 80 W 90 Gear Lube
HYPOY-C through the transmission oil fill/dipstick hole until
the transmission is filled to the correct level. DO NOT OVER-
FILL. Replace the dipstick securely.
6.2.2 Changing the Transmission Oil
Change the transmission oil after the first 20 hours of opera-
tion, or after using 2 tanks of fuel. After this, change the
transmission oil every 100 operating hours. Remove firewall
to access the drain plug located at the bottom of the transmis-
sion. Drain the transmission oil into a suitable container and
dispose of the oil at a disposal site.
While draining the transmission oil, be sure to clean off any
metal particles that are on the magnet of the drain plug. These
fine metal particles are a result of the transmission gears mesh-
ing during the initial break-in period. Re-install the plug and
tighten it securely.
Refilling the Transmission
Refill the transmission through the oil fill/dipstick hole. Oil
capacity for all C, R, B, N, S and A models is 30 oz (.85L) of 80
W 90 Gear Lube HYPOY-C. Oil capacity for all AVENGER and
FRONTIER model transmissions is 38.7 oz.( 1.1 L) of 80 W 90
Gear Lube HYPOY-C. As you refill the transmission, check the
SECTION 6
OIL, FILTER AND LUBRICATION INFORMATION
 Loading...