ASBS
38
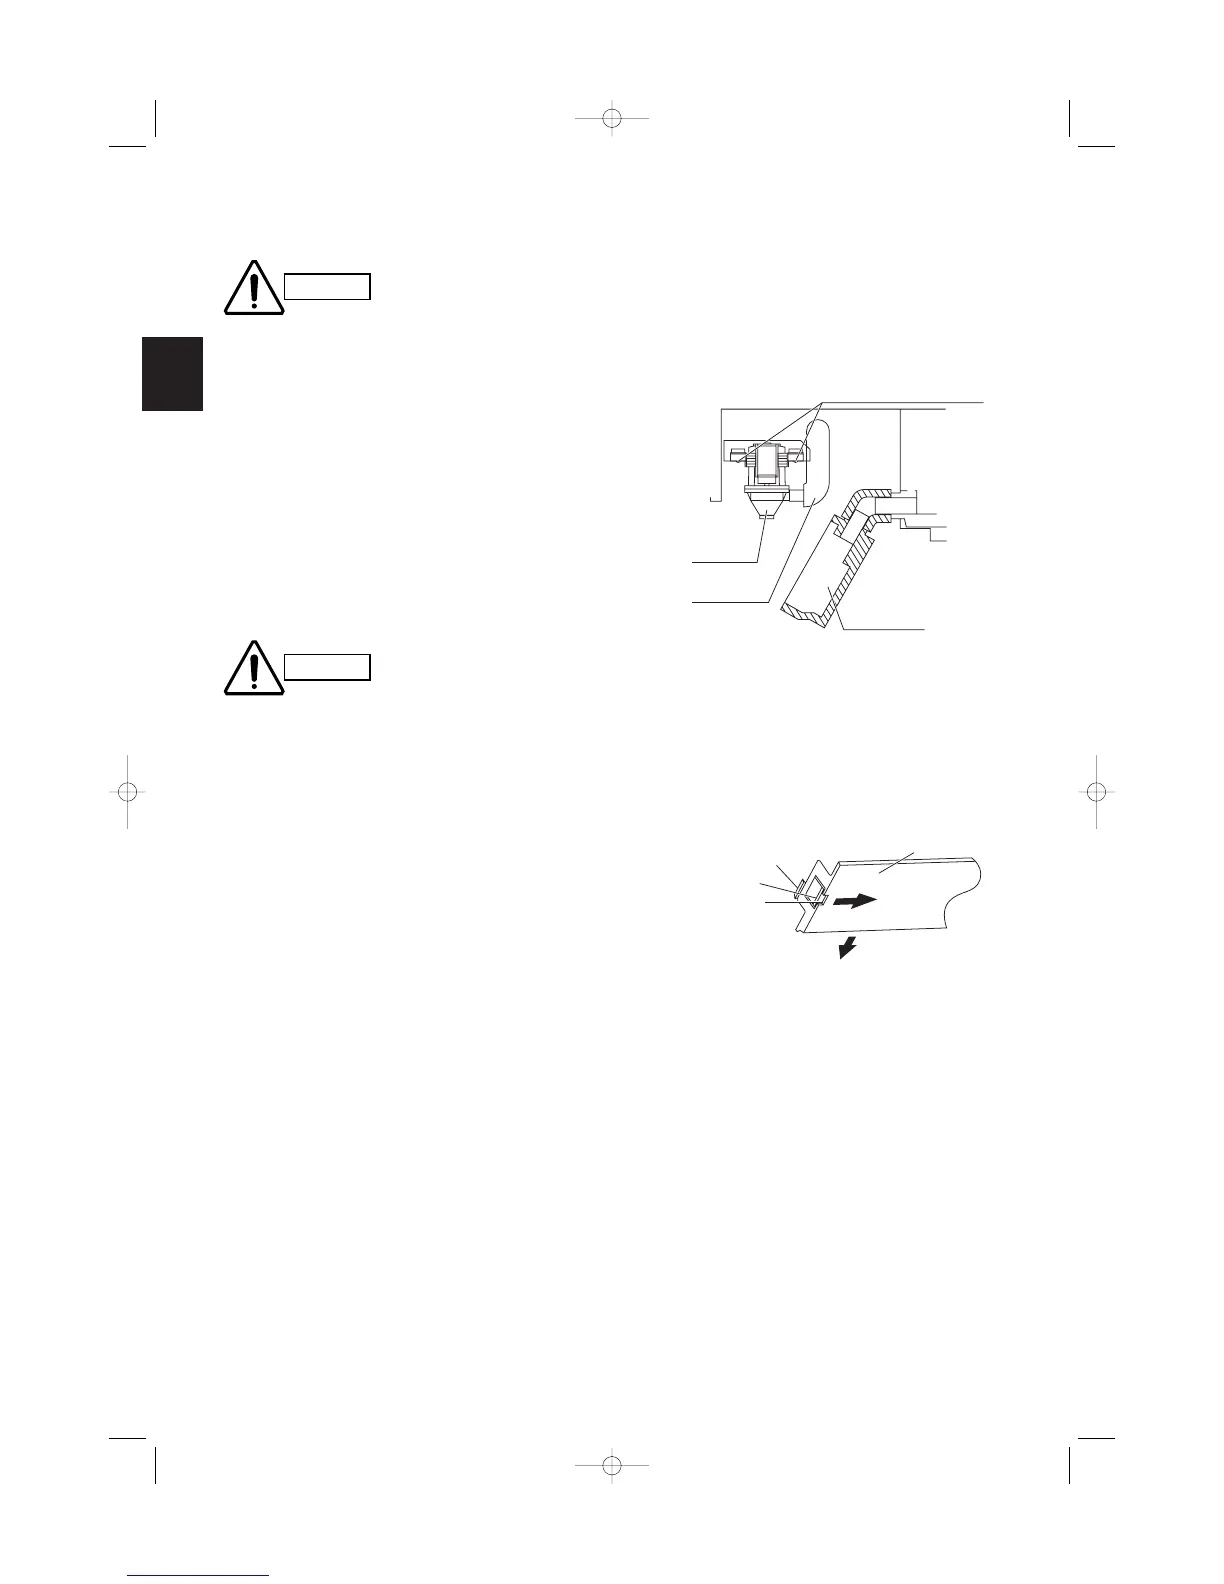
Fig. 3-33
Fig. 3-32
(4) When the check of drainage is complete, open the
check pin (CHK) and remount the insulator.
Cleaning the sub drain pan
Before beginning work, make necessary preparations
(e.g., prepare a bucket, wiping cloth, etc.).
(1) Unscrew the 2 screws securing the cover, and
place them on the reverse side to remove the
cover.
(2) Release the screw securing the sub drain pan
support L-shape bracket, and remove the bracket
while holding the sub drain pan with your hand.
(3) Drain any water and clean the sub drain pan by
tilting it downward. To remove the drain pump,
remove the 4 drain pump installation screws, the
drain hose, and the wiring.
Removing the side panel
(1) Push the tab on both sides of the side panel
inward (a) to disengage the tab (first stage) and
move the panel horizontally (b).
(2) Push the area in the vicinity of the tab (second
stage) inward while holding both sides of the side
panel to remove the side panel.



 To Next Page