23
When the LED 3 flashes red:
– Unplug the charger and plug it back in. The
charger performs a self-check. If not all
LEDs are lit, the charger is defective and
must be replaced.
– If the self-check was successful, the charger
can be used to charge the backpack battery.
If LED 3 flashes red again, the backpack
battery may be defective. Remove the back-
pack battery and try to charge another back-
pack battery.
– If the other backpack battery charges nor-
mally, dispose of the defective backpack
battery properly.
– If LED 3 on the other backpack battery also
flashes red, unplug the charger. Wait until
the flashing LED 3 goes out. Plug the char-
ger back in. If not all LEDs light up or if LED
3 continues to flash red, the charger is de-
fective and must be replaced.
Please observe the operating instructions for
the battery, the backpack charger, and the en-
gine manufacturer.
Setting the engine speed
1. Release the engine brake lever and wait
until the blade comes to a standstill.
2. Open the cover of the battery compartment
(1).
3. Set the desired engine speed using the se-
lector switch(2).
4. Close the cover of the battery compartment
(1).
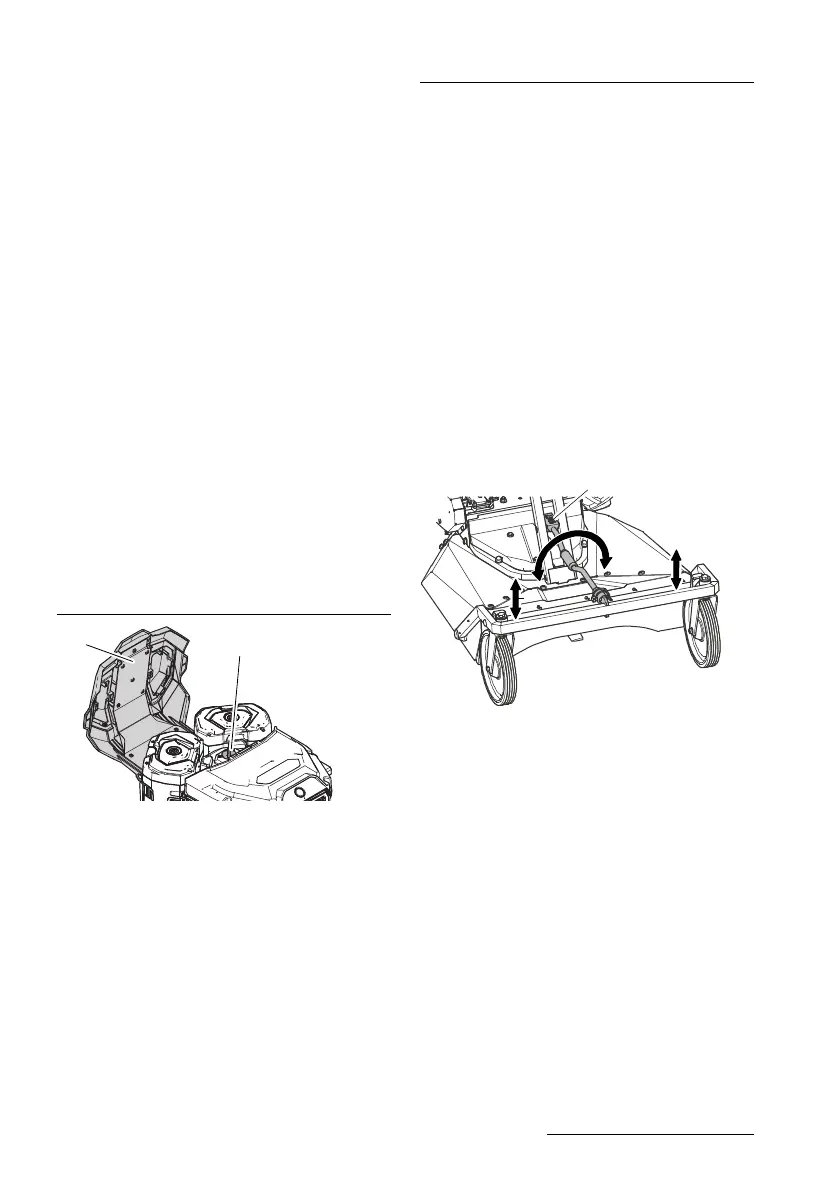
Adjusting cutting height
Adjust the cutting height setting only when the
engine is switched off.
Set the cutting height so that the blade does
not touch the ground even in case of terrain
unevenness. If the cutting height is set too
high, objects can be ejected and the “clean cut
appearance” can be destroyed.
The adjustment of the cutting height is per-
formed per axle.
If the scale shows the same position for both
axles, the blade is parallel to the mowing area.
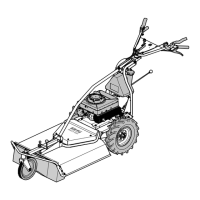
Front axle
The cutting height adjustment of the front axle
is infinitely variable.
1. Switch off the engine and wait until the en-
gine comes to a standstill.
Fig.5:
2. Turn the crank at the front axle until the de-
sired cutting height was reached.
ð The lubricating nipple (1) shows the set po-
sition on the scale.