Copyright © 2006-2009 AudioNote Kits
www.AudioNoteKits.com
audionotekits@rogers.com
Page 13
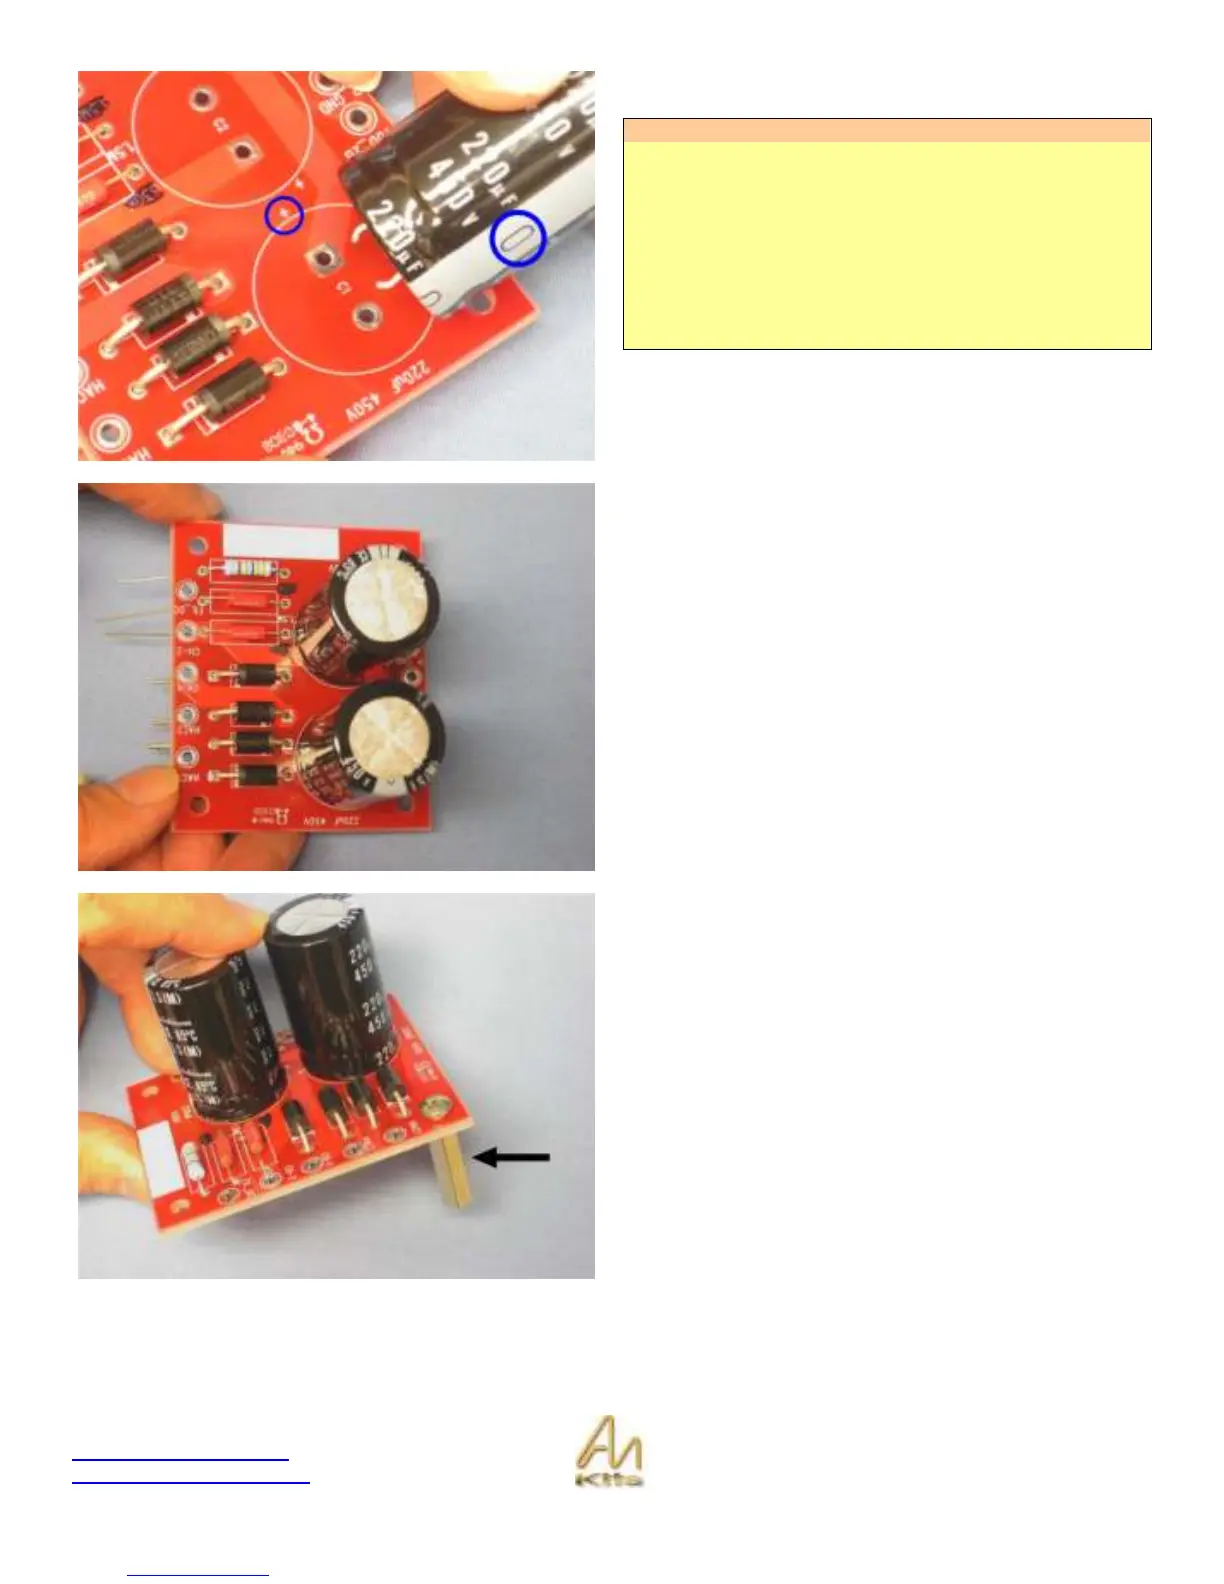
The next job is to install the Electrolytic Capacitors.
Quick Lesson on Electrolytic Capacitors
These capacitors have a Positive and Negative side to
them and need to be installed correctly or they will
BLOW up!
The Stripe on the side of the capacitor can designates
the NEGATIVE side.
You will also see the + sign marked on the PCB denoting
the positive side
Here you can see the capacitor being correctly installed in
the board.
Here you can see the Power Supply Board correctly
populated.
Check over the board for correct positioning and polarities
before finally soldering the components in place.
Finally, you can install the spacers on each corner of the
board and position the board into its correct location in the
chassis.