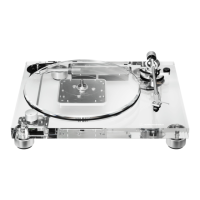
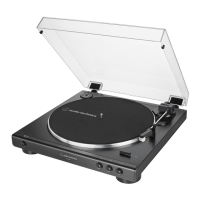
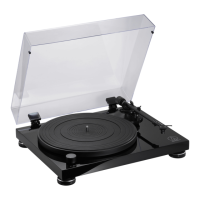
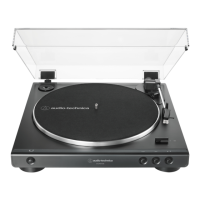
EasyManuals Logo

Audio Technica AT-LP3XBT User Manual

Audio Technica AT-LP3XBT
50 pages
To Next Page IconTo Next Page
To Previous Page IconTo Previous Page
Page #35 background imageLoading...
Page #35 background image
34
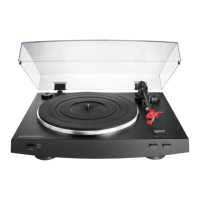
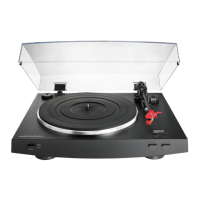
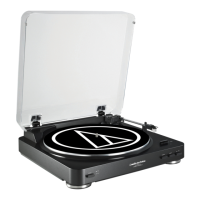
Replacing the stylus
Removing the stylus
In addition to the deterioration of sound quality, records may also be damaged as the cartridge’s stylus tip wears
down.
As a rule of thumb, replace the stylus after 300 hours of use.
Be sure to disconnect the product’s AC adapter from the outlet.
When replacing the stylus, hold the headshell and the cartridge body firmly.
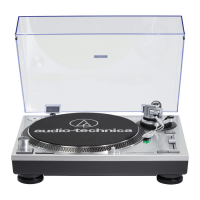
1
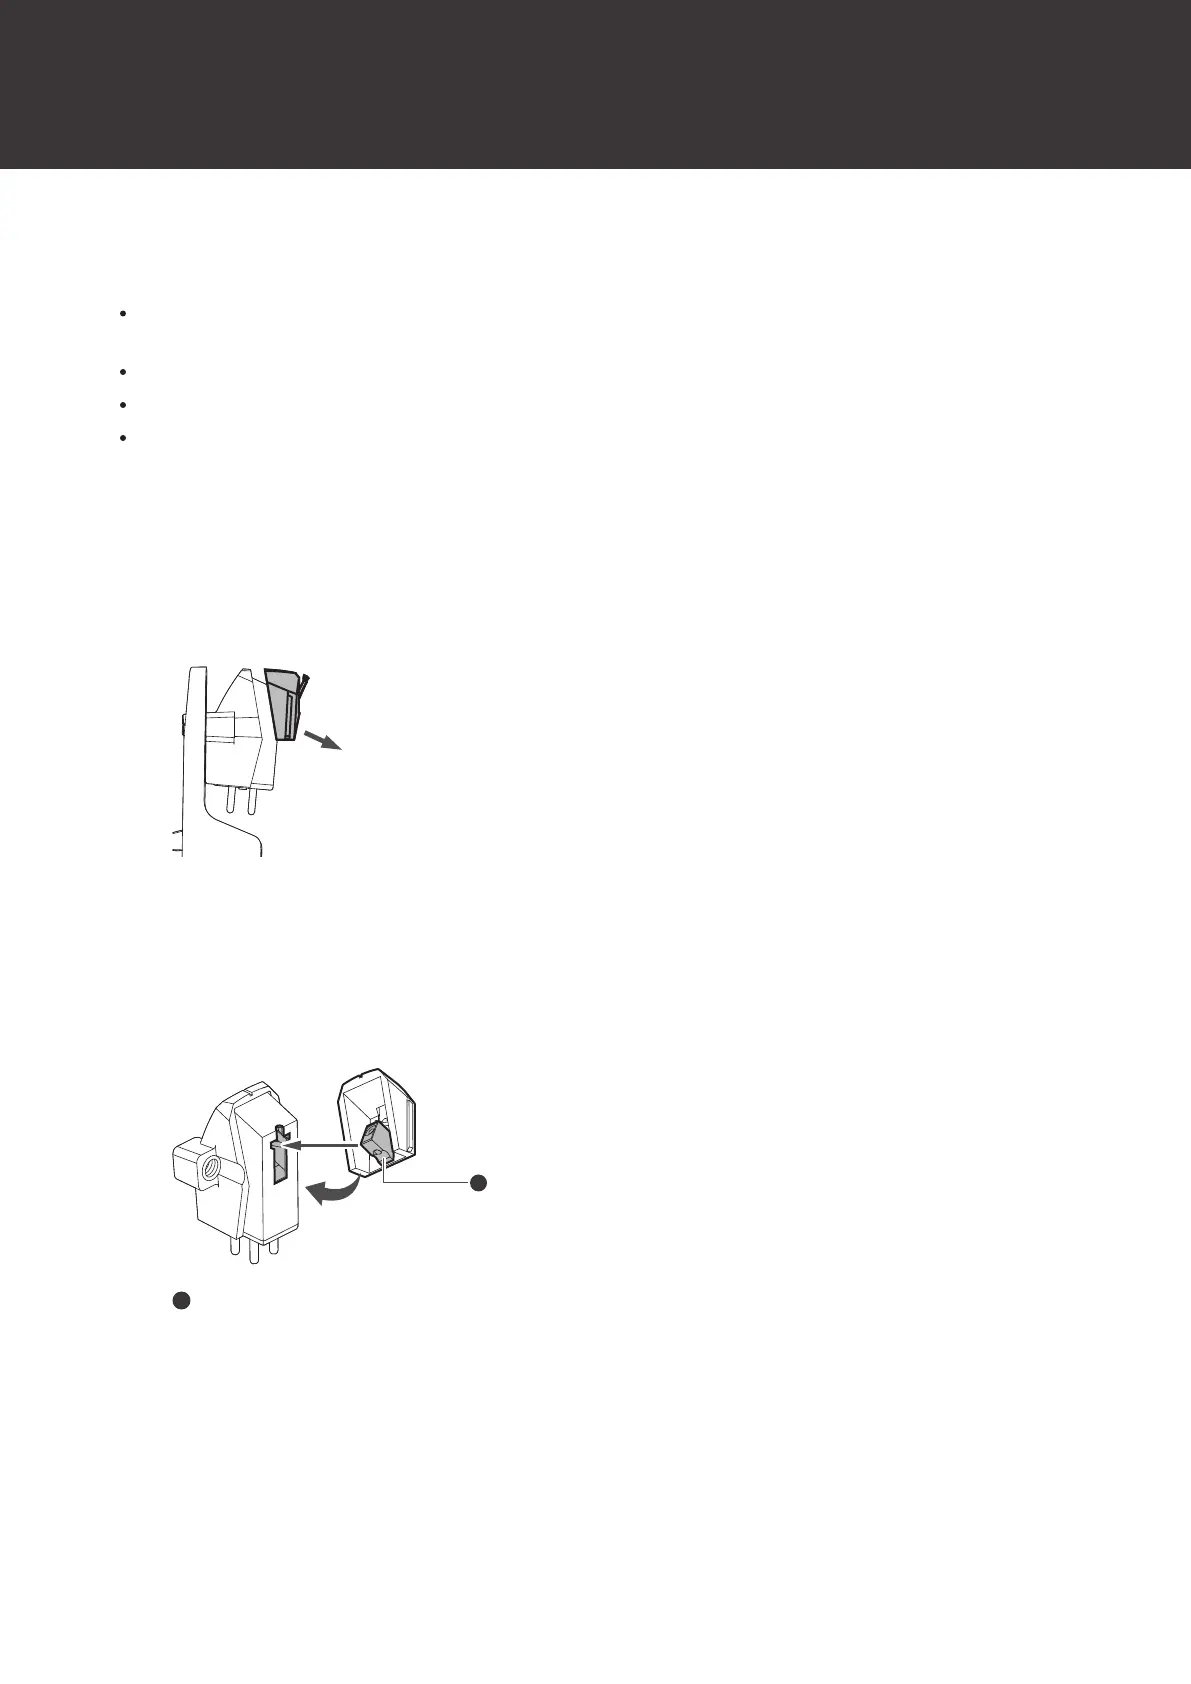
Release the headshell from the tonearm.
2
After removing the cartridge’s protector, remove the stylus by pulling it in the direction of the arrow
without touching the cantilever, stylus tip, or magnet.
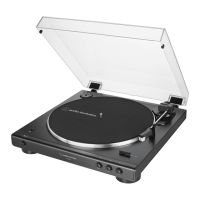
Installing a new replacement stylus
1
Mount the new replacement stylus to the cartridge.
1
1
Align the position of the inner protrusion.
2
Mount the headshell onto the tonearm.

Questions and Answers:

Question and Answer IconNeed help?

Do you have a question about the Audio Technica AT-LP3XBT and is the answer not in the manual?

Audio Technica AT-LP3XBT Specifications

General IconGeneral
TypeBelt-drive audio turntable
OperationFully automatic
Motor typeDC motor
Product colorWhite
Wow & flutter0.2 %
Nominal speeds33 1/3, 45 RPM
Platter materialAluminum
Signal-to-Noise Ratio (SNR)60 dB
Frequency range2402 - 2480 Hz
Power supply typeAC
AC adapter frequency50 - 60 Hz
AC adapter input voltage100 - 240 V
AC adapter output current0.6 A
Power consumption (typical)2 W
Quantity1
Cables includedRCA
Dust cover includedYes
Bluetooth version5.2
Bluetooth profilesA2DP
USB ports quantity-
Weight and Dimensions IconWeight and Dimensions
Depth374 mm
Width435.6 mm
Height128 mm
Weight5000 g

Related product manuals