USB Network Connections
Power
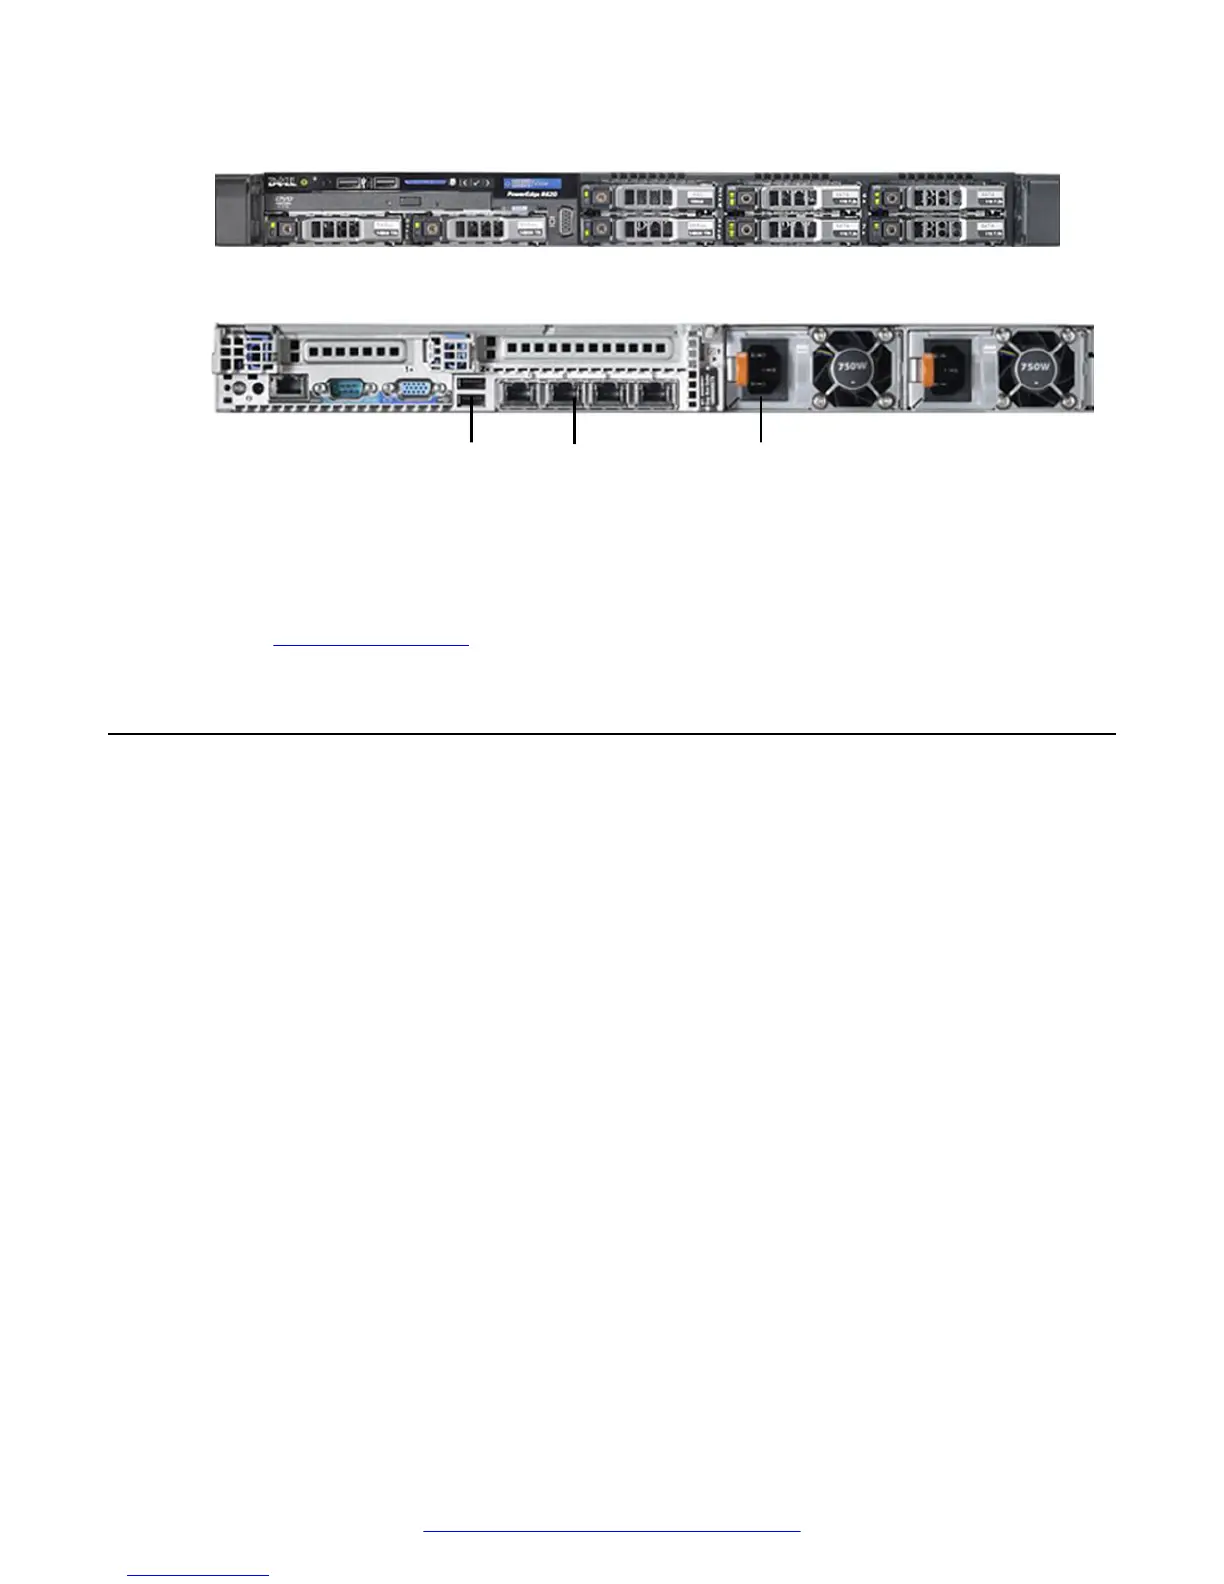
Front View
Rear View
Figure 7: Front and Rear Views
3. Connect the power cable.
4. Power up the unit.
Next steps
Return to the Installation checklist on page 18 to see your next task.
Starting the new server
The Microsoft Windows
™
2012 R2 license is already configured on your server.
Procedure
1. Start up the server.
2. Press Ctrl+Alt+Delete to log in.
3. Choose C to configure the network settings.
You can configure the network addresses statically or dynamically. Avaya recommends
using statically assigned IP addresses, as the IP address needs to remain constant. If you
do choose to use dynamically assigned IP addresses, your network must be DHCP-enabled.
4. Choose S for statically assigned IP addresses or D for dynamically assigned IP addresses.
If you choose D, the setup tries to obtain an address. If you choose S, you are prompted to
enter the IP address.
5. Enter your subnet mask by choosing an appropriate prefix length.
6. Enter the gateway address.
You must enter a valid gateway address that fits within the IP and subnet mask that you
previously entered. The system provides a valid range of IPs that you can use for the
gateway. You must pick one of these IP addresses.
7. Enter your primary DNS Server IP.
Installing the new streaming and recording server
20 Installing the Avaya Scopia
®
Streaming and Recording Server June 2015
Comments on this document? infodev@avaya.com