Page 25
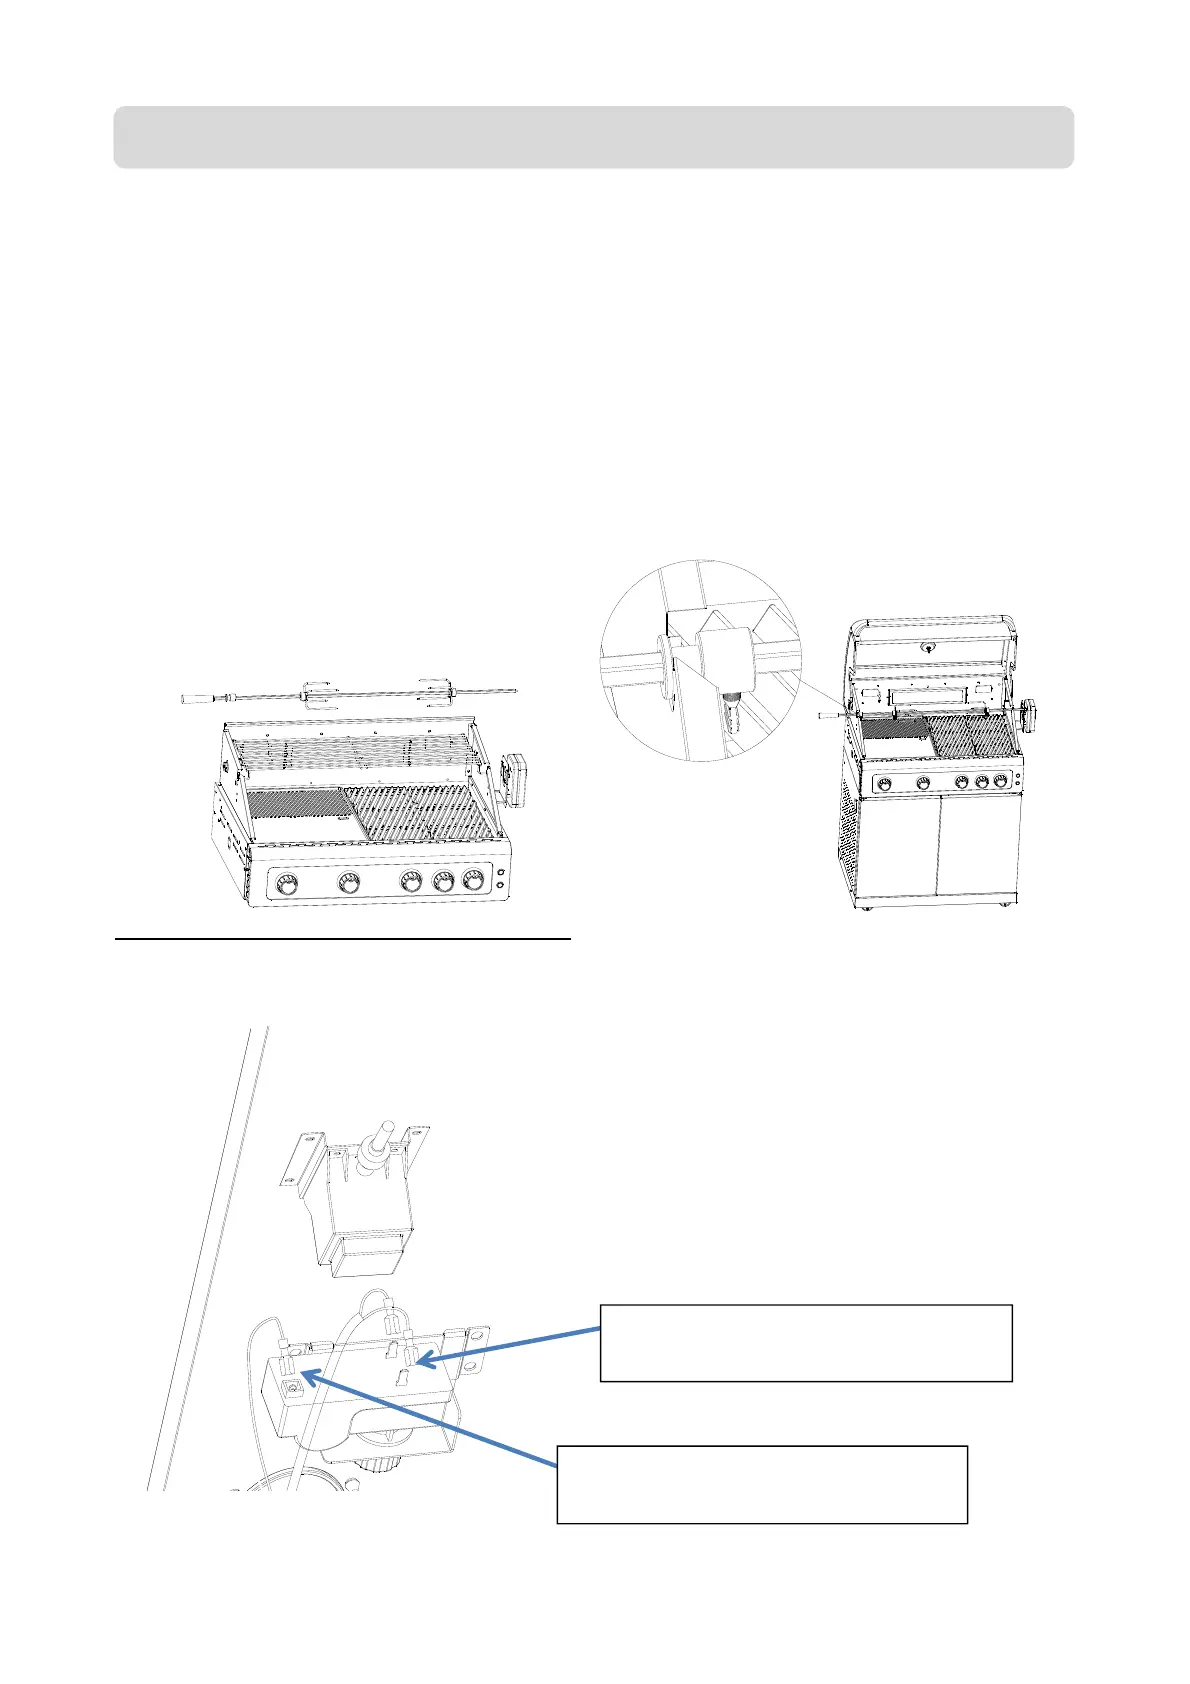
(d) If using the rotisserie, first remove the warming rack. For cart models, the warming
rack can be stored when not in use, by attaching it to the back of the cart. For cart
models, the rotisserie shaft and prongs can be stored when not in use on the back of
the cart by hooking the prongs into the cart top vents. When required, assemble the
Rotisserie as shown below. The handle should be removed during cooking. The
support collar fits into the right windshield as shown and should be tightened to the
shaft to prevent the shaft from dislodging from the motor. If the shaft has multiple
sections, they should be very firmly tightened to each other using two spanners to
prevent the two parts accidentally separating during use. Note that the thread may
be left hand thread to minimise accidental loosening! Ensure that items on the
rotisserie are properly balanced and rebalanced if necessary during cooking. An
optional counterbalance is available if required. It is not recommended to exceed 4kg
total load on the rotisserie shaft.
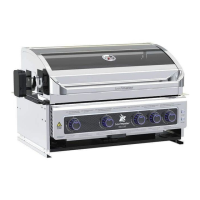
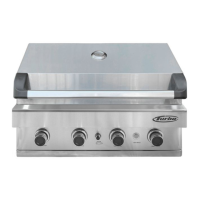
STEP 15 (FOR DELUXE MODELS ONLY): Joining the ignition and lighting
connection points.
(a) Connect the rear ignition wires to the ignition module as shown. The ignition module
can slide out for easier access and to change the battery.
The two rear ignition two yellow
wires connection point is this side.
The rear ignition single black wire
connection point is this side.
Assembly instructions (continued)