94 ImagePRO-II • User’s Guide
4. Menu Orientation
Setting up an LED Wall
pÉííáåÖ=ìé=~å=iba=t~ää
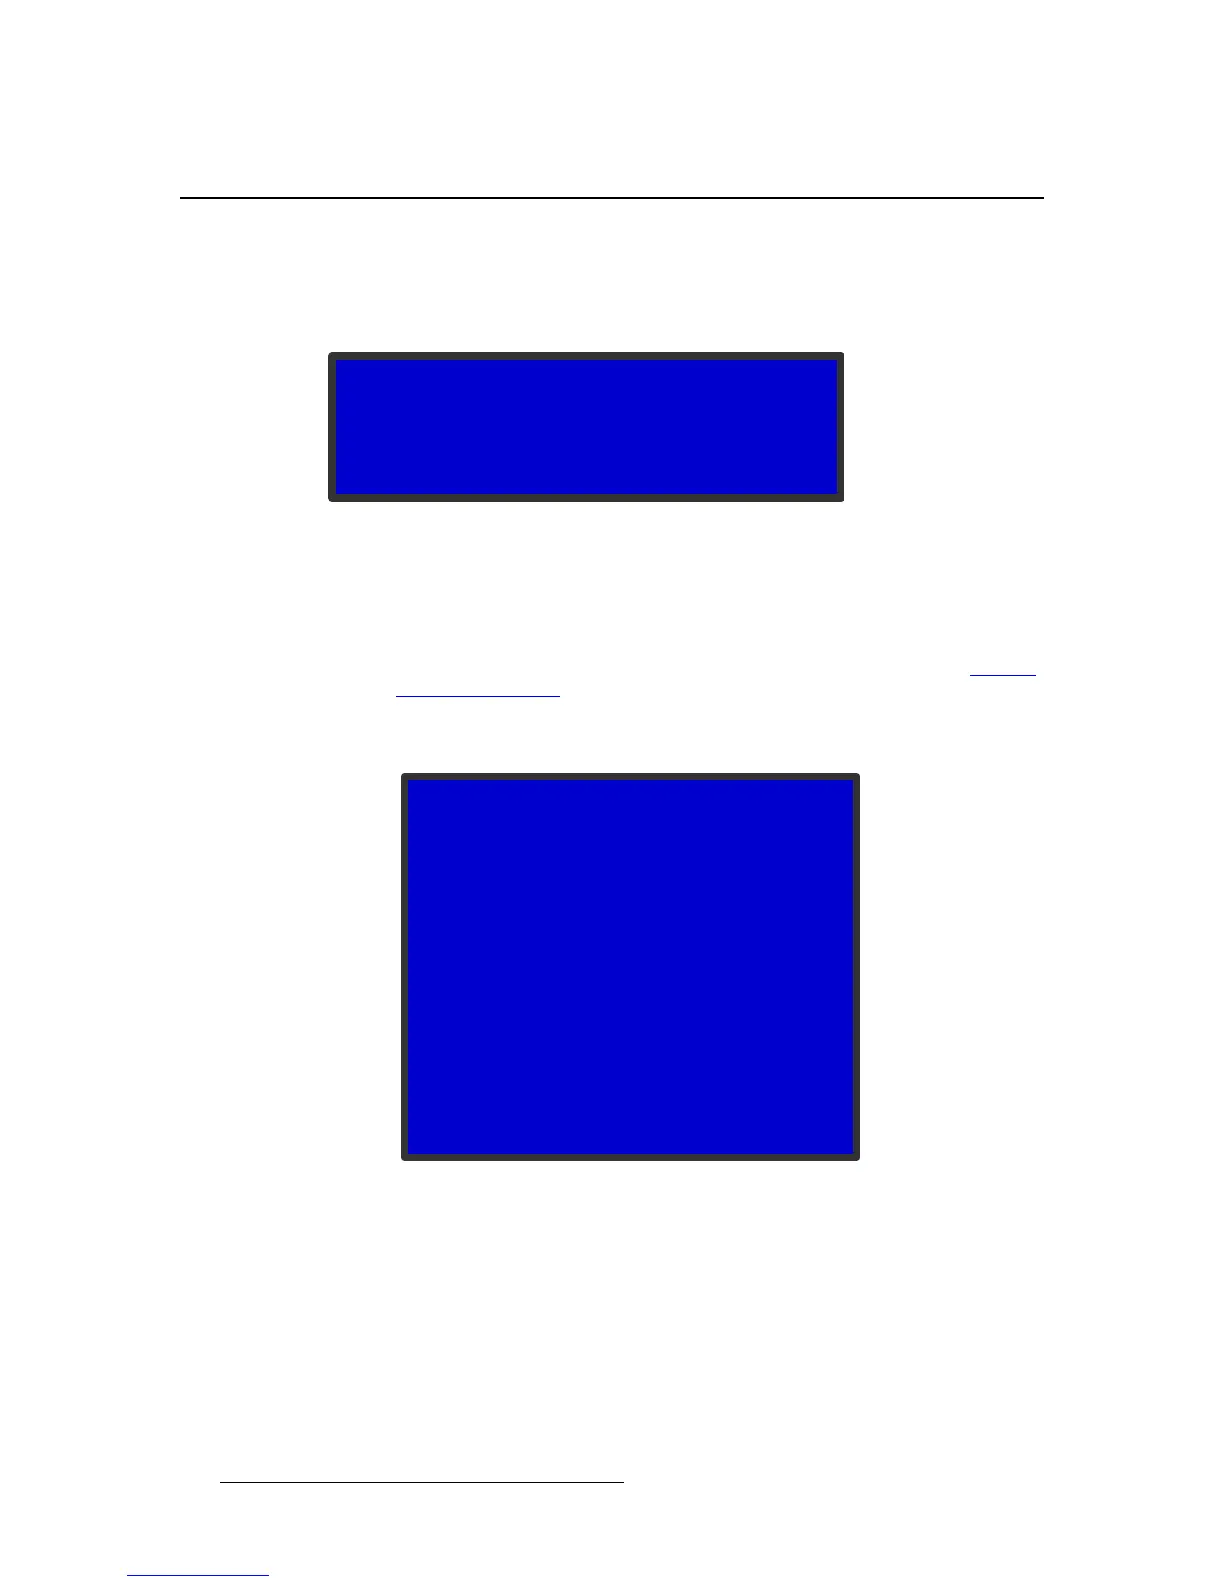
The LED Setup Submenu, shown in the following illustration, provides a quick way to
position the video image on an LED wall or another display device. Select Setup > LED
Setup to view this menu.
Figure 4-84. LED Setup Menu
To set up the wall, you define the Area of Interest and size the image within that area. Then
you can save your settings or restore the default values.
On this menu:
• Wall Sizing (AOI) displays the Area of Interest Submenu described in Setting
the Area of Interest on page 52 of this chapter.
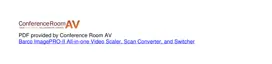
• Image Sizing displays the following Zoom/Pan Submenu, which provides
options in addition to those that appear when you press the PAN/ZOOM button.
Figure 4-85. Zoom/Pan Menu (LED Setup Submenu)
This Zoom/Pan Menu provides the following options:
~ Match Input 1:1 fills the Area of Interest with the unscaled input image.
If you created an Area of Interest that is smaller than the default active
area for the input, a portion of the image is not displayed. You can then
use the Pan settings to display the portion of the image you want to show
on the wall.
~ Fill H fills the active area to the left and right edges.
~ Fill V fills the active area to the top and bottom edges.
LED SETUP
> Wall Sizing (AOI) >>
Image Sizing >>
Save Snapshot
ZOOM/PAN
> Match Input 1:1
Fill H
Fill V
Fill H/V
Zoom H 1280
Zoom V 960
Zoom H/V
Pan H +0
Pan V +0
Units Pixel
Save View
Recall View
Reset