54 ImagePRO-II • User’s Guide
4. Menu Orientation
Configuring Outputs
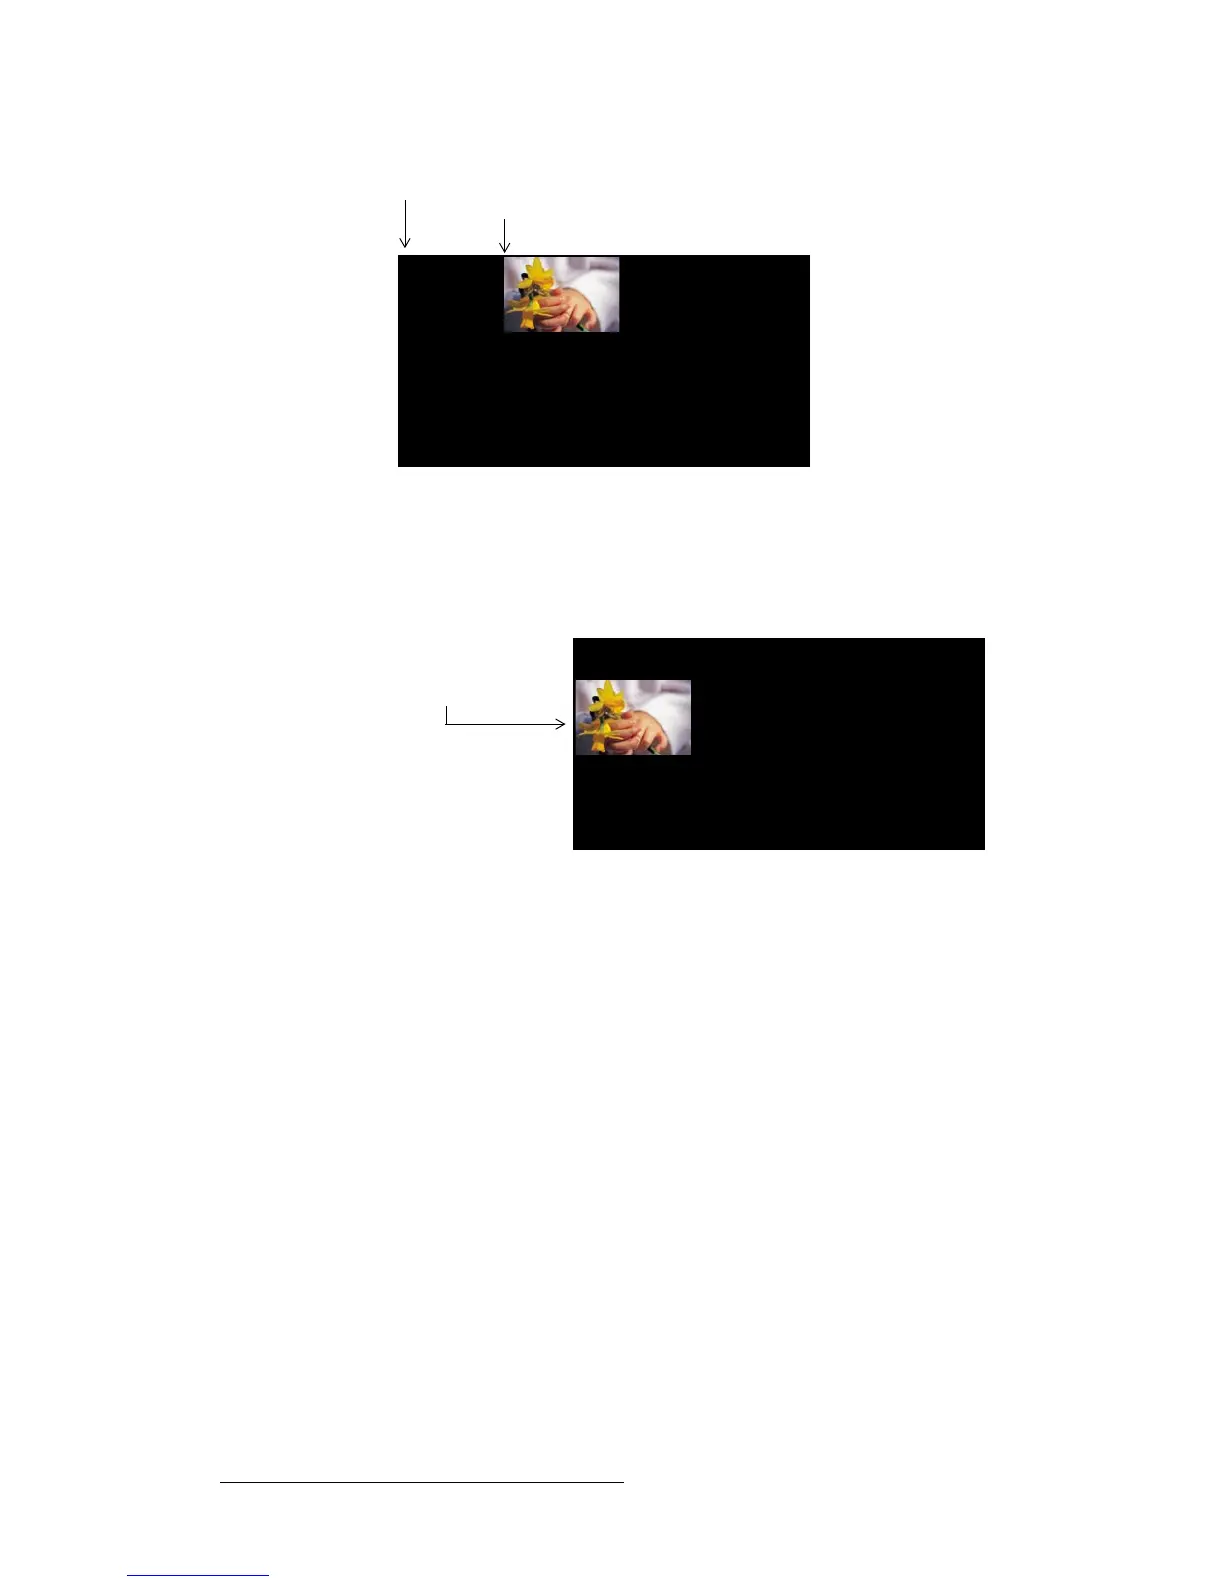
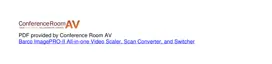
Figure 4-29. H Pos Adjustment from 0 to 400 pixels
• V Pos — After adjusting the V Size, you can move the image vertically within the
output’s active vertical limits.The default value is 0, representing the upper edge of
the active area. Increasing the V Pos value moves the image down. Decreasing
the V Pos value moves the image up.
Figure 4-30. V Pos Adjustment from 0 to 200 lines
To set or revert the output Area of Interest, use the following procedure:
1. From the Output Menu, select Area of Interest. The Area of Interest Submenu
appears, showing default settings equal to the H and V actives of the output
timing.
2. To change the horizontal size of the AOI, select H Size and turn the ADJUST
knob counter-clockwise. Press SEL when the image is placed correctly.
3. To change the vertical size of the AOI, select V Size and turn the ADJUST knob
counter-clockwise. Press SEL when the image is placed correctly.
4. To change the horizontal position of the AOI, select H Pos and turn the turn the
ADJUST knob counter-clockwise. Press SEL when the image is placed correctly.
5. To change the vertical position of the AOI, select V Pos and turn the ADJUST
knob counter-clockwise. Press SEL when the image is placed correctly.
6. To revert all your changes to their default settings, select Reset.
HPos / VPos = 0 pixels / 0 lines
H Pos = 400 pixels
V Pos = 0 lines
V Pos = 200 lines
H Pos = 0 pixels