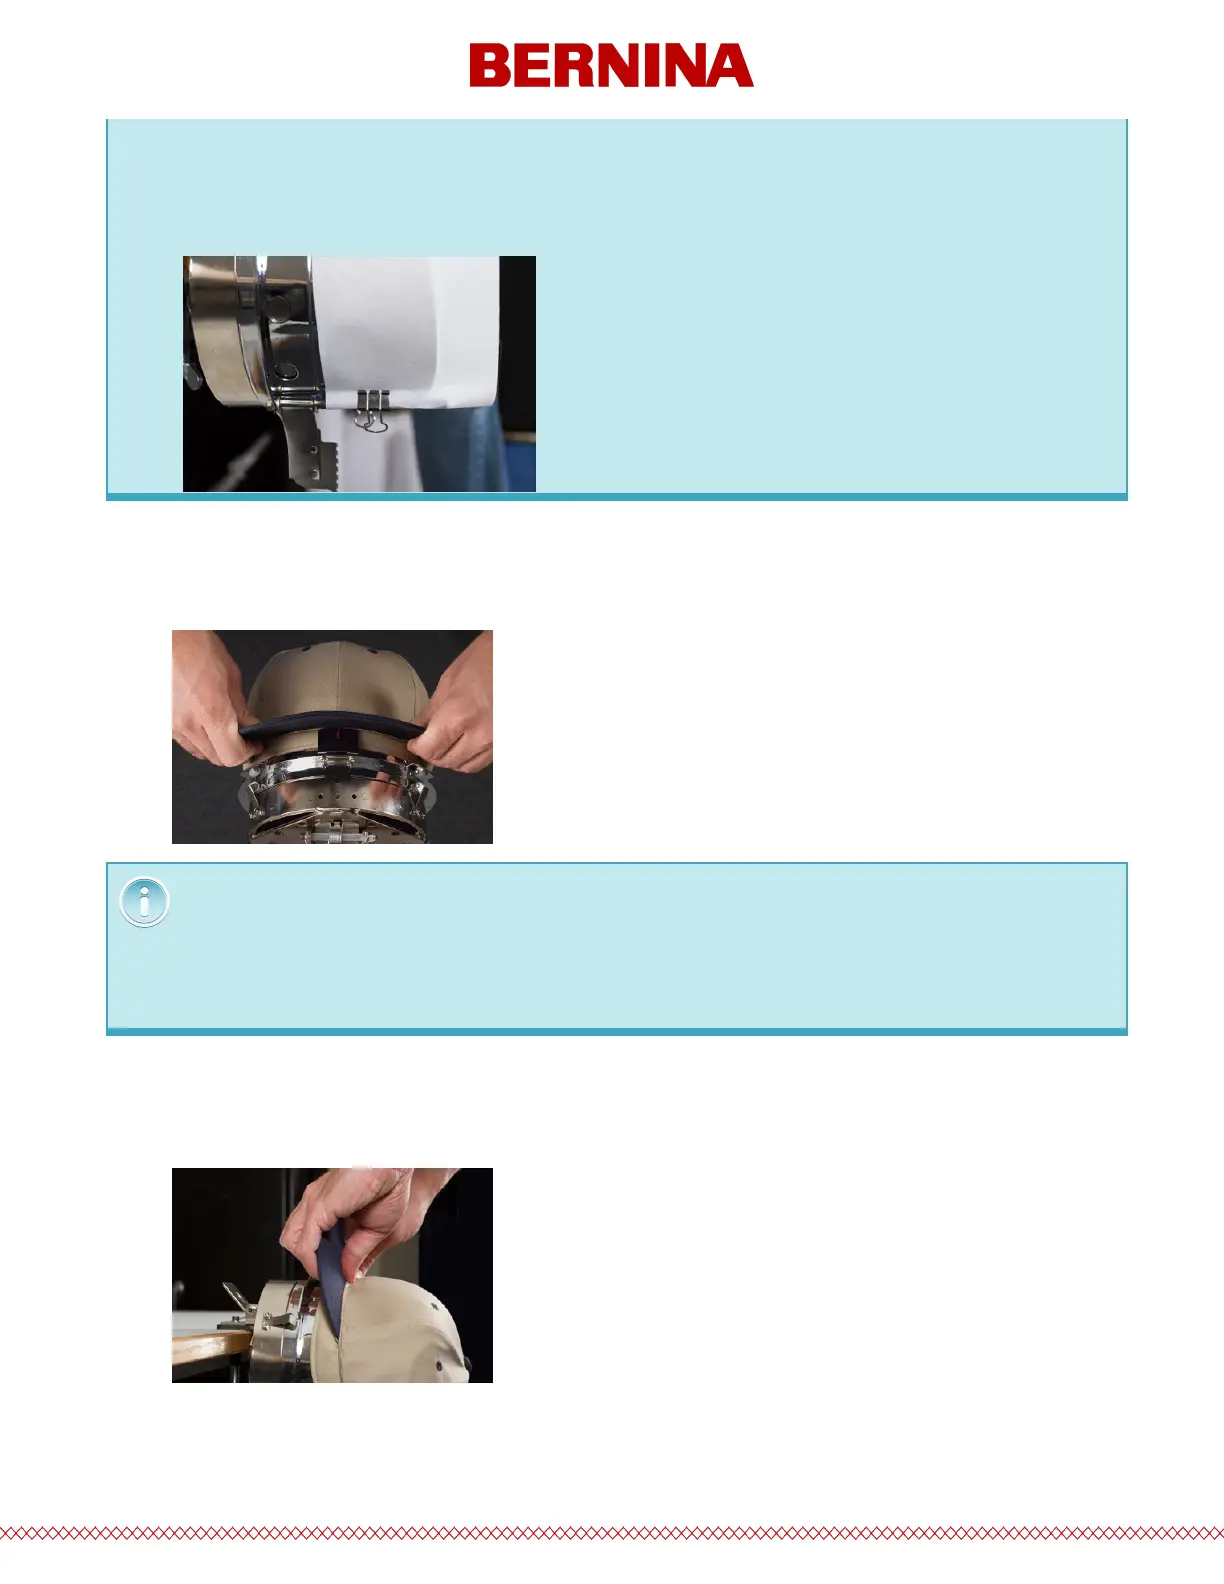
4. Slide the prepared cap onto the cap frame with the visor pointing up and the frame going inside the
cap. The bill should be pushed against the bill-stop on the frame. The bill should also be relatively
centered on the frame. The centering mark on the bill-stop can be used for reference.
5. The cap should ride over the two clip posts toward the bottom of each side of the frame.
6. Press down on the bill to ensure that it is falling in the bill trough of the cap frame. This will help keep
the cap from slipping around or o the frame when the cap is being sewn.
Some people find it easier to use the binder clips to hold the stabilizer while they are hooping the
cap. The downside to this technique is that you have to remove the clips from inside the cap
when you are done hooping. That isn’t always easy. Clipping the stabilizer before hooping the
cap is completely optional.
The sweatband may not touch the vertical ridge of the frame. That’s okay. Different caps have
varying sweatband widths and not all will appear the same when hooped.
 Loading...