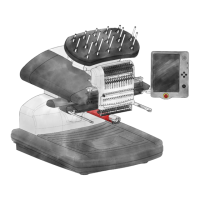
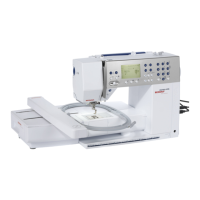
Machine Operations
To make positioning in the hoop a bit easier, some machine functions were copied to this screen to help with
visibility. They include the following.
· Change to Needle (Move Needle case)
o Tapping this brings up a window displaying the thread tree / needle assignments.
o Selecting the desired needle number and conrming will move the needle case to that needle.
· Laser On / Laser O
o Activates or deactivates the laser for positioning.
· Grabber In / Grabber Out
o Closes and opens the grabber.
o This can help get the grabber into a better position for seeing the fabric or the laser light.
Laser Alignment
Tapping the laser alignment button will enter the laser alignment screen.
Laser Alignment is a technique for rotating and positioning a design based on a couple of points and the
(usually invisible) line that connects them. This can be a helpful technique to use when trying to line up to
lines on a garment such as stripes, seams, or the tops of pockets.
Laser Alignment essentially aligns the horizontal axis of the design origin to the line created by specifying the
following two points on the garment.
To use laser alignment,
1. Using the arrow keys, move to the rst point on the hooped product to which you would like to align.
2. Conrm the position of the rst point by tapping the conrm rst point button. The second
conrm button becomes visible.
3. Using the arrow keys, move to the second point on the hooped product to which you would like to
align.