Foot control and power cord
Machine Setup
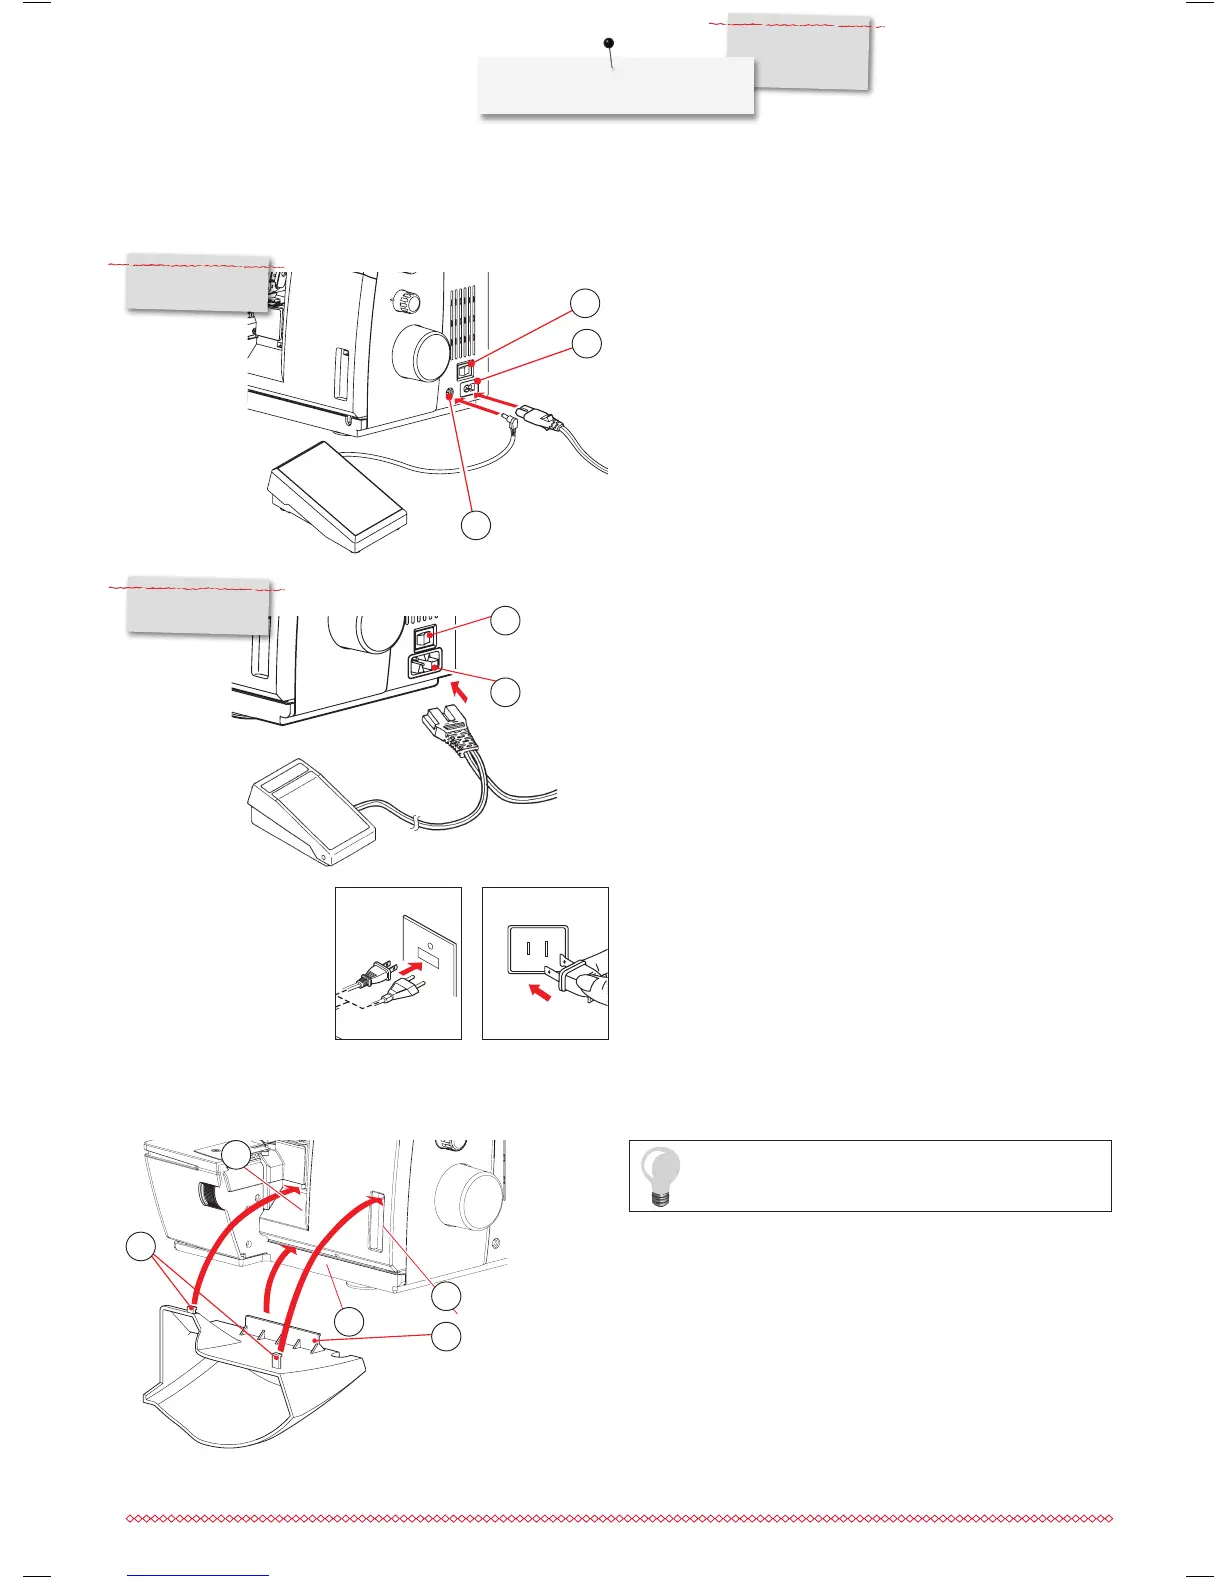
Connection for L 460
⦁
Insert the plug of the foot control into the respective sockets (1).
⦁
Insert the plug of the power cord into the respective sockets (2).
⦁
The power switch (3) turns the machine and the sewing light
on/off.
1 Foot Control Socket
2 Power Control Socket
3 Power switch
2
1
3
Connection for L 450
⦁
Insert the plugs of the foot control / power cord into the respec-
tive sockets (4).
⦁
Insert the power plug into the wall outlet.
⦁
The power switch (3) turns the machine and the sewing light
on/off.
3 Power switch
4 Power/Foot Control Socket
4
3
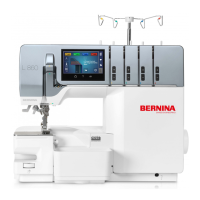
L 460
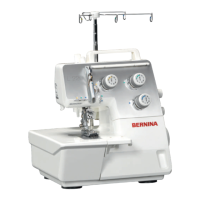
L 450
Cut-offs bin
Make sure that the looper cover is closed before
you attach the cut-offs bin.
Clip the cut-offs bin into the openings on the looper cover. It
catches the cutoff fabric as you sew. This keeps your working area
neat and tidy.
⦁
Position the connection bar (2) in the opening (C). Insert the
two pins (1) into the respective openings (A,B) and let it snap
into place.
⦁
When storing the machine, leave the cut-offs bin attached for
storing the foot control.
1 Upper pins
2 Lower pin
1
2
B
C
A
Polarized plug information (Canada/USA only)
Polarized plug information (Canada/USA only) This appliance has
a polarized plug (one blade wider than the other). This plug will fit
in a polarized outlet only one way to reduce the risk of electrical
shock. If the plug does not fit fully in the outlet, reverse the plug. If
it still does not fit, contact a qualified electrician to install the proper
outlet. Do not modify the plug in any way.