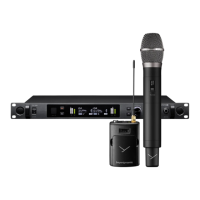
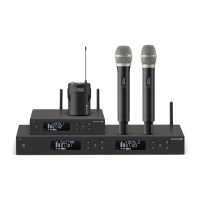
TG 1000 – Digital Diversity Receiver
23
2.8.7 How to Update the Firmware of the
Transmitter
• In order to update the firmware of the transmitter, please proceed
as described in the following.
• Press the function button . Select the “Tx Firmware Upgrader”
submenu by turning the rotary switch . Press the rotary switch
to access the submenu.
• Press the rotary switch to start the updating process.
Follow the displayed instructions and press the rotary switch
each time to confirm.
• Switch on the transmitter and hold the infrared interface of the
transmitter directly in front of the infrared interface of the receiver
(refer also to chapter 2.10 “Synchronisation”).
Important: Please note that the infrared interface of the
transmitter must be held in front of the interface of the receiver
during the whole updating process, otherwise the updating
process will be stopped. Therefore, we recommend a secure
position in front of the infrared interface of the receiver, because
the updating process will take approx. 3 minutes. Make sure that
the batteries inside the transmitter are not empty.
Furthermore, the transmitter and receiver should be shielded from
other light sources such as LED light walls.
Should the updating process stop (display of the “Upgrade Error”
message), it can be restarted without any problems.
When the update of the firmware is successful, the “Upgrade
successful” message will be displayed.
▲ Version Info
• Tx Firmware Upgrader
▼ Region Code: A
TG 1000 Bootloader
For Upgrade connect to ...
IP-Adresse: 0. 0. 0. 0.
MAC: 00:04:A3:3C:DB:A4 00.01.5
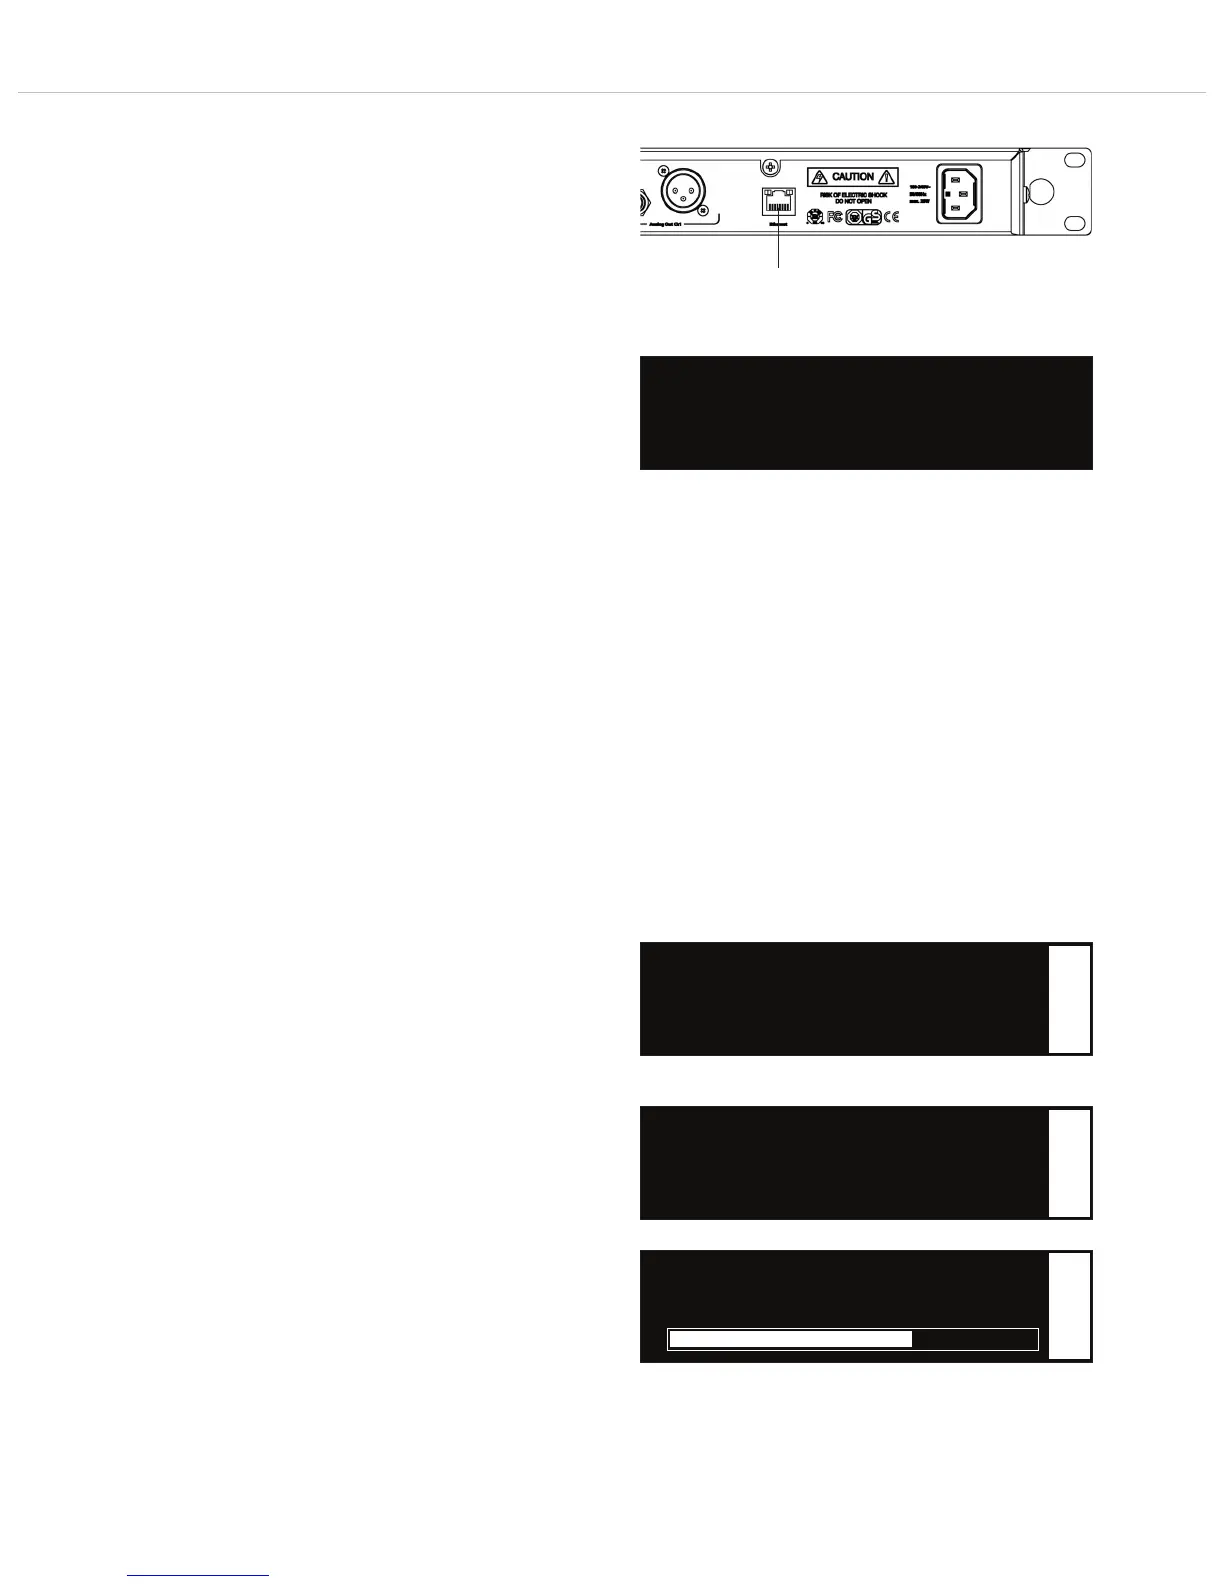
2.8.6 How to Update the Firmware of the Receiver
• You can update the firmware of the receiver with the so-called
“Bootloader” via the network.
• You will find the appropriate update of the firmware (for receiver
and transmitters) and the Chameleon software on the internet
at: www.beyerdynamic.com/tg1000/help
• Download this update file on your PC.
• Connect the receiver via the Ethernet interface to a PC by using
a CAT5 patch cable.
• In order to start the Bootloader mode, press the rotary switch
while turning the receiver on.
• When you press the function button , you can check or adapt
the network settings. Refer also to chapter 2.8.1 “How to
Connect a Receiver to a Network”.
• Enter the IP address, which is displayed on the receiver, into an
internet browser.
• In the internet browser a page will be opened where you can load
the new firmware as file into the receiver.
• Select the “Select file” button and select the file from the opened
window.
• Select the “Submit” button to confirm.
• The receiver displays the transmission status.
• When the message “Upgrade successful” is displayed on the PC,
the transmission to the receiver is finished.
• Turn the receiver off and on again to start the firmware upgrade.
The message “Rx Firmware Upgrading” is displayed .
• The upgrade is ready, when the default screen is displayed .
f
Select the “Tx Firmware Upgrader” submenu
Perform the Firmware Update of the receiver
Upgrade Transmitter Firmware
• Tx Firmware Upgrader
Push ok to start!
f
Start the “Tx Firmware Upgrader” submenu
• Upgrading Tx..
f
Progress of the upgrade of the transmitter firmware