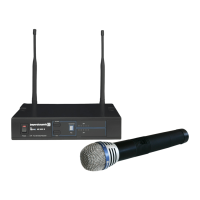
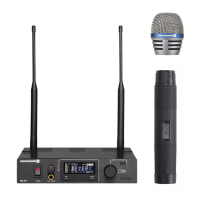
TG 1000 – Digital Beltpack Transmitter
35
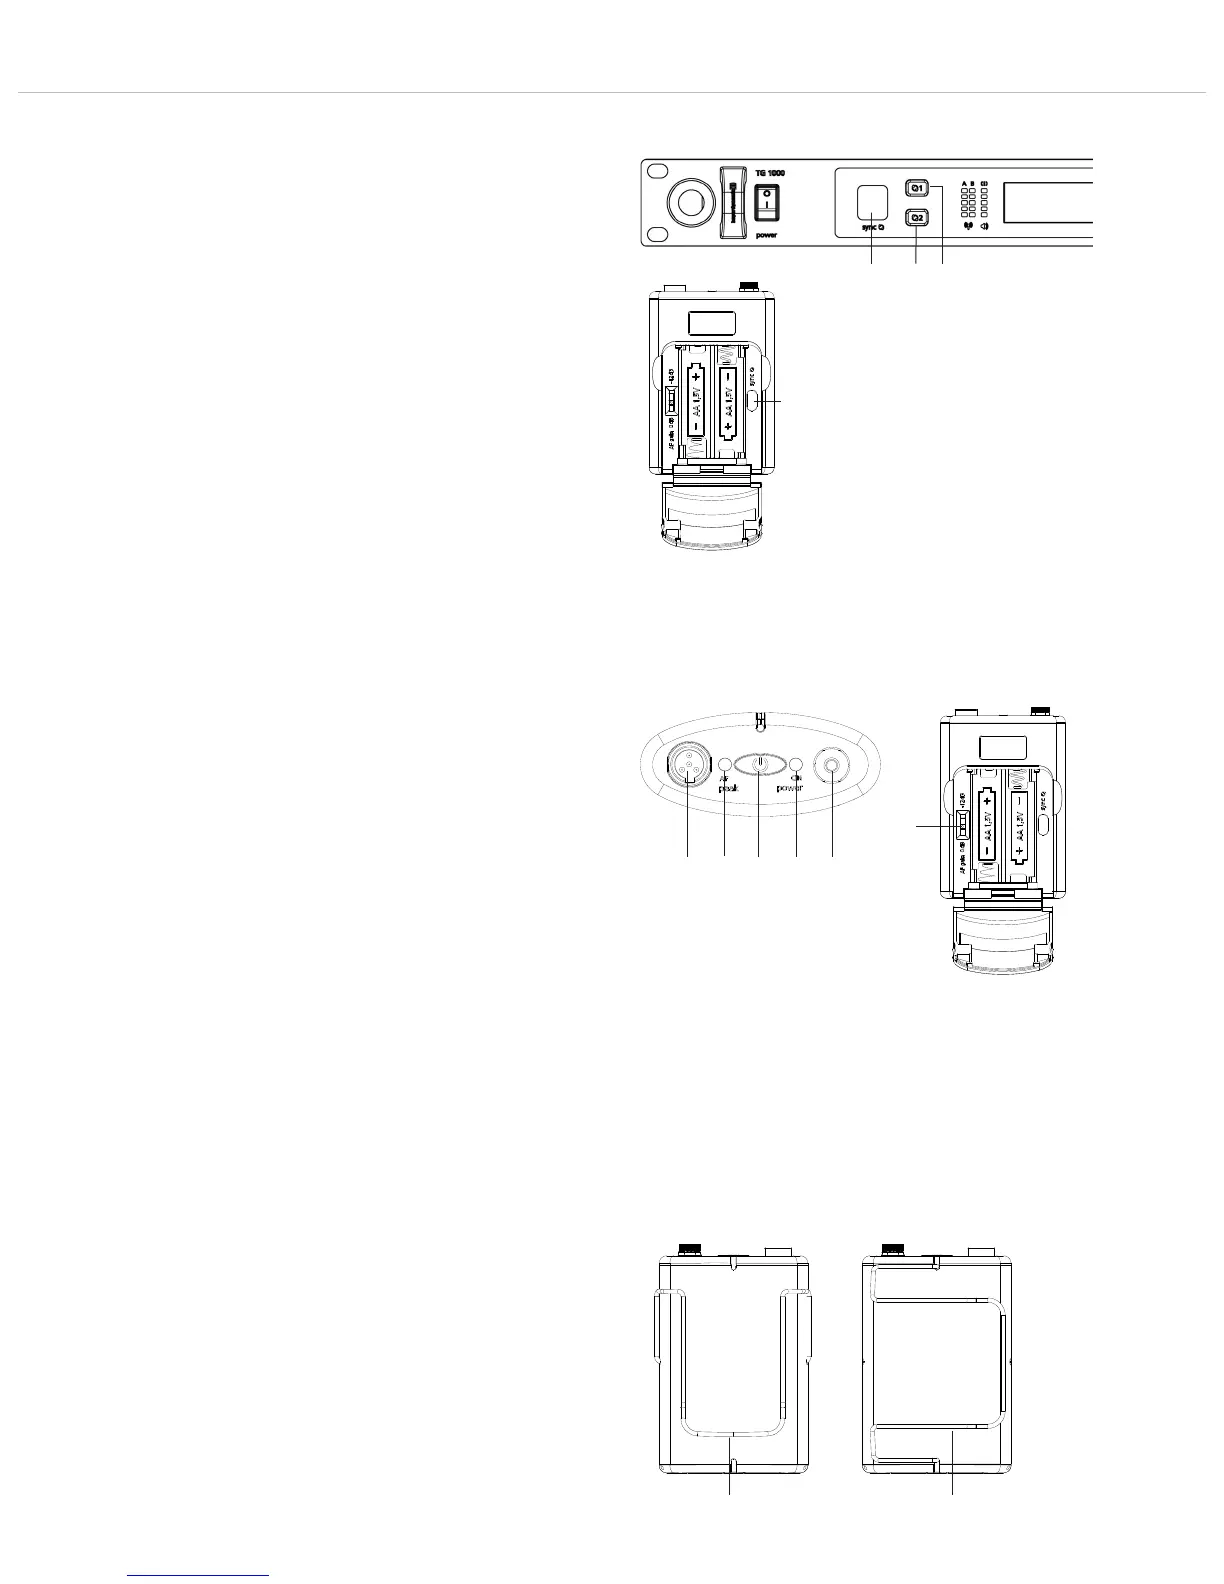
4.4 Synchronisation / How to Transmit the
Receiving Frequency to the Transmitter
• In order to transmit the frequency and other settings to the
transmitter, press the button for synchronisation on the receiver
for channel 1 or channel 2.
• In the battery compartment of the transmitter there is an infrared
interface .
• During the synchronisation hold the infrared interface in the
open battery compartment of the turned on transmitter directly
in front of the infrared interface on the receiver.
• When the message “SYNC successful” is displayed, the process
is finished.
4.6 How to Mount the Belt Clip
• The beltpack transmitter is supplied with two belt clip to attach
the transmitter to clothes, belts, a guitar strap etc.
• You can remove the belt clip by pulling it from the fixation of the
beltpack transmitter.
• The belt clips can be mounted vertically or horizontally.
Vertical: to attach the transmitter to clothes or a belt
Horizontal: to attach the transmitter to a guitar strap
4.5 How to Use the Gain Switch
• The beltpack transmitter has a switchable pre-attenuation of
-12 dB, so that sources with an extremely high signal level can be
connected by using the instrument cable (e.g. electric guitars or
basses with active pick-ups). In this case set the gain switch
to -12 dB.
In order to output these signals with an equivalent level at the
receiver, we recommend to set the channel parameter “Analog
Out” to +12 dB in the menu of the receiver. See also chapter 2.7
“Settings menu” the “Analog Out” paragraph.
• If you connect an electret microphone to the microphone input of
the transmitter, you must set the gain switch to 0 dB. If dis-
tortions occur at very loud signals, you need a microphone with
a low sensitivity, because the distortions already arise inside the
microphone.
• With quiet signals, the audio level can be increased by increasing
the “Digital Gain” on the receiver. See also chapter 2.7 “Settings
menu” the “Digital Gain” paragraph.
!
" "