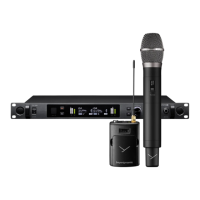
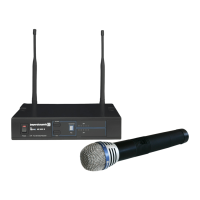
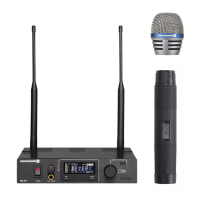
TG 1000 – Digital Diversity Receiver
16
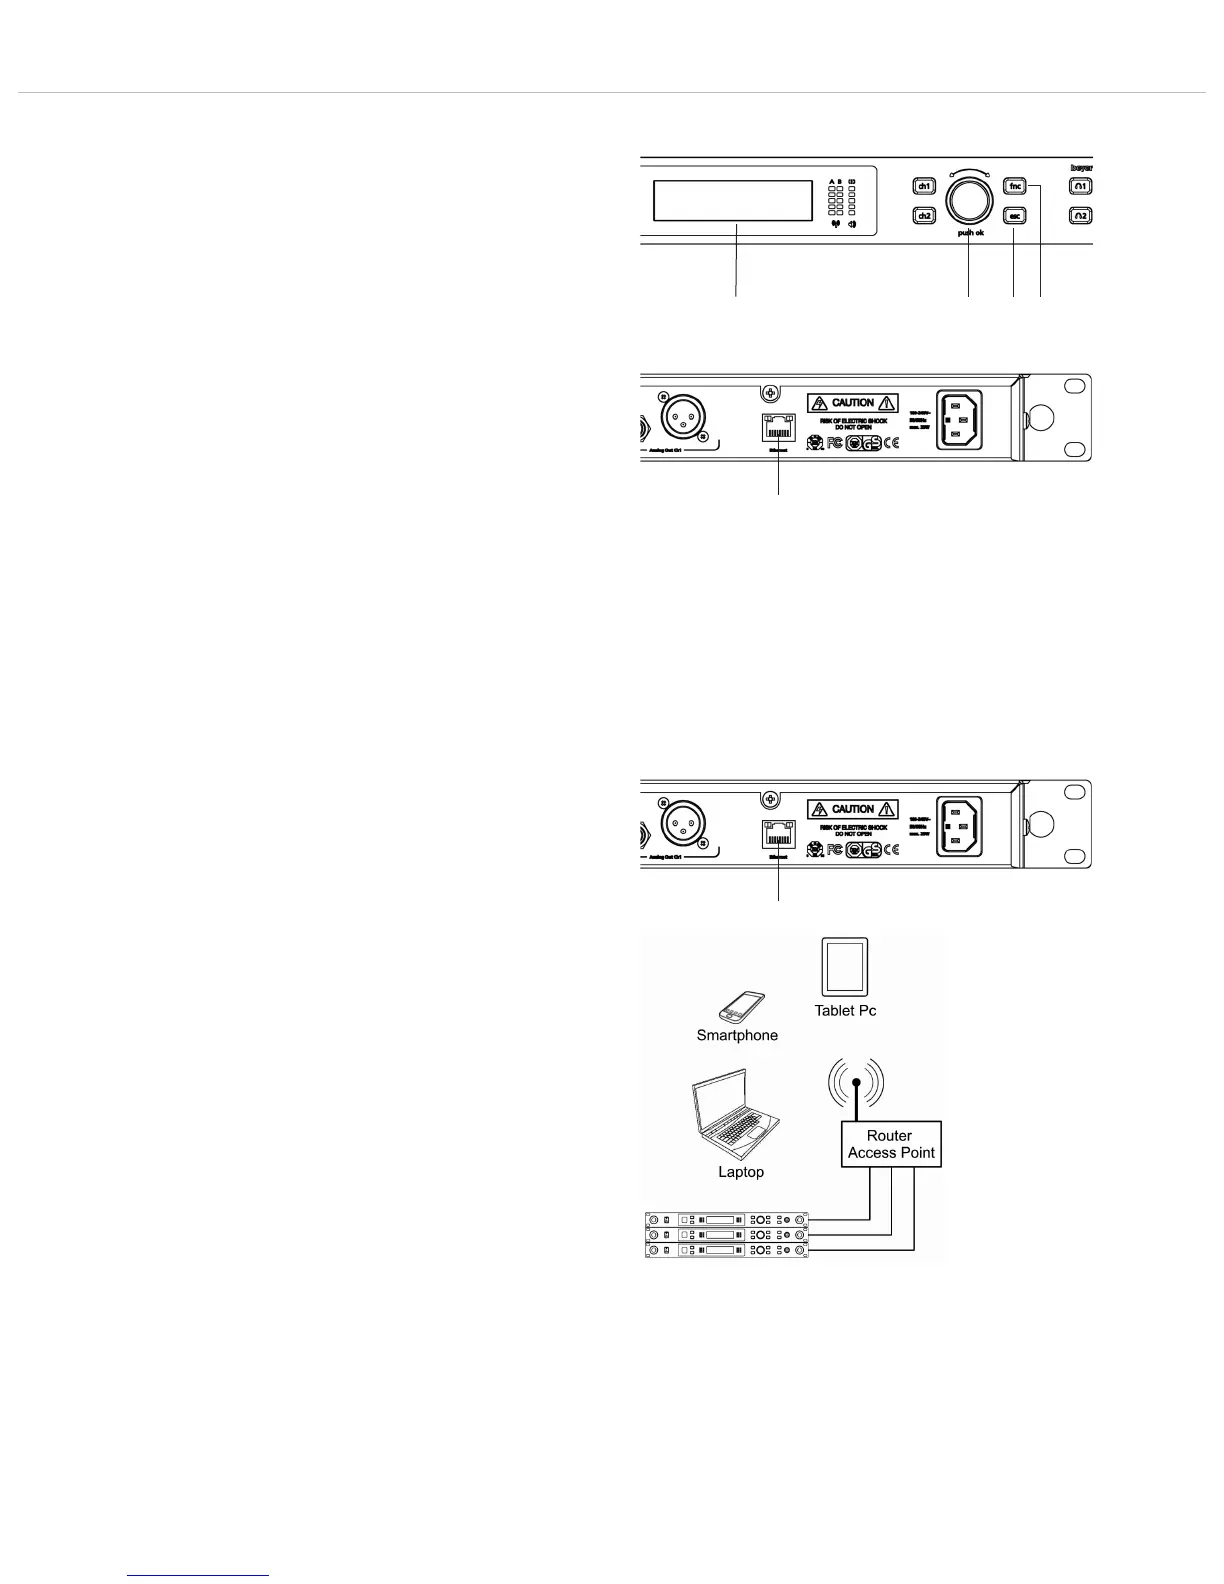
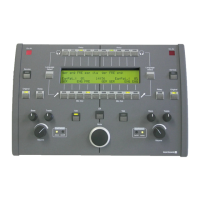
2.8 Function Settings
• On the receiver you can adjust settings when the receiver is
operating in a network or you can update the firmware of the
transmitters. Furthermore, you can display information about
support. For the functions described in the chapters 2.8.1 to 2.8.7
the receiver must be turned on and connected to a network via
the Ethernet interface .
• Press the function button (fnc) .
• When the function button is highlighted in red and the
display is changing, turn the rotary switch to scroll through
the menu and press the rotary switch to enter the sub-menu
for settings which you can confirm afterwards. When a setting is
confirmed by pressing the rotary switch , the message “OK” is
displayed.
• With the ESC button you can cancel the entry within the
menu. Then the settings will not be accepted and the original
settings will be reset.
• Caution: When you do not operate the rotary switch for a few
seconds the menu will automatically be left and the default sceen
will be displayed . Settings which are not confirmed by pressing
the rotary switch will not be stored.
• In the individuals menus “f” will be displayed on the right hand
side to indicate function.
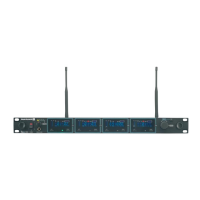
2.8.1 How to Connect a Receiver to a Network
• When you connect a receiver to a network, use a CAT5 patch
cable to connect the receiver via the Ethernet interface . Turn
on the receiver. For using wireless devices (e.g. tablet PC, iPhone,
iPad etc.) a Wi-Fi network is needed. You can connect the receiver
to a switch or router with DHCP server. Make sure that in the
network, there is only one DHCP server active.
If the router is operated as Access Point in a Wi-Fi network, you
can access the receiver with Wi-Fi devices.