1) Rotate the Detector Unit so that you can see the
rectangular opening in one side of the base.
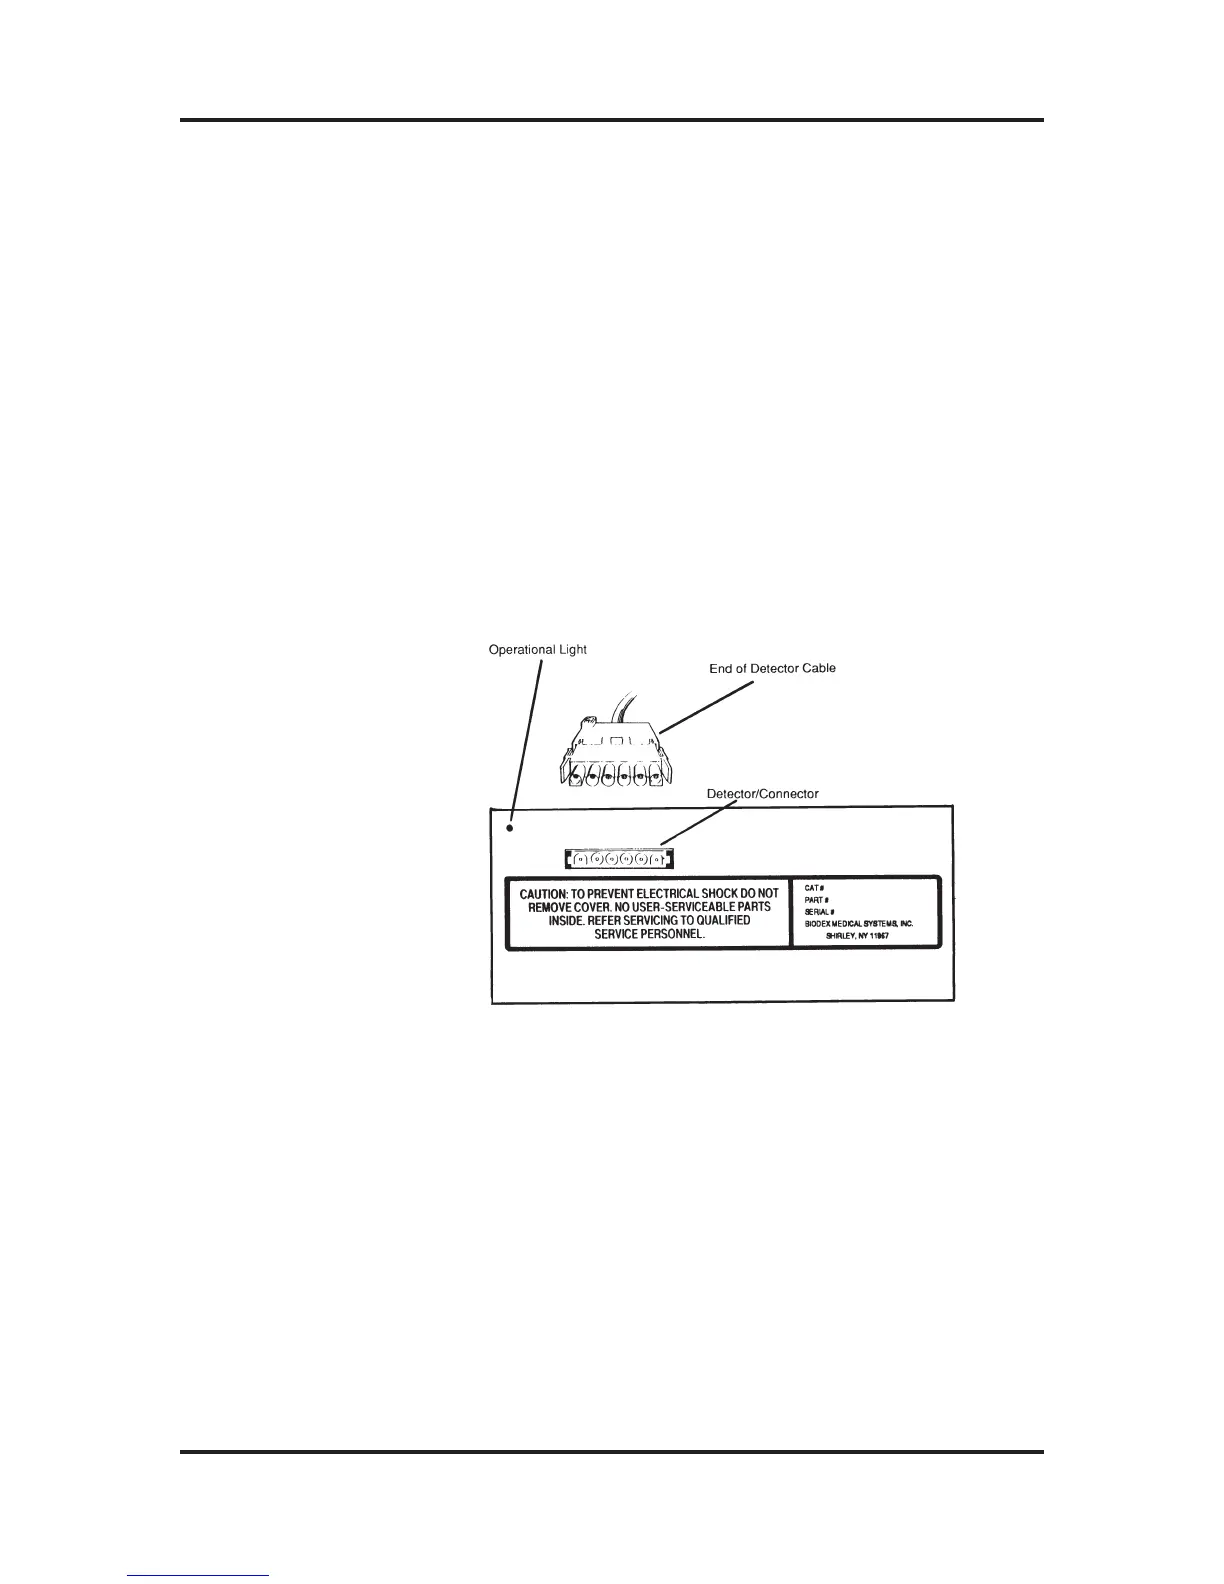
2) Take one end of the Detector Cable, orient its connector
so that it matches the openings on the connector of the
Detector Unit (refer to Figure 2-2), and then insert the
connector firmly until you feel it click. Do not force the
connector, it is self-locking! Gently pull on the connector
to make sure it is firmly secured.
To remove the connector, squeeze both sides and pull.
3) Rotate the Detector Unit to its normal position so that
the connector is facing away from the work area.
Figure 2-2: The Rear Panel of the Detector Unit, end of the
Detector Cable, and the Operational Light.
For the next procedure ensure your dose calibrator
is turned OFF.
1) Rotate the Display Unit so that you are looking at the
rear panel. Locate the connector labeled CHAMBER.
ATOMLAB Dose Calibrator Operation Manual Chapter 2
Biodex Medical Systems 2-4 Release 2.0
Display Unit
Connection