User’s Guide
You can select several joints at the same time for this operation. Hold the Ctrl
key and select the joints that you want to turn ON or OFF as once.
Shown below is a summary of the process for creating a motion.
Joint OFF Æ Create the desired pose Æ Joint On Æ Add pose
Pose Speed Even if the joint values have been set properly, you still might not be able to get
the desired motion unless you set the speed between poses correctly. On the
bottom of the screen, there is a place where you can set the pose speed.
Spot Time Sometimes you will want to stop while moving from one pose to another. If you
give the robot a stop time, it will stop moving for 7.8 msec per this value and then
play the next pose.
Add Pose If you press the “Add Pose” button in the task information area, the joint
values in the pose task window will be added to the saved pose window. Let’s
create some more poses using the ON, OFF commands.
Play Now let’s connect the inputted poses to create a motion. If you press the play
button the motion will be played using the poses saved in the saved pose window.
This function is useful when you want to test the motion that is currently being
created. If you press the play button and the motion is executed, the button will
changed to stop. If you press the stop button, the motion that is currently running
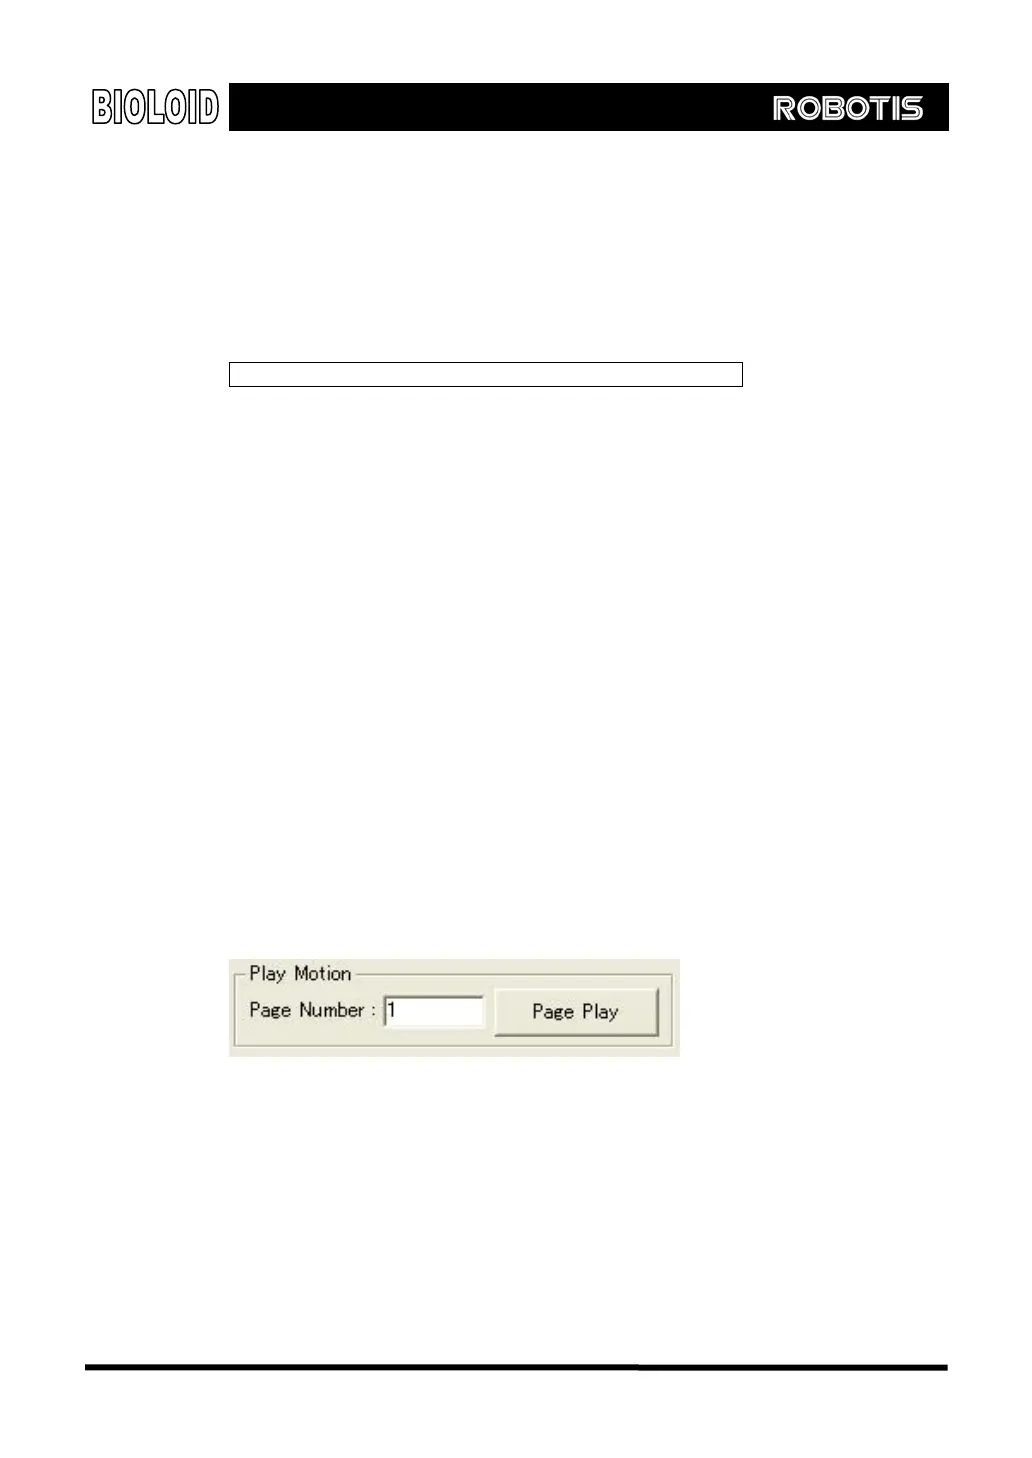
will stop. Also, if you input the page number, motion that has been saved in that
page will be activated.
Editing the Pose
If you want to execute the pose that has been saved in the save pose window,
double-click the applicable pose. Take note however that to prevent robot from
breaking down due to execution of invalid pose, the program will request for the
confirmation. By checking the color of robot as shown below, you can tell which
poses are valid. For invalid poses, it is indicated by the color black. For more
details, refer to a next page when it covers the valid pose number.
79