Rev AO-6
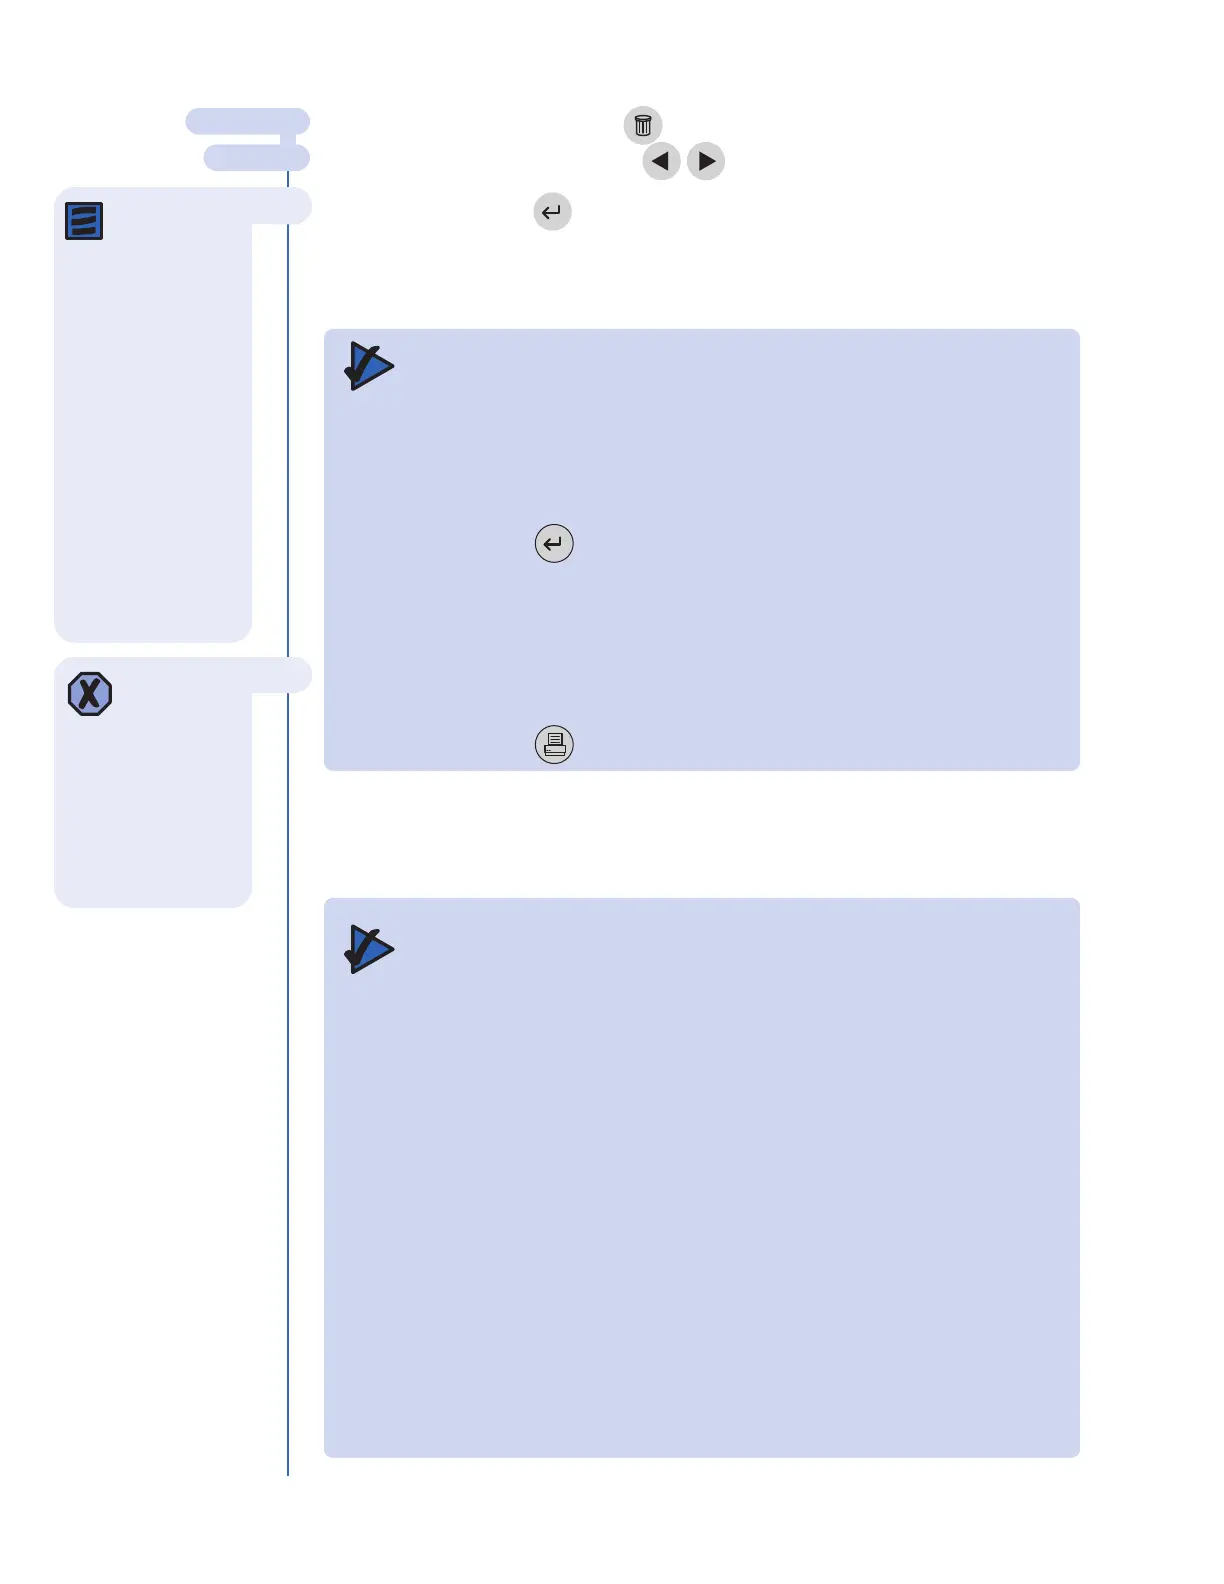
9. To correct, press the key to clear the entire number, or select the
incorrect digit by using keys. Then type in the correct number.
10. Press the key.
11. Perform the test according to the instructions provided in the package of test
devices you are using.
IM
PORTANT INSTRUCTIONS FOR ALL TESTS
:
a
.
G
ently
i
nsert the test device into the Triage MeterPro until you feel
the
device catch on the pin. You will hear an audible ‘click’ that tells you
the test device has been inserted properly.
b. Press the key to start the test.
c. The Triage
®
MeterPro pulls in the test device and scans it.
d. When the test is complete, the meter will beep and display the results
on the meter’s screen.
e. Press the key to make a printed copy of the results.
12. Repeat steps for each quality control sample.
IMPORTANT INSTRUCTIONS FOR QC SAMPLE TESTS
a. If the test device’
s inter
nal quality control (QC) results are unacceptable,
the r
esults for the af
fected analyte(s) will not appear on the screen.
b. If any of the QC Sample r
esults ar
e out of range, the results for that
particular analyte will be in r
everse video (light text on a dark backgr
ound)
and flagged with a # symbol.
c.
A panel with multiple analytes will still be able to repor
t patient r
esults on
those analytes which passed QC. An analyte that failed QC will not be
r
epor
ted on patient tests.
d.
If an individual analyte is outside the specified range, the Triage MeterPro
allows the user to r
er
un only the failed analyte on the next QC Sample
T
est. When all analytes have passed, the QC Sample timer is set to the
date of the first passing analyte.
MAIN MENU
RUN TEST
Note: If you
enter a QC lot
number for which
there is no data in the
T
riage MeterPro’s
memory, you will see a
message on the
meter’s screen:
NO QC SAMPLE
DATA IN MEMORY
.
To correct this:
Install the QC Sample
Code Chip module
(see picture on page
N-29).
Press the
ENTER key
to continue.
After the test
device has been
inserted, do not push
the device in further or
attempt to pull it out.
The device may be
ejected by returning to
the Main Menu and
pressing the
EXIT key.