AutoPrime| 71
LHC: Touch screen:
1. Select
Tools>Instrument
Utilities> AutoPrime
tab.
2. Specify the idle-time
interval that will trigger
an AutoPrime; up to 24
hours.
3. Enable and define the
parameters. Remember to
set a Submerge Duration
to employ this option.
4. Click Send to transfer the
settings to the instrument.
1. Select Instrument at the Home
screen and select AutoPrime.
2. Specify the idle-time interval
that will trigger an AutoPrime;
up to 24 hours in minutes.
3. Set the Submerge Duration, if
desired.
4. Define the AutoPrime
parameters: rate, volume, and
buffer valve, if applicable.
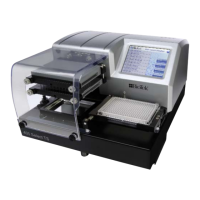
BioStack
Important: The BioStack must be connected to the 405 TS using the dedicated serial cable
shipped with the BioStack and turned on.
l Get Basecode: this is good communication test. Check the cabling, and make
sure the BioStack is turned on if the basecode version is not revealed.
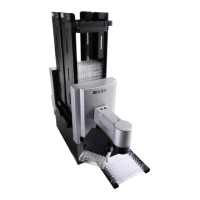
l BioStack Alignment: after setting up the 405 TS and BioStack to interface with
each other using the alignment hardware provided and following instructions in
the BioStack Operator's Manual, you are ready to use this alignment utility to tell
the BioStack precisely where to place and retrieve microplates.
BioStack Alignment Utility
Follow the detailed procedure in the BioStack Operator's Manual to use this
alignment utility to precisely align the BioStack's gripper with the microplate carrier:
First install the alignment hardware, correctly position the instruments in their
respective aligning plates, and connect the instruments with the dedicated serial cable
before attempting to align the gripper with the washer.
BioTek Instruments, Inc.