40
4. Remove spool plug (4) and carefully remove spool (5).
5. Remove the check valve spring retainer (2), spring (10)
and check valve poppet (8). Check spring free length.
Replace spring if less than 1-1/2 in. (38.1 mm) long.
CLEAN AND INSPECT
1. Discard all O-rings and back-up rings. Clean all parts
in solvent and blow dry. Inspect polished surfaces of
spool for damage that may cause binding or leakage.
Inspect spool bore in valve housing for damage or scor-
ing. Inspect check valve seat in valve housing and
check valve poppet. If the spools, bores or valves are
damaged, the entire valve must be replaced as these
parts are not serviced separately.
2. Inspect the .020 inch orifi ce in the pilot orifi ce (9) to be
certain it is open.
ASSEMBLY
1. Install new O-rings on the plug and spring retainers.
2. Install new O-rings and back-up rings on the spool. It
is important that the back-up ring is on the correct side
of its O-ring. Take care not to cut the O-ring during as-
sembly. Let the spool set for ten minutes before install-
ing them in their respective bores. This will allow the O-
ring to return to their original size after being stretched.
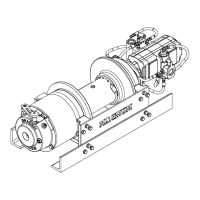
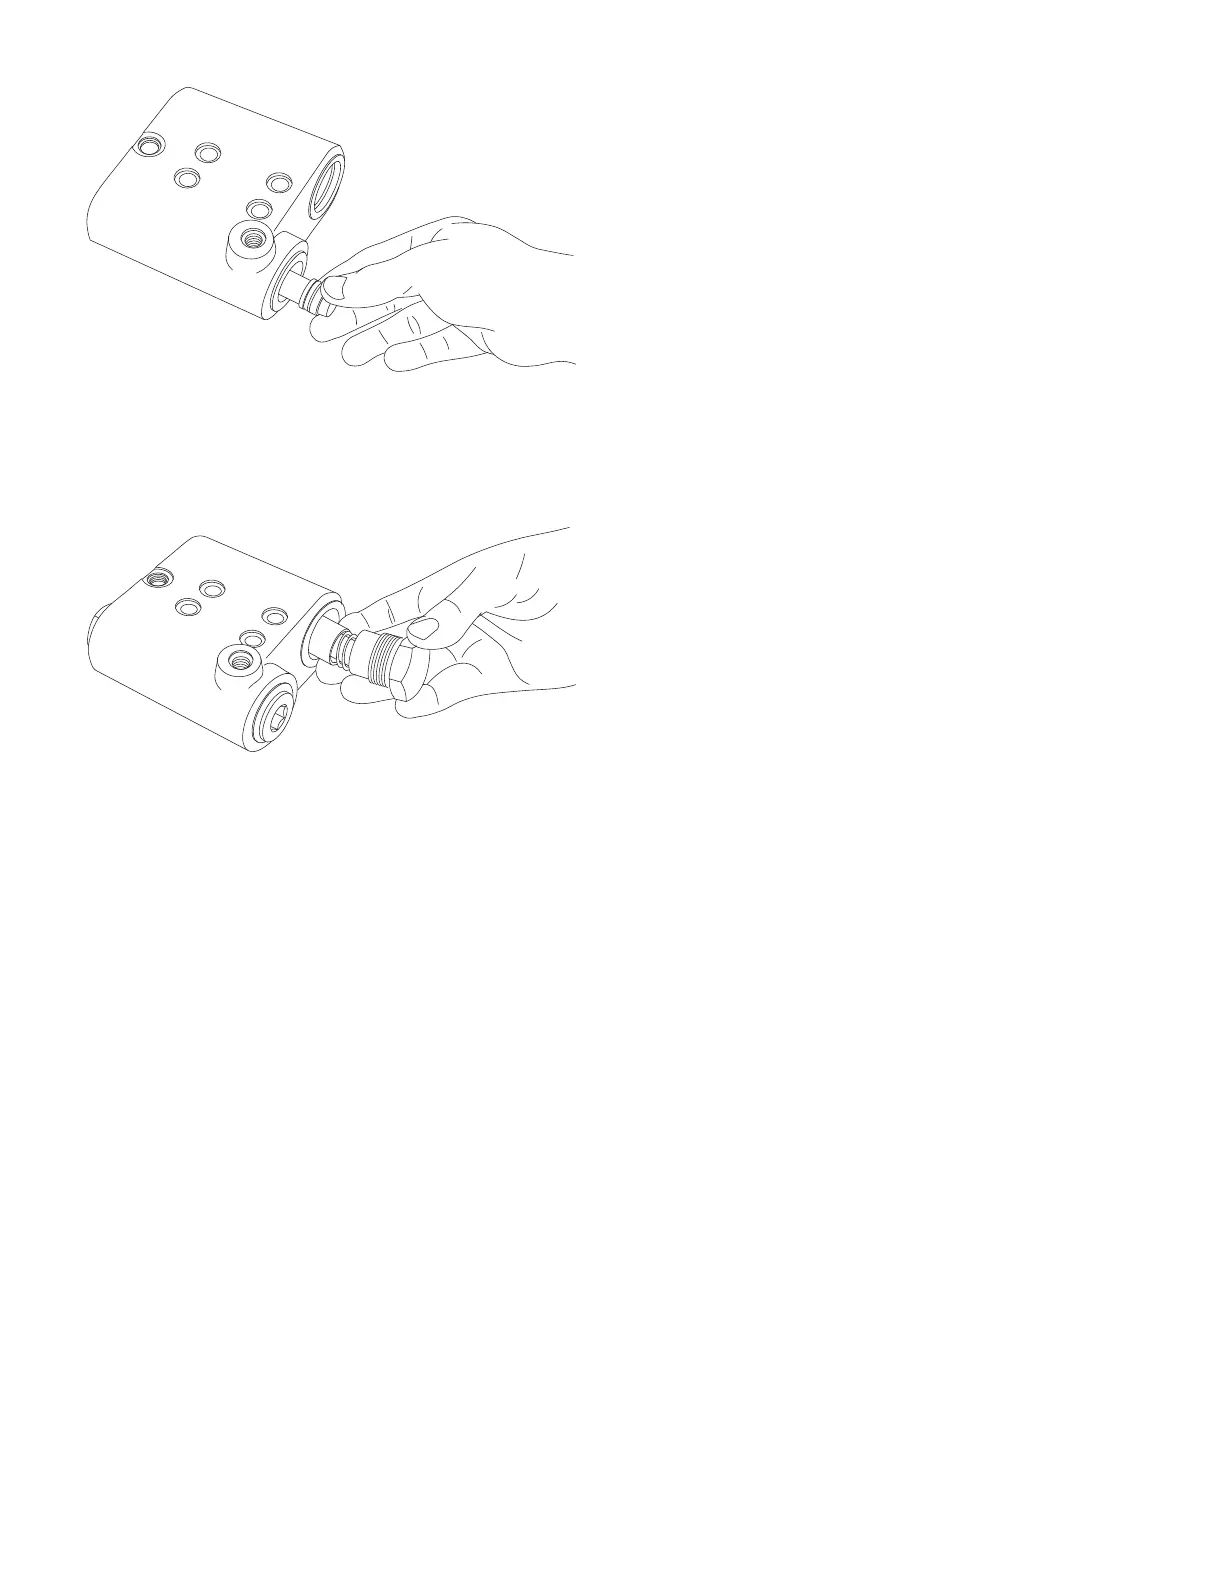
3. Lubricate the spool bore and spool O-rings with hydrau-
lic oil. Carefully install the spool into the valve housing.
Always install the spool from the plug end as shown to
minimize the possibility of damaging the O-ring. Install
the plug, spool spring and spring retainer.
4. Install the check valve poppet, spring and check valve
spring retainer.
5. Install the solid plug into the “drain” port.
6. Install the pilot orifi ce into the valve housing.
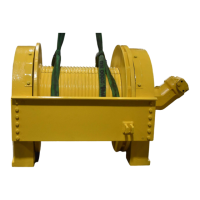
7. The brake valve is complete and ready to be installed
on winch motor.