CAP. 13 - MAINTENANCE 56 / 77 ENGLISH
M
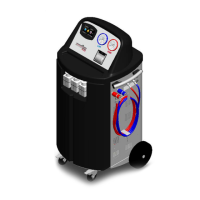
ULTIGAS 8500 PLUS
13.6 STORAGE VESSEL FILLING
STRICTLY COMPLY WITH INSTRUCTIONS BELOW TO AVOID REFRIGERANT
DISCHARGE INTO THE ATMOSPHERE
ALWAYS FOLLOW THE INSTRUCTIONS ON THE REFRIGERANT
MANUFACTURER'S SAFETY SHEET IN FULL
Connect the HP quick coupler (red), in case of R134a, LP quick coupler (blue), in case of R1234yf, of
the unit to an external tank by using the adapter supplied with it.
Open the coupler by turning the knob clockwise.
Open the valve on the external tank.
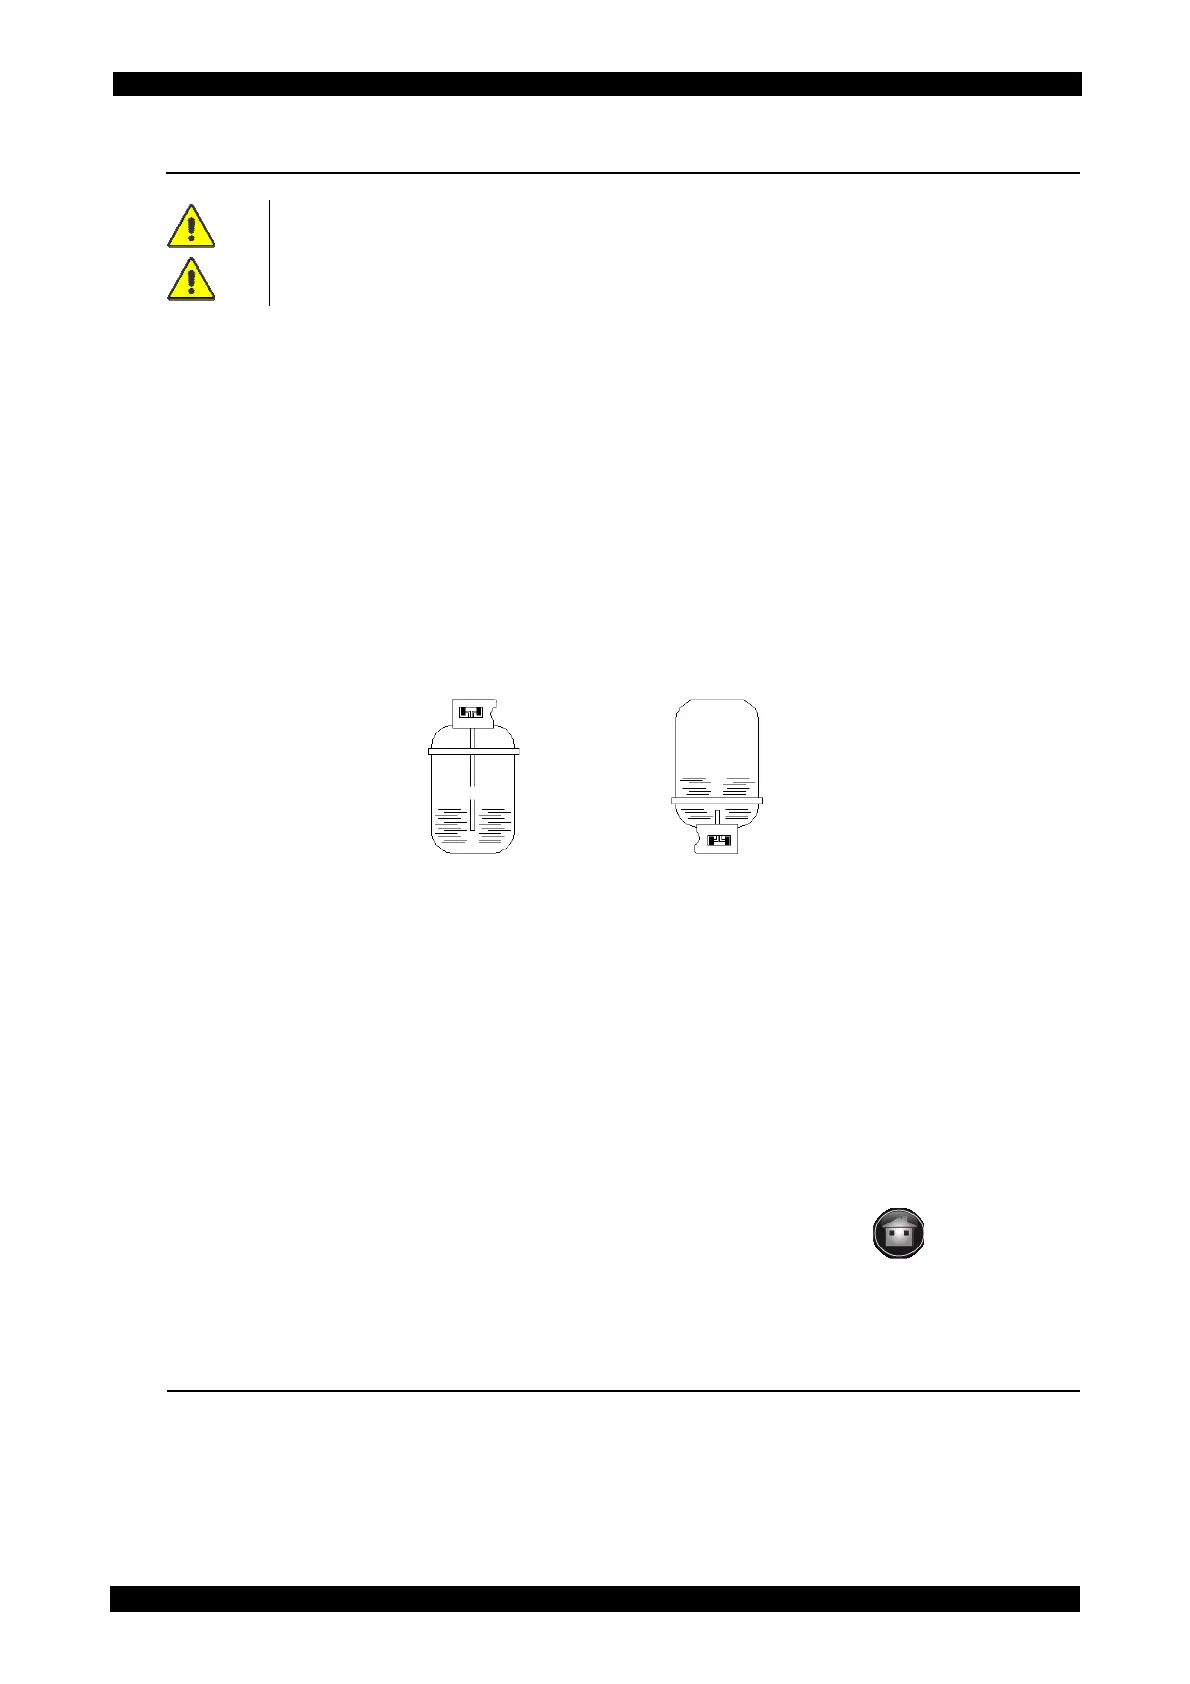
There are two types of source tanks: with plunger and without plunger.
Tanks with plunger shall remain upright to be able to transfer liquid refrigerant; for this type of
bottles connect to the L (liquid) coupler.
Tanks without plunger have only one valve, so they must be turned upside down to transfer the
liquid refrigerant.
The HP gauge shows the pressure level into the external tank.
From the main menu select MAINTENANCE and press “VESSEL FILLING”.
In the following screen page set the quantity of refrigerant you wish to charge.
The field RESIDUAL shows the quantity of refrigerant being currently present in the vessel.
Position the cursor into the field TO CHARGE that will suggest, by default, the maximum quantity of
refrigerant to charge.
Press START to begin the refrigerant filling phase.
Please note that when the system warns that the maximum selected weight has been reached, after
the closing of the external bottle valve, the unit still absorbs a small amount of refrigerant.
In case of problems during the internal vessel filling phase, a specific message will appear on the
last line of the display.
It is possible to interrupt the phase in progress at any time, by pushing the icon
.
After some minutes the unit will automatically end the function.
At the end the weight of the charged refrigerant will be displayed.
13.7 NON-CONDENSABLE GAS DISCHARGE
By selecting this function, you can check the non condensable gases condition (high level red area,
low level green area ) and if necessary you can start manually the discharge.