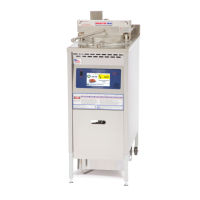
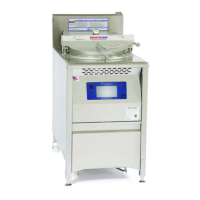
3-11
CALIBRATION
Calibration will be necessary when temper-
ature sensor probe or controller is replaced.
Calibrate using an accurate non-mercury
test thermometer.
1. Set the Smart Touch controller to 360°
F (182.2° C) and thoroughly heat cook-
ing oil. When HEAT ON light goes out,
stir oil. If HEAT ON light comes back
on while stirring, allow unit to recover
until light goes out. Continue this pro-
cess until the HEAT ON light does not
come on while stirring the oil.
2. On the top row of tabs, press the
Setup Tab and the Enter PIN display
will appear.
3. Press the box with the four stars in the
middle and when the keypad appears
enter service PIN code 0540 and press
Enter.
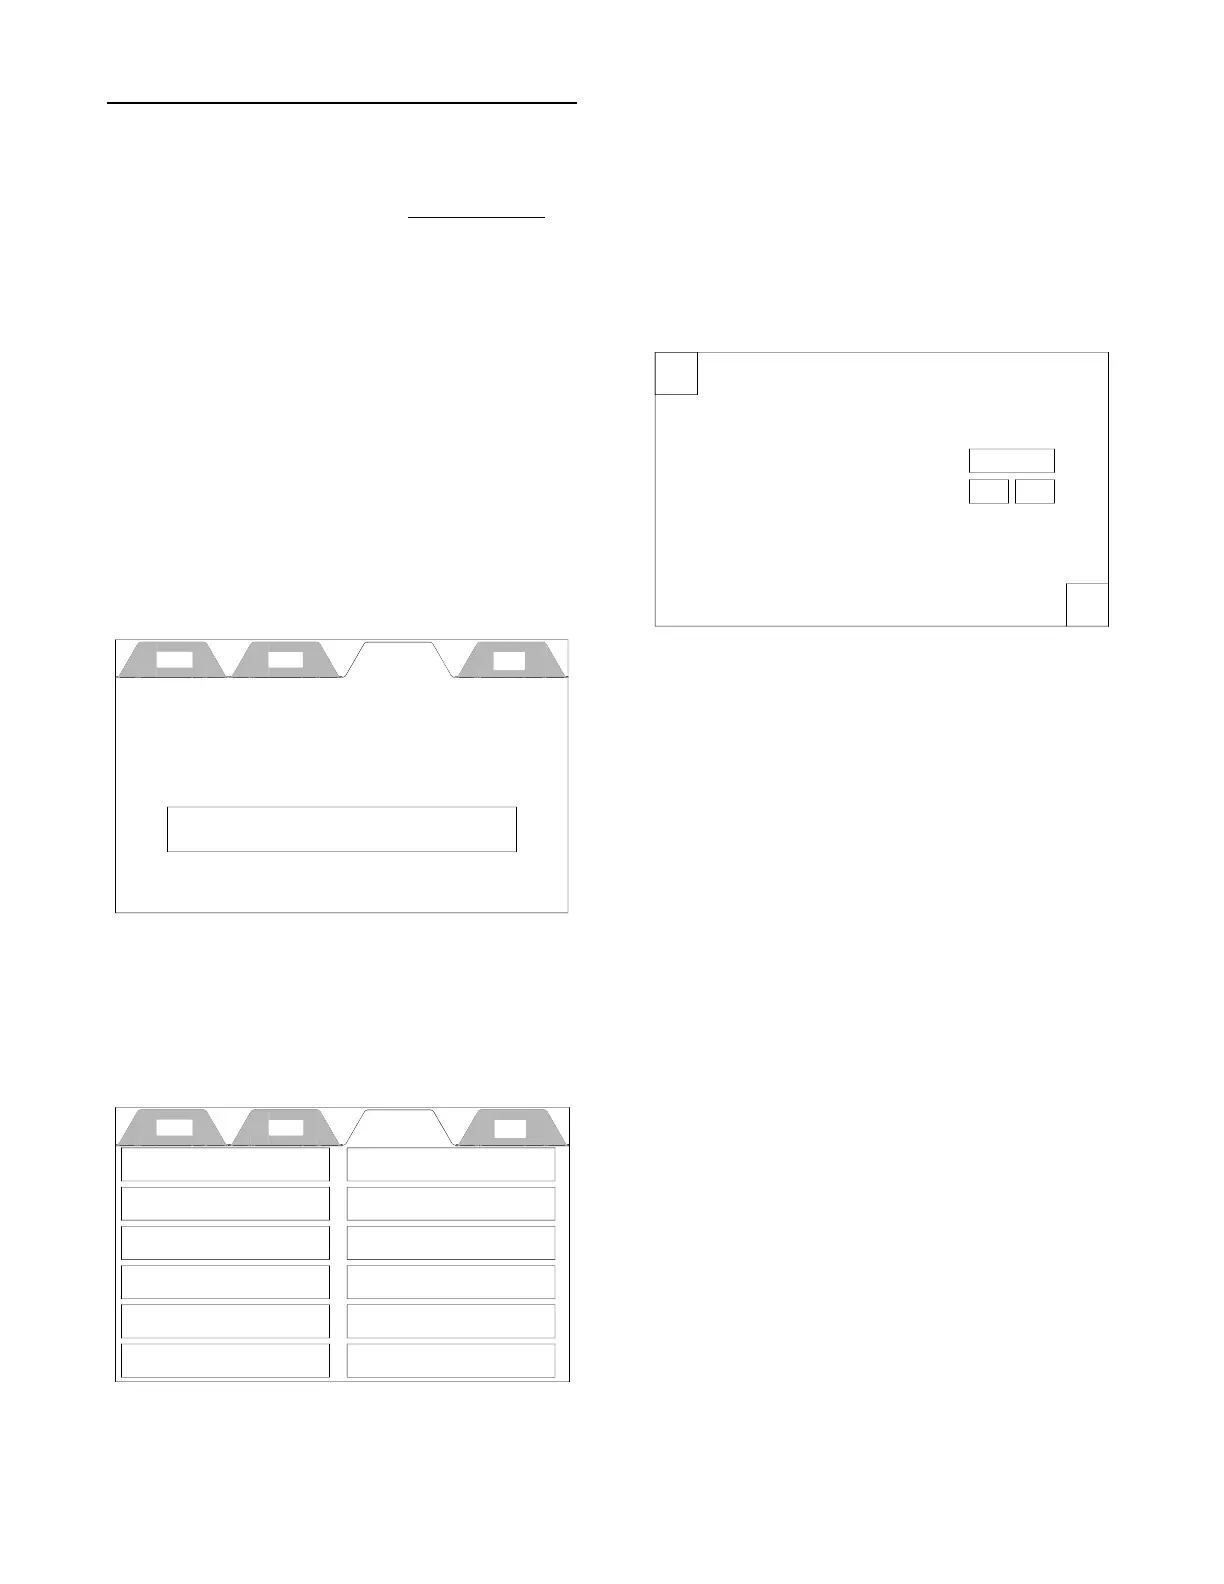
4. Press the Temperature button and the
Temperature Settings display will
appear.
5. Check cooking oil temperature one
inch below oil surface in the center of
the cooking well. Compare this tem-
perature to the Actual Temp w/Calibra-
tion in the Temperature Setting display.
6. Use the + or - buttons to raise or lower
the Actual Temp w/Calibration to
match temperature taken with the test
thermometer.
Cook Filter Setup Help
Enter PIN
****
X
Temperature Settings
OK
Temperature Units:
Degrees F
Temperature Calibration: 0 F
+
-
Actual Temp w/Calibration: 000 F
Cook Filter Setup Help
Time & Date Adjustment
Temperature
Energy Save Setting
Pin Maintenance
Presets
Shortening Management
Language Selection
Alert Settings
Exit Setup
Counter / Totalizers
Diagnostics
Enter Service Contact Info
broaster.com Manual #17270 10/13 Rev 12/14
 Loading...