2 - 10
ASSEMBLY AND CONNECTIONS
BHL-FB-MFC-5100C-FM5.5
Installing the Ink Cartridges
1
Check that you turned on the power (by
plugging in the power cord). The LCD
shows:
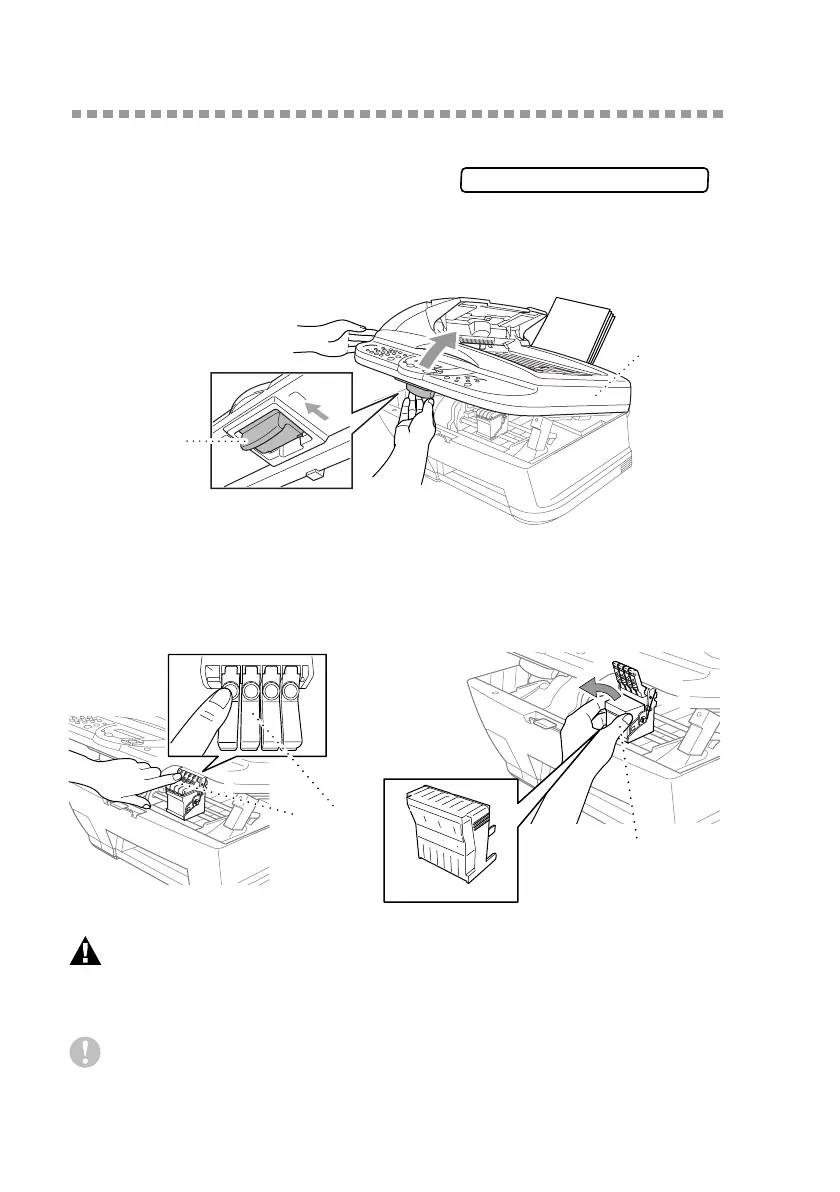
2
Open the Scanner cover of the MFC by pulling the scanner cover release lever
toward you and lifting the scanner cover.
3
After a few seconds, the print head will move left to its replacement position.
4
Remove the protective blue tape over the colored ink cartridge covers.
5
Push the four colored ink cartridge covers one at a time so they pop up.
Then remove the white shipping cover by pulling it toward you and lifting it up
and out.
WARNING
If ink gets in your eyes irrigate them with water immediately, and if irritation
occurs consult a doctor.
Caution
■ The bottom of the white shipping cover is wet with ink that will cause stains, so
wipe it clean before you place it down.
CHECK CARTRIDGE
Scanner Cover
Scanner Cover
Release Lever
PUSH
PUSH
PUSHPUSH
Colored Ink
Cartridge
Covers
White Shipping Cover
White Shipping Cover
 Loading...