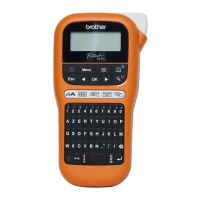
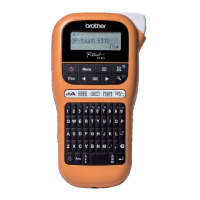
GETTING STARTED
17
Inserting a Tape Cassette
Use only the tape cassettes of 3.5 mm, 6 mm, 9 mm, 12 mm, 18 mm or 24 mm width, and
Tube cassettes of 5.8 mm, 8.8 mm, 11.7 mm, 17.7 mm or 23.6 mm width.
Check that the end of the tape is not bent and that it passes
through the tape guide as shown in the illustration.
1. End of tape
2. Tape guide
After making sure that the power is off, place the printer on a
flat surface as shown in the illustration, and then open the
Rear Cover. If there is already a tape cassette in the printer,
remove it by pulling it straight up.
Insert the tape cassette into the tape compartment,
with the end of the tape facing the Tape Exit Slot, and
press firmly until you hear a click.
1. Tape Exit Slot
Inserting a Tape Cassette
If the new tape cassette has a cardboard stopper, remove the stopper before
inserting the cassette.
1
• When inserting the tape cassette, make sure that the tape and ink ribbon do not catch on
the Print Head.
• Make sure that there is no slack in the tape, and then
carefully insert the tape cassette. If there is slack in the
tape, the tape will catch on the protrusion (2) when the
cassette is inserted and become bent or wrinkled, causing
the tape to jam.
To fix the slack in the tape, refer to the illustration in step 1
and pull the tape outside of the tape guide.
• When removing the tape cassette, make sure that the tape does not catch on the
protrusion (2).