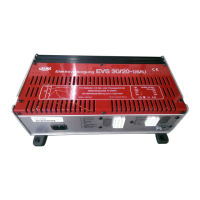
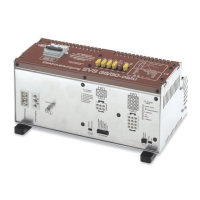
32
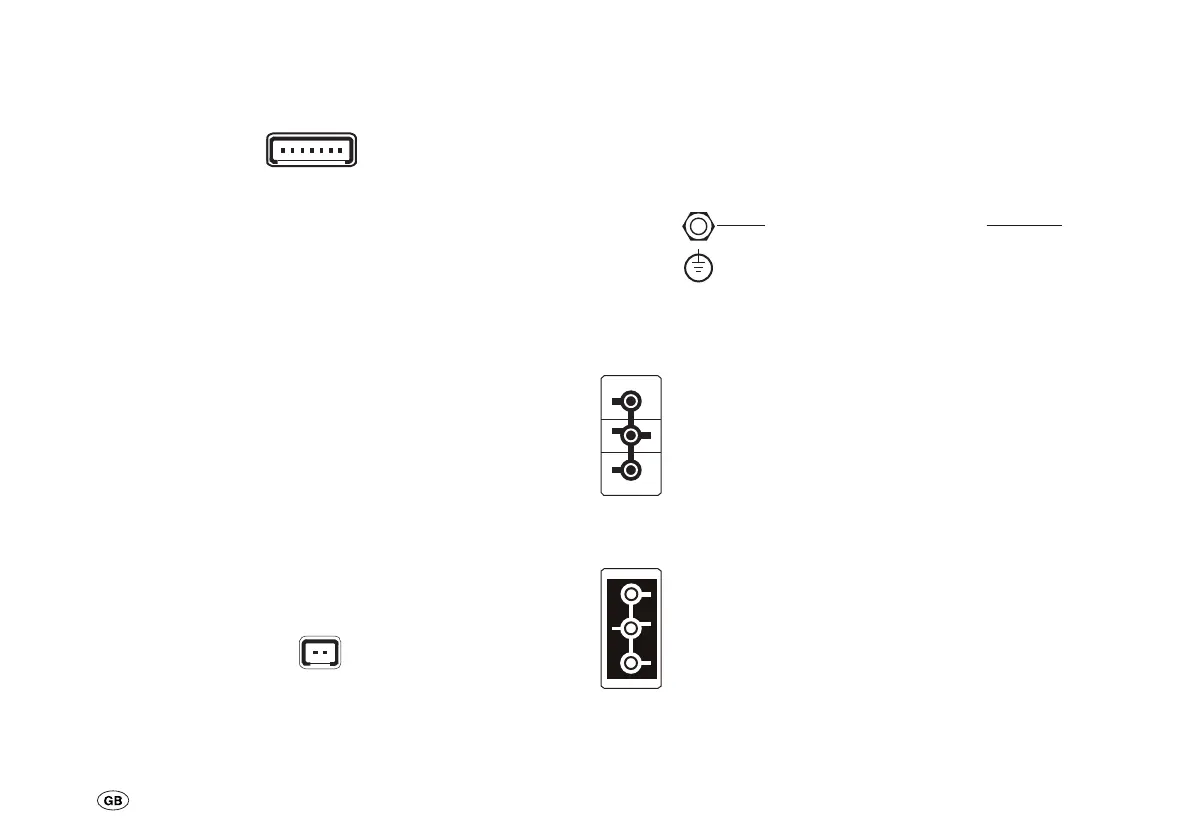
Connecting to the control panel
Plug the 7-pole ribbon cable into your control panel. The as-
signation of the contacts is according to the following list.
7 6 5 4 3 2 1
Fig. 15: 7-pole connector
Contact 1 Negative connection
Contact 2 Positive test connection for battery 2
Contact 3 Positive test connection for battery 1
Contact 4 Control connection for consumer relay
Contact 5 Output for charge control
Contact 6 Output for Tremat signal
Contact 7 Control connection for pump relay
Plug the 7-pin ribbon cable into the associated port on the de-
vice (fig. 4, pos. 9). The ribbon cable can only be inserted into
the correct socket on the device when in the correct position.
Do not use any force.
Connecting the temperature sensor
If a temperature sensor is used for battery 2, plug the
temperature sensor cable into the temperature sensor port
(fig. 4, pos. 7) of the device (2-pin connection).
Fig. 16: Temperature sensor
Mains connection
Provide the potential equalisation (fig. 4, pos. 3) between
the device and the mobile home or the caravan. Use a green/
yellow cable with a minimum cross-section of 4 mm². The po-
tential equalisation does not replace the protective conductor
in the mains cable.
green/yellow min. 4 mm²
connect to a conducting
part of the mobile home
or the caravan
Potentialausgleich
Fig. 17: Mains connection / potential equalisation
Connect the 230 V output (fig. 4, pos. 2) of the pow-
er supply with the on-board distribution of your
mobile home or caravan. Connect the green/yellow
cable to the earth circuit! The 230 V circuit breaker
of the electric supply serves as mains protection,
and is connected directly on the input side to supply
socket of the mobile home or caravan.
Fig. 18: 230 V output
Check that all the connections are firm and secure.
As the last step, make the mains connection via the
female connector of the mains cable (fig. 4, pos. 1).
The socket on the device is provided with a locking.
When connecting the plug, make sure that the
locking engages. In order to remove the plug, the
locking must be released by lightly raising its wing.
Fig. 19: 230 V input
 Loading...