20
MLB242
User’s Guide MLB242-V1
2 Installation
For the installation of the analyzer proceed as follows:
A. Place
MLB242 on a plane surface in such a position that it is not exposed by me-
chanical vibrations or extreme temperature uctuations or excessive light.
B. Connect the supplied external power adapter (LPS: Limited Power Supply) to the
port at the rear of the instrument 24 Vdc, 3A (Figure 4) using the appropriate power
cord to the mains (110V to 230V). In case the adapter is dierent from the one included
with the instrument, check that the electrical and safety characteristics (24 Vdc, 3A) are
equivalent (CE mark) and that the polarity of the connectors is respected Figure 4).
C. After power ON the analyser, the photometer optics will be controlled together with
other functional parts. A malfunction will be indicated on display.
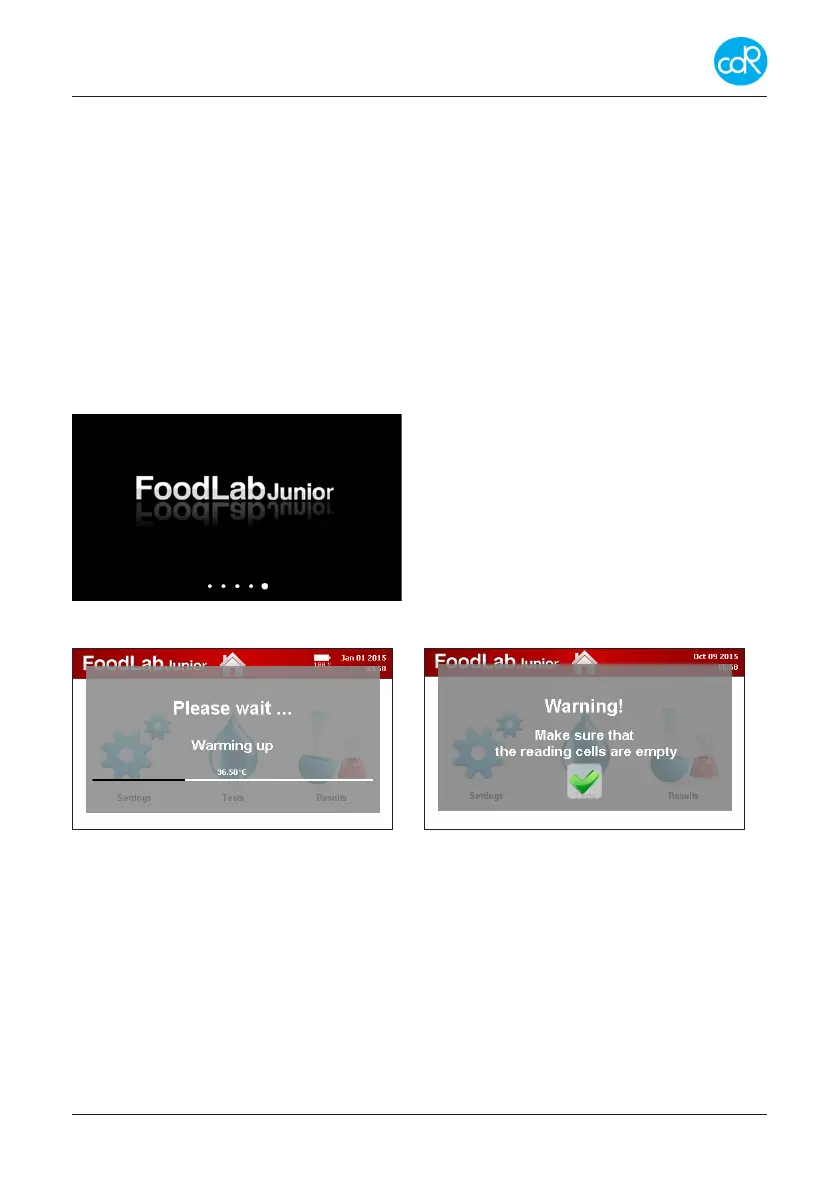
After a while the following information is shown:
Example!
Figure 11 appears for seconds
Followed automatically by next dialogue:
Figure 12 a, b: appears only if tube insertion sensor is o
Test applications are loaded into the working memory for quick access.
After warming up a Warning message appears:
• Make sure that the reading cells are empty!
• Make sure that no cell is occupied by a cuvette and conrm by touching the green
check mark!
According to the customer needs, the analyser can be congured for Oils & Fats, Wine,
Beer or other food products.
Similar analyzers have their own test application prole like the FoodLabJunior or