Carpenter Model 860 Material Coiling Unit
Carpenter Model 860 Material Coiling Unit • Phone: (315) 682-9176 • Fax: (315) 682-9160
Website: www.carpentermfg.com • Email: wire@carpentermfg.com
Revised 05/09/2024 Page 11
Section 3 – Positioning the Model 860
Positioning Instructions for Model 36A/36B or Model 360
To position the Model 860 to a Model 36A/36B or Model 360, take the PN 8671 straight tube
adapter and the PN 8672 straight tube out of the machine parts bag (outlined in the Assembling
the Model 860 section of the operator’s manual).
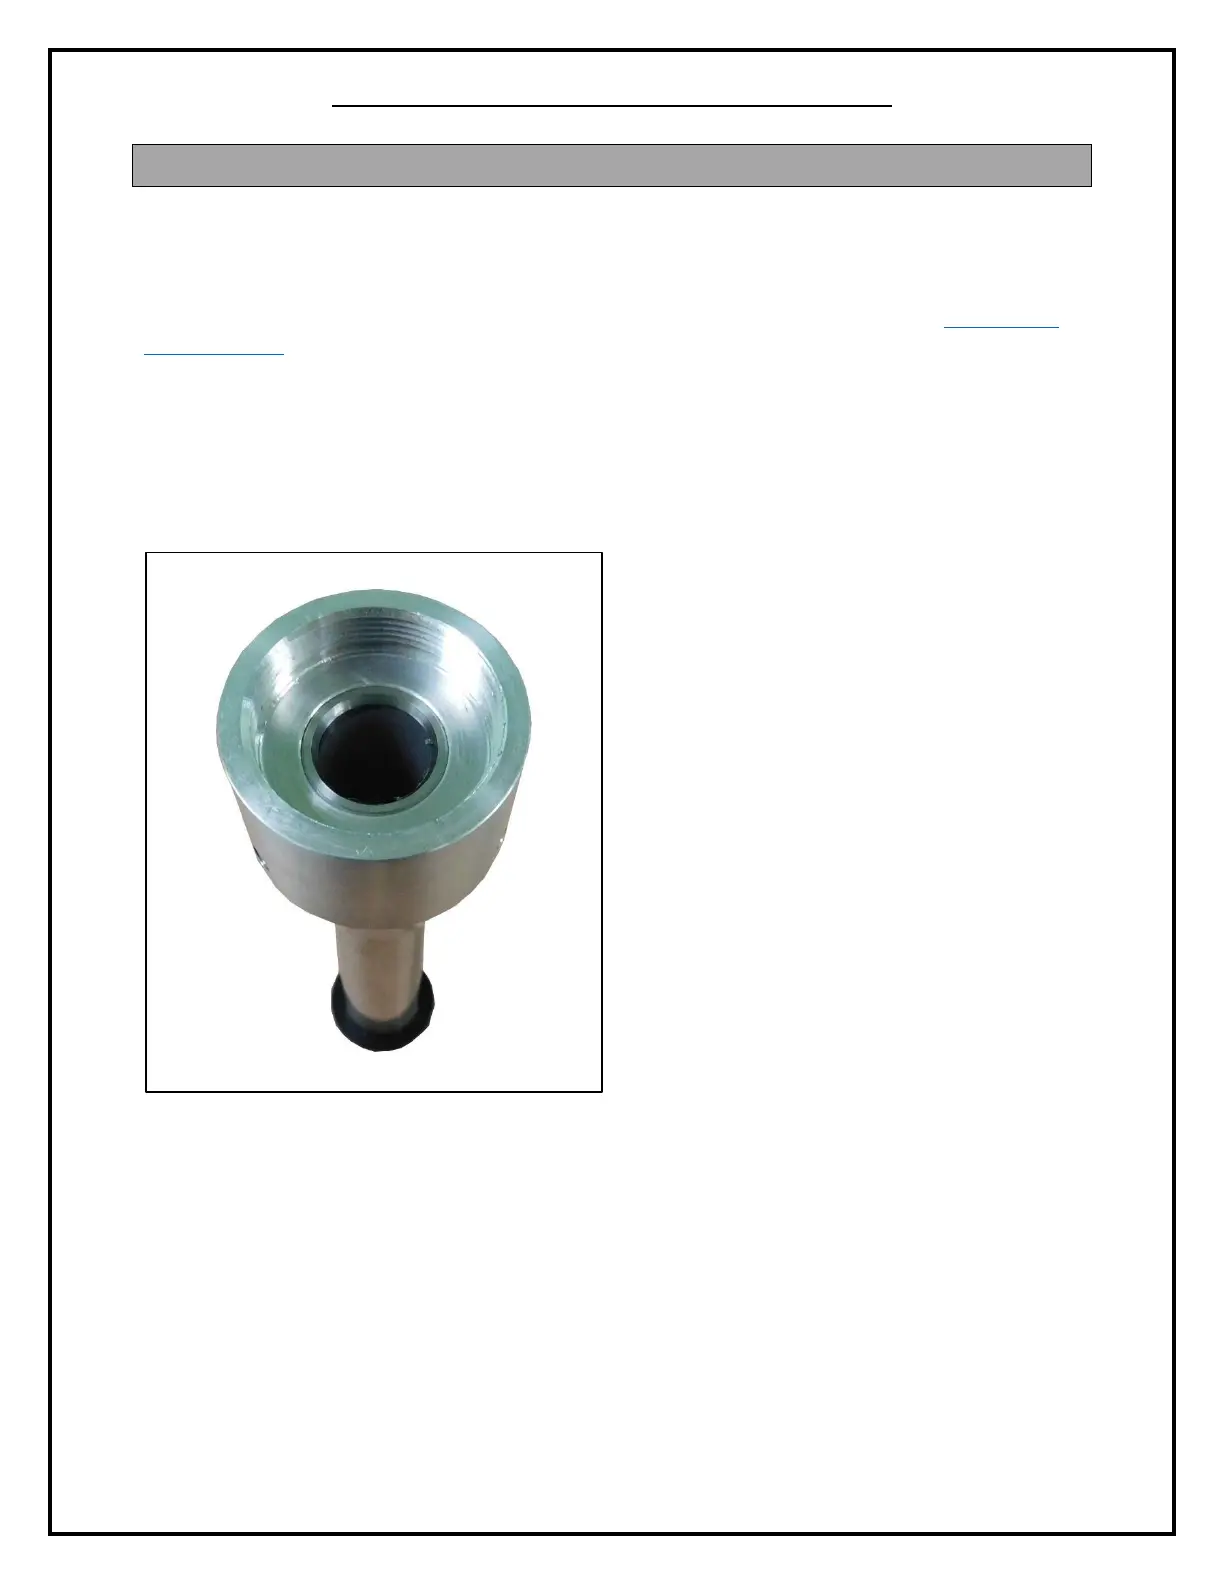
1. Place the free end of the PN 8672 straight tube into the narrower end of the PN 8671
straight tube adapter. (The “free” end of the PN 8672 straight tube is the end that does
not have the black plastic stop.) The end of the PN 8672 straight tube should be flush
with the inside flat surface of the PN 8671 straight tube adapter, but should not be
protruding past the flat surface.
Figure 4: Straight Tube Flush with Inside of Straight Tube Adapter
2. Using a 5/64” hex wrench, tighten the three (3) PN 1562 set screws on the PN 8671
straight tube adapter. This will lock the PN 8672 straight tube into place.