Installing the controller
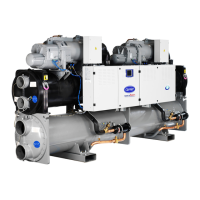
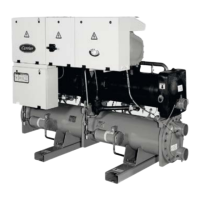
30MP Multi-chiller CARRIER CORPORATION ©2018
Installation and Start-up Guide All rights reserved
12
Wiring sensors to the controller
You can connect the following sensors:
• Leaving chilled water header temperature (required)
• Outdoor air temperature (optional)
• Relative humidity (optional)
This document gives instructions for wiring the sensors to the controller. For mounting and wiring the
sensors, see the Carrier Sensors Installation Guide.
Disconnect electrical power to the controller before wiring it. Failure to follow this warning could
cause electrical shock, personal injury, or damage to the controller.
• Do not run sensor or relay wires in the same conduit or raceway with Class 1 AC or DC service wiring.
• Do not abrade, cut, or nick the outer jacket of the cable.
• Do not pull or draw cable with a force that may harm the physical or electrical properties.
• Avoid splices in any control wiring.
Cable from sensor to controller: If <100 ft (30.5 meters) 22 AWG, unshielded
If >100 ft (30.5 meters) 22 AWG, shielded
Maximum length: 500 feet (152 meters)
To wire the leaving chilled water header temperature sensor to the controller
Use one of the following leaving chilled water header 5k Ohm temperature sensors with associated immersion
well:
HH79NZ014 3 in. 10HB50106801
HH79NZ029 4 in. 10HB50106802