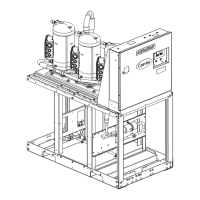
Start-up
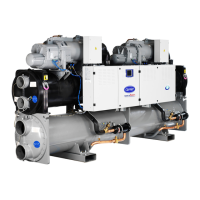
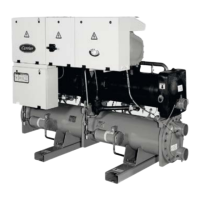
30MP Multi-chiller CARRIER CORPORATION ©2018
Installation and Start-up Guide All rights reserved
18
Use one of the following interfaces to start up, access information, read sensor values, and test the controller.
application -
Runs on a laptop that connects to controller's Local Access port
1
Temporary interface
device -
Connects to controller's Rnet port
2
Temporary or permanent
interface
application
Available for BACnet systems only
Permanent interface
device
Available only for BACnet MS/TP systems.
Wire to a BACnet MS/TP network connector and a 24 Vac power supply
3
Temporary or permanent
interface
1
Requires a USB Link (Part #USB-L).
2
See the Equipment Touch Installation and Setup Guide for detailed instructions.
3
See the System Touch Installation and Setup Guide for detailed instructions.
If multiple controllers share power but polarity was not maintained when they were wired, the
difference between the controller's ground and the computer's AC power ground could damage the USB Link and
the controller. If you are not sure of the wiring polarity, use a USB isolator between the computer and the USB
Link. Purchase a USB isolator online from a third-party manufacturer.
Configure the chiller system
You must address and configure the chiller system before starting the 30MP Multi-chiller controller, which
supports a maximum of 8 chillers. The steps below enable the controller to communicate with each individual
chiller through their corresponding UPC Open. Once the system is powered and operating, the controller reads the
type and size of each chiller and automatically configures any additional features, such as hot gas bypass, that
could impact machine staging or sequencing.
•
You do not have to follow any special staging or addressing guidelines.
•
You must carefully implement the following staging and addressing instructions for
optimal water temperature control and part-load efficiency.