EasyManuals Logo

Casio KL-7400 User Manual

Casio KL-7400
68 pages
To Next Page IconTo Next Page
To Previous Page IconTo Previous Page
Page #17 background imageLoading...
Page #17 background image
E
14
8.
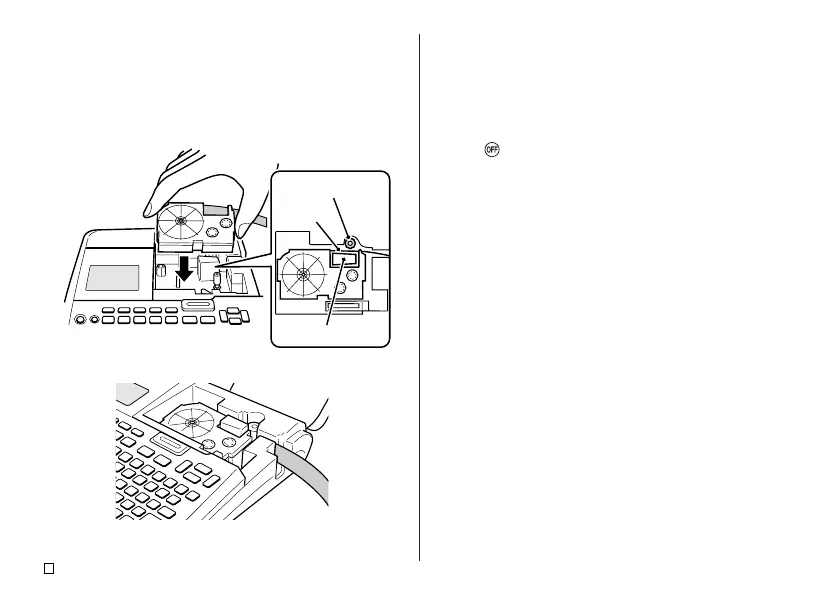
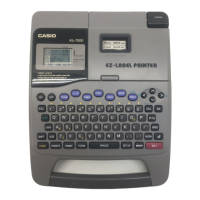
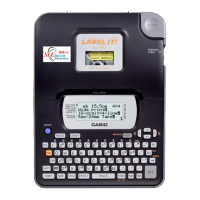
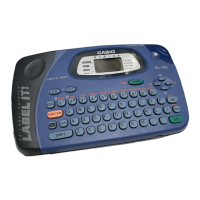
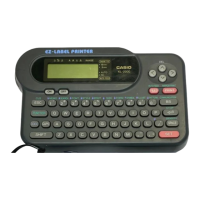
Load the tape cartridge into the printer.
Make sure that the tape and ink ribbon pass between the print head and
the rubber roller as shown in the illustration below. Press down on the
tape cartridge until you hear it click securely into place.
Important!
Installing the tape cartridge improperly or failing to secure it properly in
place can cause the ribbon to break.
Rubber roller
Tape
Print head
9. Close the cassette cover.
Press down on the cassette cover until you hear it click securely into
place.
After loading the tape cartridge in the printer, never pull on the tape or
try to push the tape back into the cartridge.
To remove the tape cartridge from the printer
1.
Press to turn off the printer.
2. Press the cassette cover release and open the cover.
3. Grasping both sides of the tape cartridge, lift it straight up.
The print head may be hot immediately following a print operation. Wait
until it cools down before removing the tape cartridge.

Table of Contents

Questions and Answers:

Question and Answer IconNeed help?

Do you have a question about the Casio KL-7400 and is the answer not in the manual?

Casio KL-7400 Specifications

General IconGeneral
ColorYes
Printing colorsBlack
Print technologyDirect thermal
Vertical printingNo
Maximum resolution200 x 200 DPI
Maximum print height24 mm
Maximum print size-
Product colorSilver
Keyboard layoutQWERTY
Connectivity technologyWired
Dimensions (WxDxH)202 x 216 x 64.5 mm
Print sizes included1x1 - 4x4
Battery typeAA
Battery technologyAlkaline
Power requirementsAC
Number of batteries supported8
Tape cuttingAutomatic
Number of printing lines (max)3
Weight and Dimensions IconWeight and Dimensions
Depth216 mm
Width202 mm
Height64.5 mm
Weight750 g

Related product manuals