E
18
■ To create a tape label
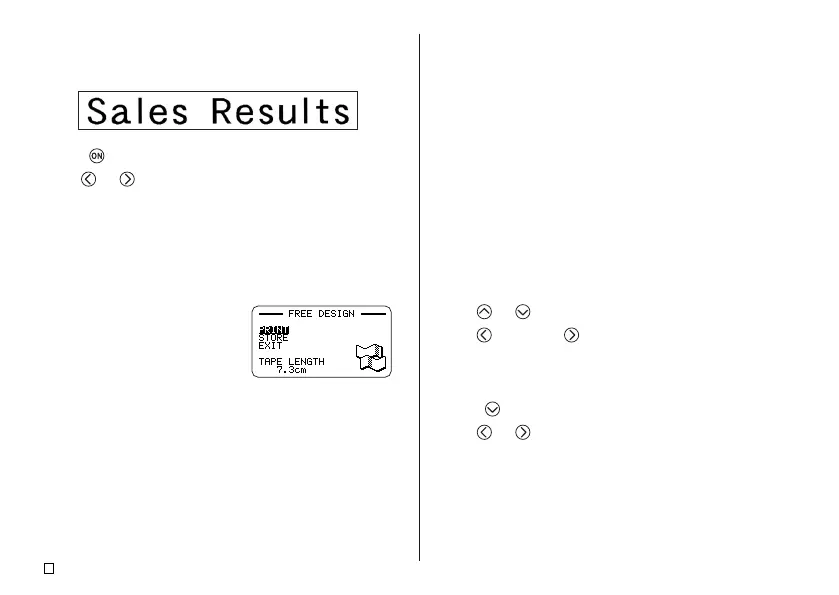
Example
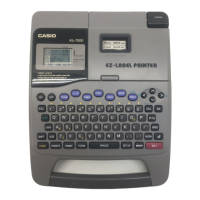
1. Press to turn on the printer.
2. Use and to select NEW, and then press SET.
3. Use the cursor keys to select the tape label mode you want, and then
press SET.
• Here we will select FREE DESIGN.
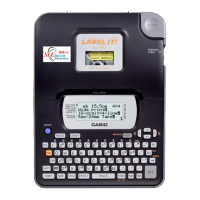
4. Type in the text you want.
• Here we will input “Sales Results”.
• See “Inputting and Editing Label Text” on page 36 for information about
inputting text.
5. After inputting the text you want,
press SET.
• This displays a screen like the
one shown here.
6. What you should do next depends on whether you want preview your label
contents or print right away.
• To preview the label contents first and then print, perform the procedure
under “To preview label contents before printing”.
• To print without previewing label contents, perform the procedure under
“To print a tape label”.
■ To preview label contents before printing
1. After performing the procedure under “To create a tape label” above, press
PREVIEW.
• This causes the contents of the label to scroll on the display.
• Note that the above step cannot be performed if you do not have a tape
cartridge loaded in the printer.
2. To pause scrolling of the label contents at any point, press SET.
• Press SET again to resume scrolling.
• To stop the preview, press ESC.
Note
• Characters or illustrations with very fine lines may not appear correctly on
the preview screen.
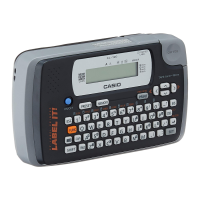
■ To print a tape label
1. After performing the procedure under “To create a tape label” (and “To
preview label contents before printing”, if you want), check to make sure
that the tape cartridge is loaded properly and that nothing is blocking the
tape outlet.
2. Use and to select PRINT, and then press SET.
3. Use (increase) and (decrease) to specify the number of copies you
want to print, from 1 to 100.
• Here we will specify one copy.
• You can also use the number keys to input a value. Note that you cannot
specify 0 here.
4. Press .
5. Use and to specify the tape cut mode.
• Here we will select CONT HALF CUT.
• See page 20 for information about tape cut modes.
6. Press SET to start printing.
• To interrupt printing part way through, press ESC.