48
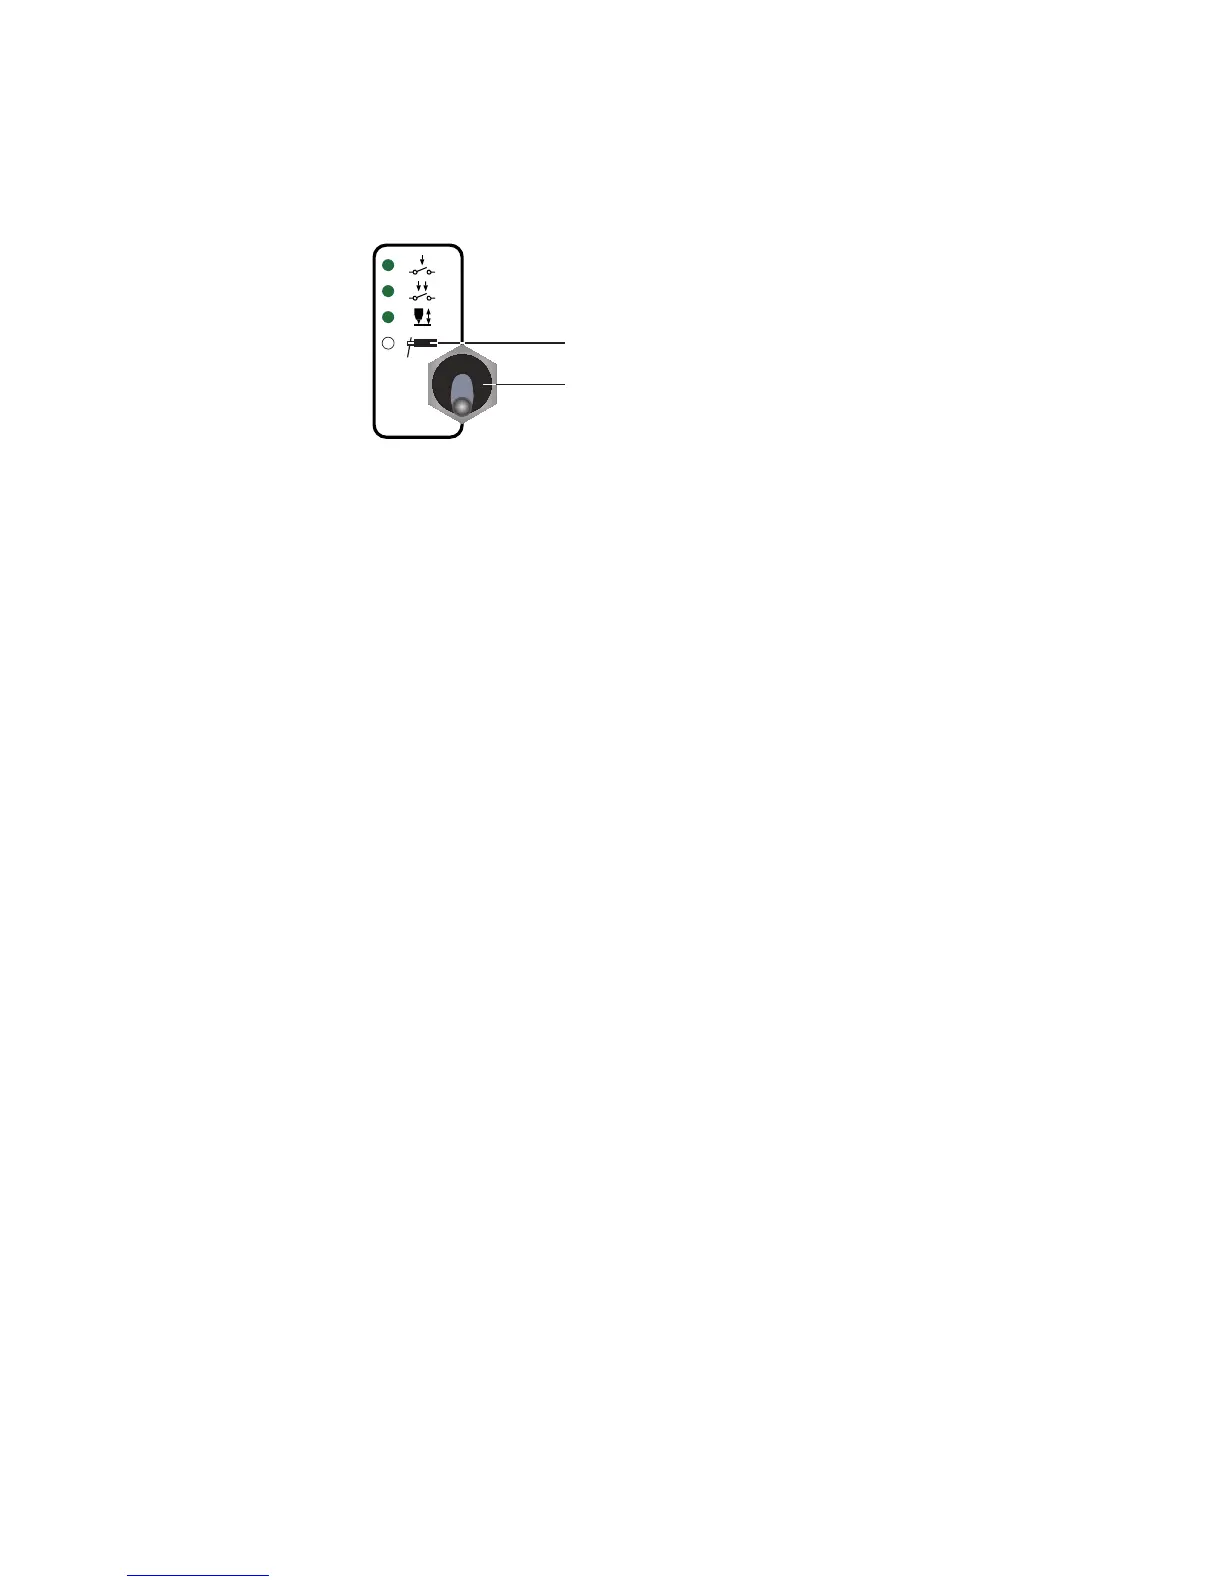
- Press the “Mode” button (1) to select the “Rod-electrode (MMA) welding” mode (5)
- While pressing and holding the Set button (13), press the “Mode” button (1)
- The first set-up parameter is displayed (e.g. “HCU”)
Important! The first parameter to be displayed is always the one that was the last to be
selected the last time the set-up menu was accessed.
- Select the set-up parameter “2nd” with the parameter selection buttons (8) and (9).
Select “Parame-
ter 2nd”
Once the set-up parameter “2nd” has been selected:
- While pressing and holding the Set button (13), press the “Mode” button (1)
- The first set-up parameter of Level 2 is displayed (e.g. “ASt”)
Important! The first parameter to be displayed is always the one that was the last to be
selected the last time the set-up menu was accessed.
Accessing
Selecting and
altering the set-
up parameter
- Select the desired set-up parameter with the parameter selection buttons (8) and
(9).
- Alter the value of the set-up parameter with the adjusting dial (7)
- Press the Set button (13) twice
Exiting and
saving
(1)
(5)
Level 2: Rod-electrode set-up parameters
ASt ..... Anti-Stick ... On / OFF ... factory setting: On
See the section headed: “Rod electrode (MMA) welding”
ELn .... Electrode-line ... characteristic-selection function ... con / 0.1 - 20 / P
Factory setting: con
See the section headed: “Rod electrode (MMA) welding”
Available set-up
parameters