5
3) Ending viewing of the software version on the control panel
can come about in 2 different ways:
• Automatically: by waiting for the display time to elapse.
• Manually: by pushing any key.
Loading of the wire
In the MIG-MAG-PULSE-DOUBLE PULSE welding processes,
with the welder in operation, it is possible to load the wire inside
the torch, following this simple procedure:
• Keep the torch button held down.
• After a time of about 2 seconds, the wire begins to load itself at
a constant speed.
•
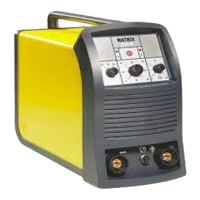
This operation is also indicated by a message made up of a nu-
merical value for the wire speed, followed by “LoAd” (see figure).
•
Rotate the ENCODER - A (E1) knob to change the wire load-
ing speed.
• To finish the loading of the wire release the torch button.
E1
Special functions “Fx”
To access the SPECIAL FUNCTIONS “Fx” menu, hold the SPE-
CIAL FUNCTIONS “Fx” key (T3) down for at least 3 consecutive
seconds. The Fx LED switches on.
T3
T > 3 s
The special functions allow the operator to regulate further param-
eters, operations and do partial resetting, and are operative, in a
different way, within each welding process.
Table 1 shows the special functions available. Details of the mean-
ing of the columns are as follows:
• FUNCTION column: name of the special function.
•
DISPLAY column: symbol for the special function (message
shown in the PARAMETERS DISPLAY - A screen).
•
FACTORY column: Factory setting for the special function (mes-
sage shown in the PARAMETERS DISPLAY - V screen).
• RANGE column: regulation field for the special function.
•
The last two groups of columns, WELDING PROCESS and
MIG-MAG WELDING MODE indicate the welding process and
mode in which the special function can be selected. Example:
the SPOT WELD TIME function can be selected only when one
is welding in synergistic MIG-MAG-PULSE or manual SPOT
2T mode.
1) Rotate the ENCODER - A knob (E1) to select the SPECIAL
FUNCTION required. Rotate the ENCODER - V knob (E2) to
edit the VALUE for the special function selected.
WARNING: Changes to values are immediately activated (no fur-
ther confirmation is required and they will be displayed immedi-
ately) or, at least they will become active the next time welding is
done. The operator can edit the functions (not the wire speed and
other parameters) when welding is underway and continue weld-
ing without having to exit the SPECIAL FUNCTIONS “Fx” menu.
E2E1
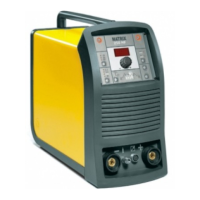
2) PROGRAM DEFAULT (dEF)
WARNING: If carried out, this operation resets the program
in use to the factory default settings.
To carry out the reset of the settings / parameters, proceed in
the following manner:
• Rotate the ENCODER - A (E1) knob until both the displays
read dEF no (see figure).
E1
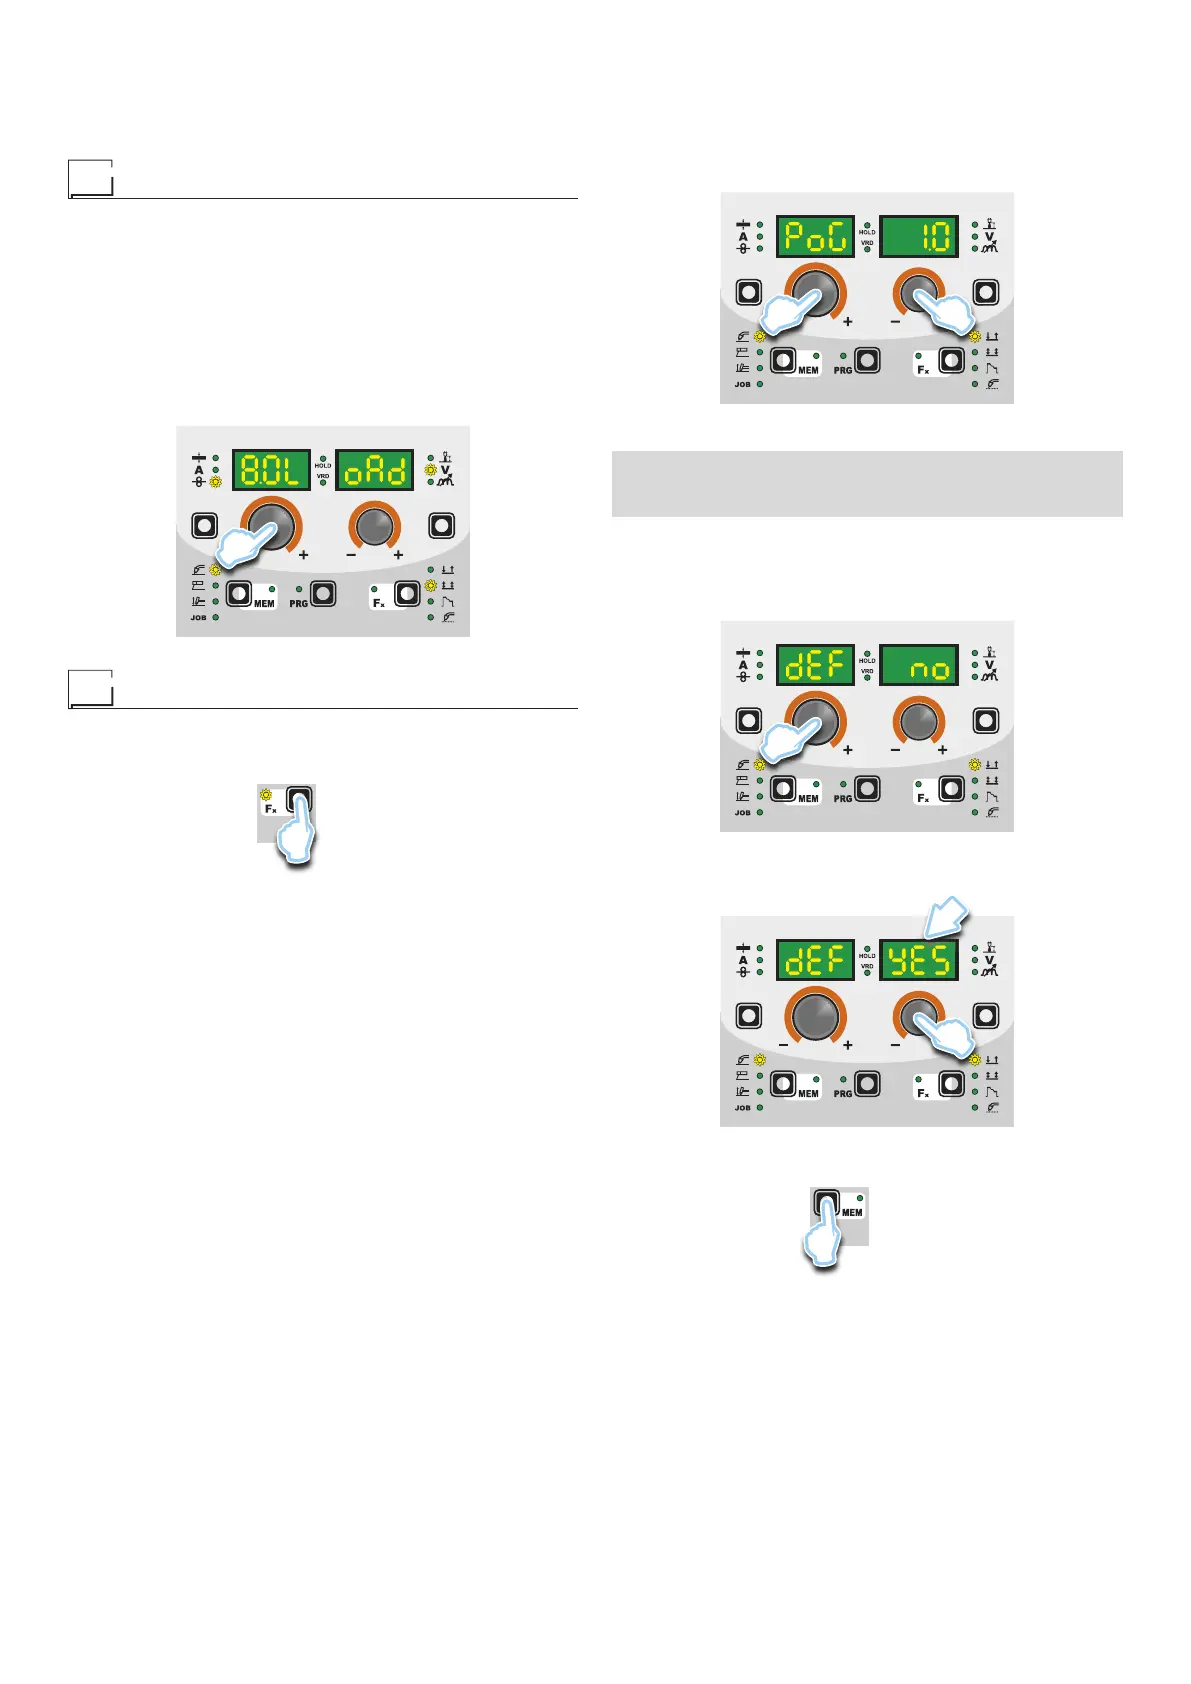
•
Rotate the ENCODER - V knob (E2) until the PARAME-
TERS DISPLAY - V screen (D2) reads YES.
D2
E2
• Hold the SAVE “MEM” key (T2) down for at least 2 consec-
utive seconds.
T2
T ≥ 2 s
• The program in use has now been completed successfully.
To confirmation the above, the control panel of the welder
performs a short operation of MACHINE CHECK (all of the
LED stay lit simultaneously so as to verify their actual op-
eration), the generator itself starts, having memorised the
new settings and is again ready to weld.