Installation for Layer Cage Systems Only ULTRAFLO
®
Cage Feeding Systems for Brood Grow & Layer Installations
26
MC656P
Elbow Installation
The elbows have different length ends. Tube cutting will be required to achieve a proper fit for
elbow installation.
Some installations may require adding straight sections of tubing to elbows to clear other
obstacles, such as Dropping Board Scrapers, etc.
1.Install the short side of the Elbows in the Intake Cup and Clean-Out Section.
2.The top two tiers will require the longer, straight sections on the elbows to be cut. The
maximum length of straight section that may be cut from each elbow is 12-1/4" (31 cm).
Do not discard the cut section(s) of tubing. They may be used to connect the elbows on the
lower tiers, if required.
3.If the elbows on the lower two tiers do not meet, it may
be possible to use the sections of
tubing cut out of the upper tiers to couple the elbows. Otherwise, use straight sections of
pipe supplied to couple the elbows.
The maximum distance from (elbow) center line to center line, without adding straight pipe,
is 64-1/2" (164 cm).
4.Use Clamps to secure the elbow components together.
5.Install Elbow Support, as shown in Parts List section of this manual, to support the elbows.
ULTRAFLO
®
Auger Installation
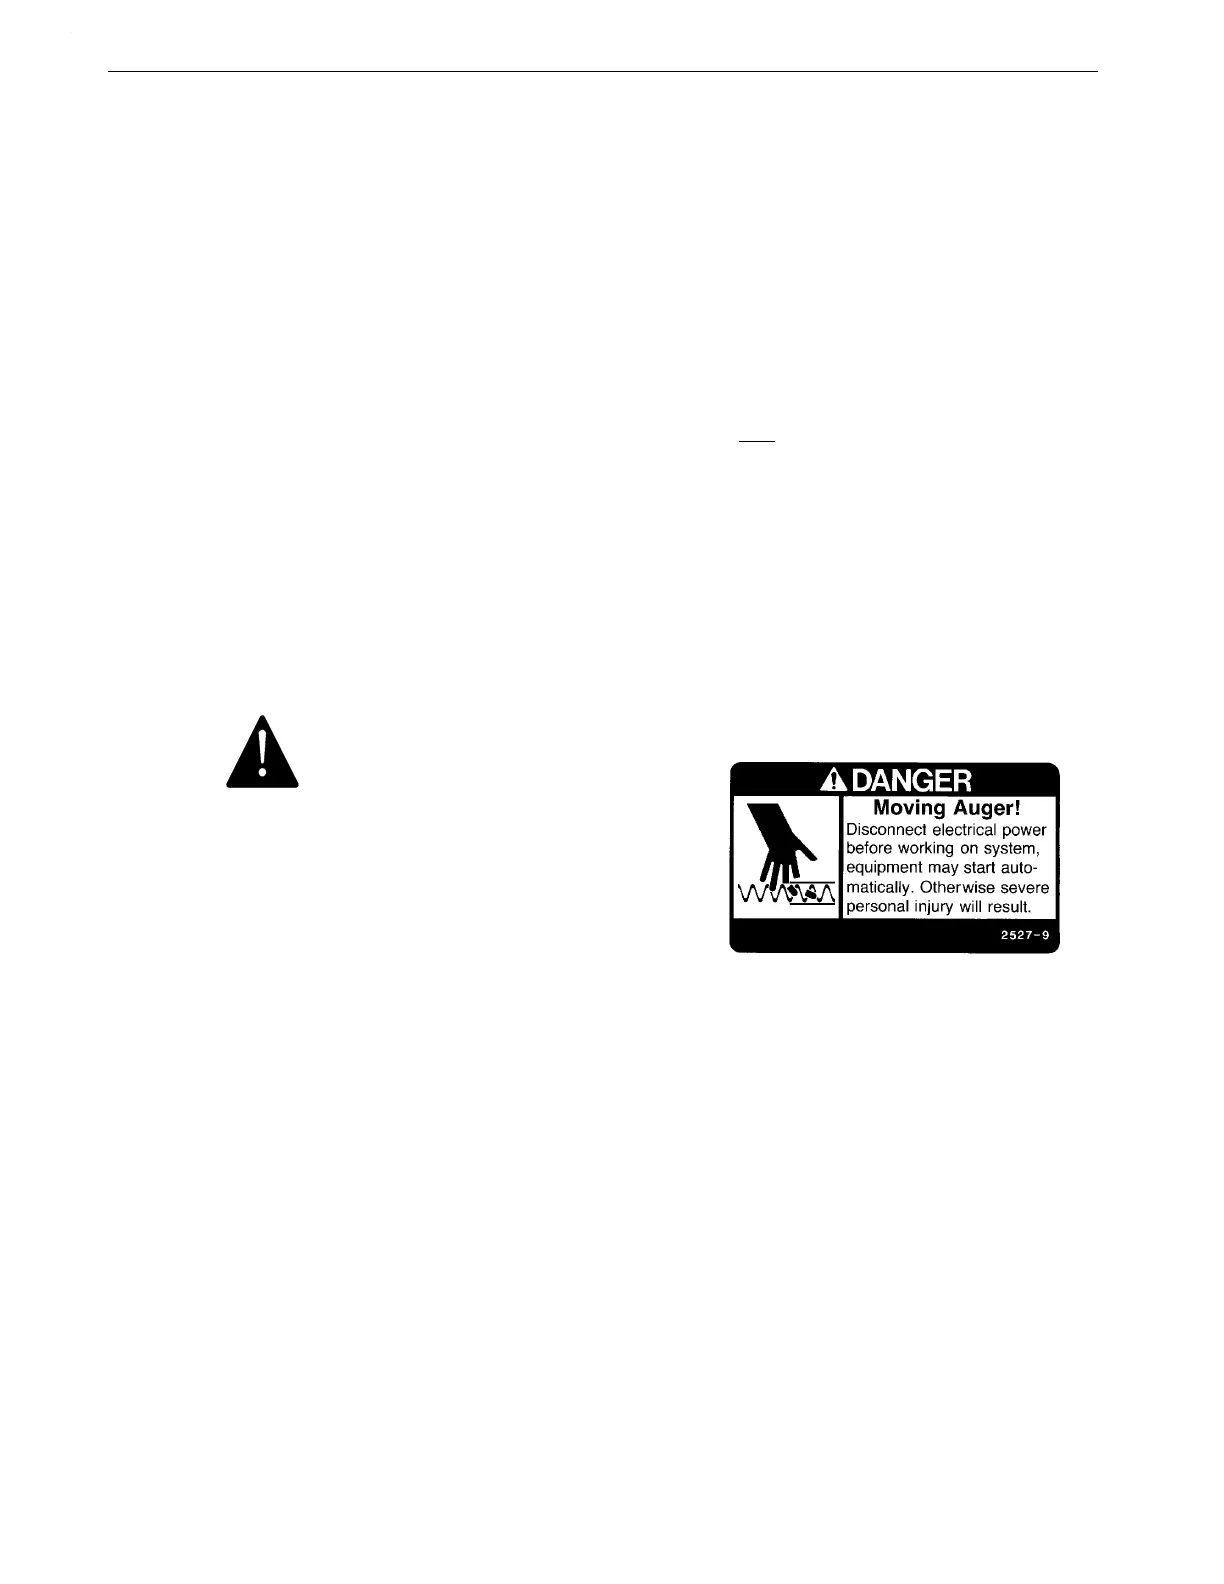
Caution!
Use extreme caution when working with
the auger. The auger is under tension and
may spring causing personal injury.
Wear protective clothing, gloves, and
safety glasses when working with the
auger.
To avoid kinking the Auger, be careful not to drop
or drag the rolled auger when handling. Inspect the
auger for kinks carefully as it is installed. Small
kinks may be straightened. Large kinks must be cut
out and the auger reconnected using an Auger Connector.
Chore-Time recommends connecting the ends of the auger using an Auger Connector, as shown
in Figure 36. Auger Connectors are easy to install and generally cause less auger fatigue. Refer
to the Auger Connector Installation information below.
1.Loosen the outgoing elbow from the End Cap at the far end of the cage row.
2.Take the end of the auger that was wound onto the roll last -it generally has a tag on it- and
bend the end inwards so that it will not catch. Slide the end of the auger with the plastic
cap through the End Cap and into the trough, first.
3.USE EXTREME CAUTION WHEN INSTALLING THE AUGER TO AVOID
PERSONAL INJURY.
The auger should be pulled into the trough in the direction of feed flow (auger travel).
The motors may be used to pull the ULTRAFLO
®
Auger through the trough. Be careful not
to kink the auger when guiding it into the trough.
The auger may be installed by hand, using an Auger Puller.
4.If more than one length of auger is needed, connect the second auger to the first auger using
an Auger Connector.
 Loading...
