EasyManua.ls Logo

Chore-Time 55 - User Manual

Default Icon
54 pages
Print Icon
To Next Page IconTo Next Page
Loading...
Model 55,75,90, & HMC FLEX-AUGER
Contact your nearby Chore-Time distributor or representative for additional parts and information.
MA1702DAugust 2018
Installation and Operators Manual

Table of Contents

Other manuals for Chore-Time 55

Questions and Answers

  • M
    Melissa CookAug 14, 2025
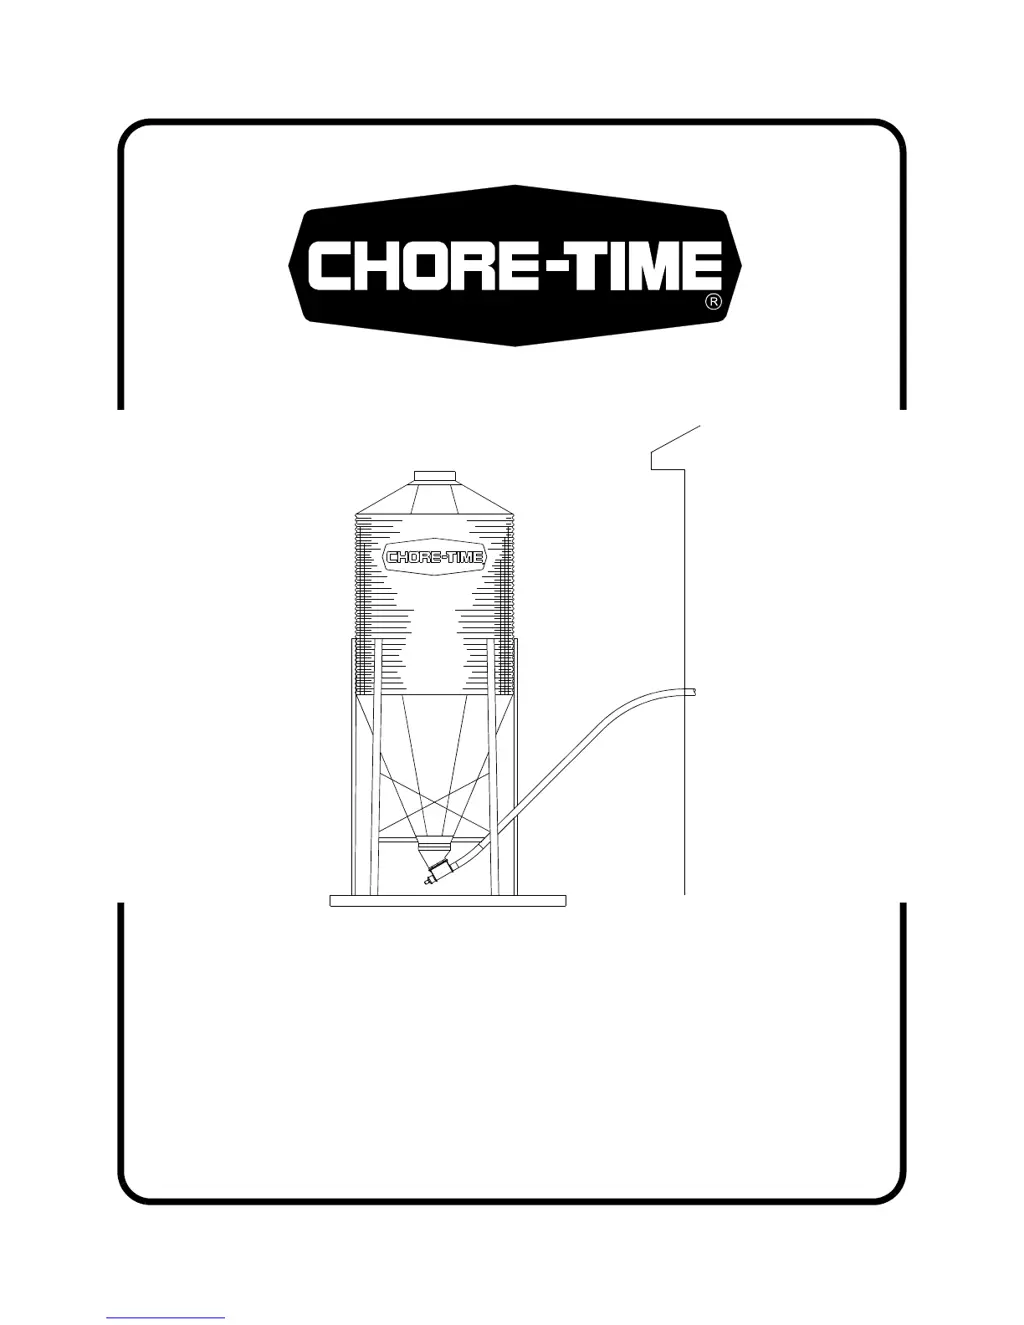
    What to do if my Chore-Time 55 delivery system will not run?
    • L
      lisa04Aug 14, 2025
      If your Chore-Time Farm Equipment delivery system isn't running, there are several potential causes: * There may be no power to the system. Check the circuits, fuses, and on-off switches on the equipment. * The bin level switch may have stopped the system because there is a lack of feed in the boot. Check the feed supply and for possible bridging. * The motor may be overloaded and stopped. Check for foreign material in the line and push the motor reset button. * The safety switch may be activated in the Control Unit (the red pilot light will be lit). Determine the reason for feed packing in the Control Unit. Is the feed level switch out of adjustment?
  • M
    mary18Aug 20, 2025
    How to reduce excessive auger vibration and noise in Chore-Time Farm Equipment?
    • J
      Jill AcevedoAug 21, 2025
      Excessive auger vibration and noise in Chore-Time Farm Equipment can be caused by several factors: * The system has been operated too often without feed, causing the auger to score the auger tubes. Wire a Boot Switch to stop the system when the feed bin is empty. Replace damaged auger tubes, and ensure the auger has the proper amount of stretch. * The tubes are inadequately supported. Support the tubes every 5’ (1.5 m) or closer. * There is a horizontal L.H. turn. There should be no outlet drops on or just before an elbow. Lengthen the auger and install an Extension Hopper ahead of elbows.
  • A
    amy66Aug 25, 2025
    What to do if the motor runs but the auger doesn't turn in my Chore-Time 55 Farm Equipment?
    • A
      andrew66Aug 25, 2025
      If the motor in your Chore-Time Farm Equipment runs, but the auger does not turn, the issue might be: * A sheared driver bolt at the Control Unit. If so, replace the driver bolt. * A broken power unit pinion. Examine the pinion on the motor shaft; replace BOTH the gear head and pinion if the pinion is damaged.
  • M
    Micheal RomanAug 28, 2025
    Why does the second portion of my Chore-Time 55 Farm Equipment extended length system short cycle?
    • M
      Matthew HernandezAug 28, 2025
      The second portion of an extended length Chore-Time Farm Equipment system might short cycle due to: * Too much Restrictor in the Boot. Shorten the Restrictor. * Too much feed still dispensing from drops ahead of the Extension Hopper. The last outlet drop before the Extension Hopper must have a full feed drop out. All feeders ahead of the hopper must complete filling before feed reaches the hopper. * Trim Restrictor on first portion to allow more incoming feed.
  • J
    John TorresAug 31, 2025
    What causes elbows to wear out on Chore-Time Farm Equipment?
    • B
      brownhannahAug 31, 2025
      Elbows on Chore-Time Farm Equipment can wear out if: * The auger is stretched too tight; horizontal L.H. turn; or the auger has been run dry. Lengthen the auger, install an Extension Hopper, and wire a Boot Switch into the system.
  • S
    Shelby GreenSep 3, 2025
    Why does my Chore-Time 55 Farm Equipment fill system short cycle?
    • D
      Donald StephensSep 3, 2025
      A Chore-Time Farm Equipment fill system might short cycle because the control end feed level switch does not provide a large enough feed differential. Use a time clock to program operating cycles. Use a Control end feed level switch with lockout and a time clock.
  • S
    snyderdonnaSep 6, 2025
    What to do if the second portion of extended length Chore-Time 55 system will not start?
    • C
      cameronpatrickSep 6, 2025
      If the second portion of your extended length Chore-Time Farm Equipment system won't start, it could be due to: * The lower switch on the Extension Hopper being out of adjustment. Adjust the switch as specified in the maintenance section of this manual. * The feed level control at the end of the line being out of adjustment. Examine and make necessary adjustments; see the feed level switch adjustment instruction.
  • H
    Heidi WashingtonSep 9, 2025
    Why does my Chore-Time Farm Equipment Extension Hopper pack full of feed?
    • S
      Sabrina VazquezSep 10, 2025
      If your Chore-Time Farm Equipment Extension Hopper packs full of feed, it is likely that both switches on the Extension Hopper are out of adjustment. Adjust the switches as specified in the maintenance section in this manual.
  • M
    matthew89Nov 16, 2025
    Why does the motor in my Chore-Time 55 overload after running briefly?
    • W
      wangsarahNov 16, 2025
      There are several reasons why the motor in your Chore-Time Farm Equipment might overload after running briefly: * The motor could be too small. Use the recommended size motor for the line length. * There may be low voltage, causing the motor to run slow and overheat. Check the line voltage at the motor and use adequate size wire in the circuits. * There could be a foreign object in the auger, causing the motor to run, stall, and then the auger spins in reverse. Check the auger line and pull the auger to remove any objects. * The motor might be wired in reverse, causing the motor to run, stall, and no feed is conveyed. Disconnect the power and change the wire connections (the direct drive power unit shaft at the rear of the motor turns clockwise). * The Boot Anchor might be too t...

Summary

Limited Warranty

Support Information

Safety and General Information

Safety-Alert Symbol

Identifies a safety alert symbol to indicate potential personal injury hazards.

Understanding Signal Words

Explains signal words (Danger, Warning, Caution) indicating hazard severity.

Decal Descriptions

Details specific safety decals and their meanings regarding moving augers and electrical hazards.

General Information

Selecting the System

Guides users on choosing the correct FLEX-AUGER system based on feed characteristics and requirements.

System Comparison Chart

Compares FLEX-AUGER models by tube diameter, delivery rate, feed types, and particle size.

System Weight & Length Specifications

Planning

Planning the System

Outlines considerations for laying out the FLEX-AUGER system, including bin placement and elbow usage.

Installation

Recommended Layouts

Illustrates optimal configurations for installing the FLEX-AUGER system to ensure efficient operation.

Not Recommended Layouts

Shows configurations to avoid that can lead to system malfunction or damage.

Bin to Building Placement Chart

Installation

Installation Notes

General instructions and warnings for a safe and correct FLEX-AUGER system installation.

Bin Location and Collar Information

Guidance on positioning the feed bin and installing the bin collar for system connection.

Boot Installation

Step-by-step instructions for properly installing the boot assembly onto the feed bin collar.

Installation

Auger Tube Installation

Details on how to cut, connect, and install the auger tubes and elbows into the system.

Supporting the System Inside the Building

Supporting the System Outside the Building

Elevated Systems

Recommended support methods for elevated FLEX-AUGER systems to prevent sagging.

Bin to Bin Fill Systems

Details on supporting systems designed for filling multiple bins from a single source.

Outlet Assembly Installation

Control Unit & Power Unit Installation

For Single Phase Direct Drive Control Units

Specific wiring and installation instructions for single-phase direct drive control units.

Belt Drive Control Unit Installation

Auger Installation

Auger Brazing;Filing

Restrictor Adjustment

Straight-Through Tandem Boot

Standard FLEX-AUGER Boots and Baffle Locations

Boot Baffles for Straight-Through Boot Systems

Feed Level Control Installation

Hopper Level Control Switch (Single Phase) Wiring

Wiring diagram for connecting a single-phase hopper level control switch to the system.

Hopper Level Control Switch (Three Phase) Wiring

Wiring diagram for connecting a three-phase hopper level control switch to the system.

SENSOR PLUS Electronic Switch (Single Phase) Wiring

Operation

Start-Up Procedure for New Systems

Critical steps to follow for the initial start-up of a new FLEX-AUGER system to prevent plugging.

Parts Listing

Model 55,75,90,& HMC Feed Delivery System Standard Components

Lists standard components and their part numbers for various FLEX-AUGER models.

Parts Listing

Power Unit Assembly Part Numbers

Catalog of power unit assembly part numbers, including HP, RPM, phase, and voltage.

Parts Listing

Direct Drive Control Unit (Single Phase)

Detailed parts breakdown for the single-phase direct drive control unit.

Parts Listing

Stainless Steel Direct Drive Control Unit (Single Phase)

Parts list for the stainless steel version of the single-phase direct drive control unit.

Parts Listing

46051 Switch & Plate Assembly

Exploded view and part numbers for the 46051 switch and plate assembly.

Parts Listing

Standard Belt Drive Control Units

Parts list and diagram for standard belt drive control unit assemblies.

Parts Listing

24392-0 Contactor Box

Parts list for the 24392-0 Contactor Box, detailing its components.

Parts Listing

Boot Components

Schematic and list of various boot component parts for FLEX-AUGER systems.

Parts Listing

Model 55 Boot Components

Specific parts list for Model 55 boot assemblies, including single, twin, and quad configurations.

Parts Listing

Model 75 Boot Components

Specific parts list for Model 75 boot assemblies, covering various configurations.

Parts Listing

Model 90 Boot Components

Specific parts list for Model 90 boot assemblies, detailing different system types.

Parts Listing

Model HMC Boot Components

Specific parts list for Model HMC boot assemblies, including various configurations.

Troubleshooting

Maintenance

Livestock and Poultry Feed Consumption

POULTRY

Provides feed consumption rates for various poultry feeding systems to aid in system sizing.

HOGS

Lists average daily feed consumption figures for hogs of different weights.

DAIRY

Provides average daily feed consumption rates for dairy cows based on milk production.

Chore-Time 55 Specifications

General IconGeneral
BrandChore-Time
Model55
CategoryFarm Equipment
LanguageEnglish

Related product manuals