5
Screws and tools
Required tools and equipment
• Two stepladders
• Drill
• Torx 20, Torx 25, Torx 30, and Torx 40 bits
• PH2 and PH3 bits
• Hex 2 mm and 6 mm bits
• Angle chuck
• Appropriate drill bits for your wall material
• Appropriate wall fasteners/anchors for your wall construction
• Laser level (multi axis)
• Small spirit level (about 25 cm / 10 in.)
• Pencil
• Nylon draw tape
In addition, the installer must bring the number and type of screws required for
a safe wall mounting of the system (step 1).
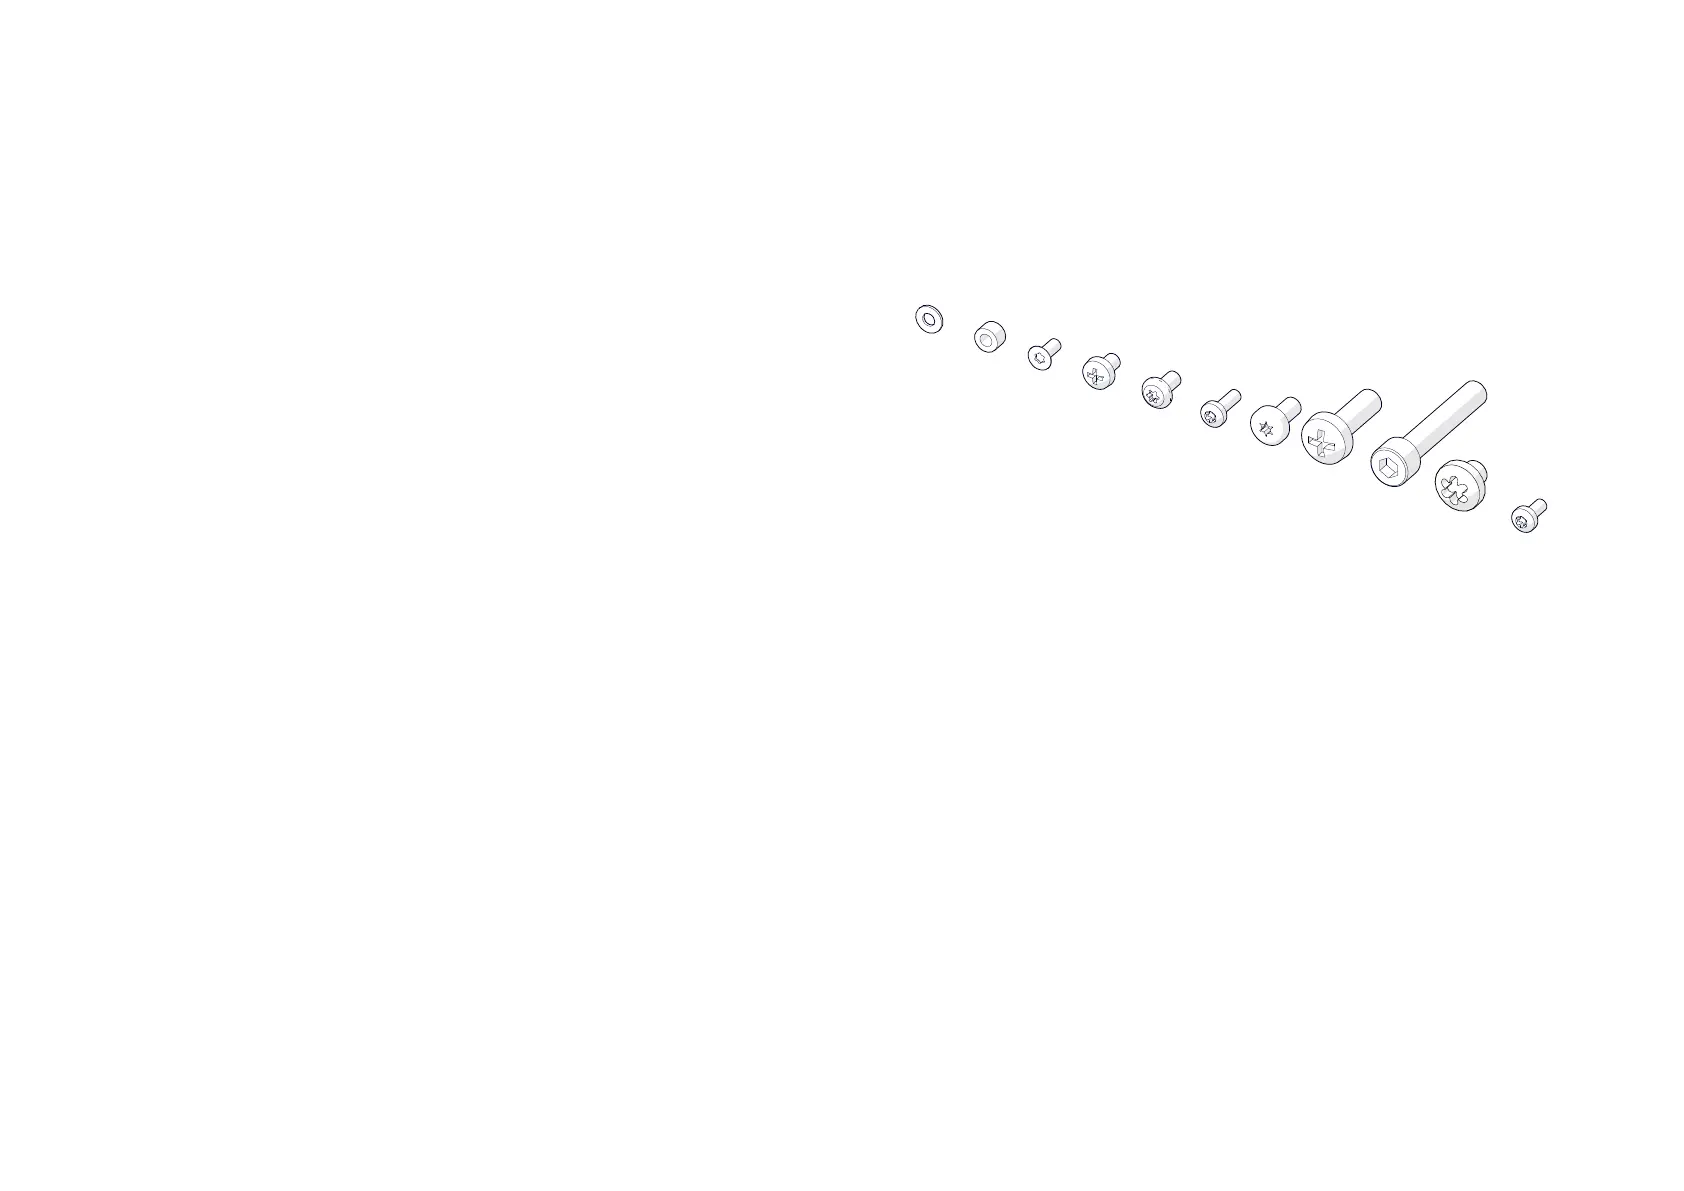
1. Washer, 0.9 mm (28 pcs.)
2. Nylon spacer, 5 mm (16 pcs.)
3. FH M4x10, Torx 20 (24 pcs.)
4. PAN10-32x0.312, PH2 (4 pcs.)
5. M5x10, Torx 25 (12 pcs.)
6. M4x12, Torx 20 (100 pcs.)
7. M6x12, Torx 30 (150 pcs.)
8. M8x25, PH3 (8 pcs.)
9. M8x45, Hex 6 mm (4 pcs.)
10. M8x8, Torx 40 (20 pcs.)
11. M4x8, Torx 20 (8 pcs.)
Screws and spacers
The following kit of screws and spacers are shipped with the product. The kit is
in box A1.
1
2
3
4
5
6
7
8
9
10
11
 Loading...