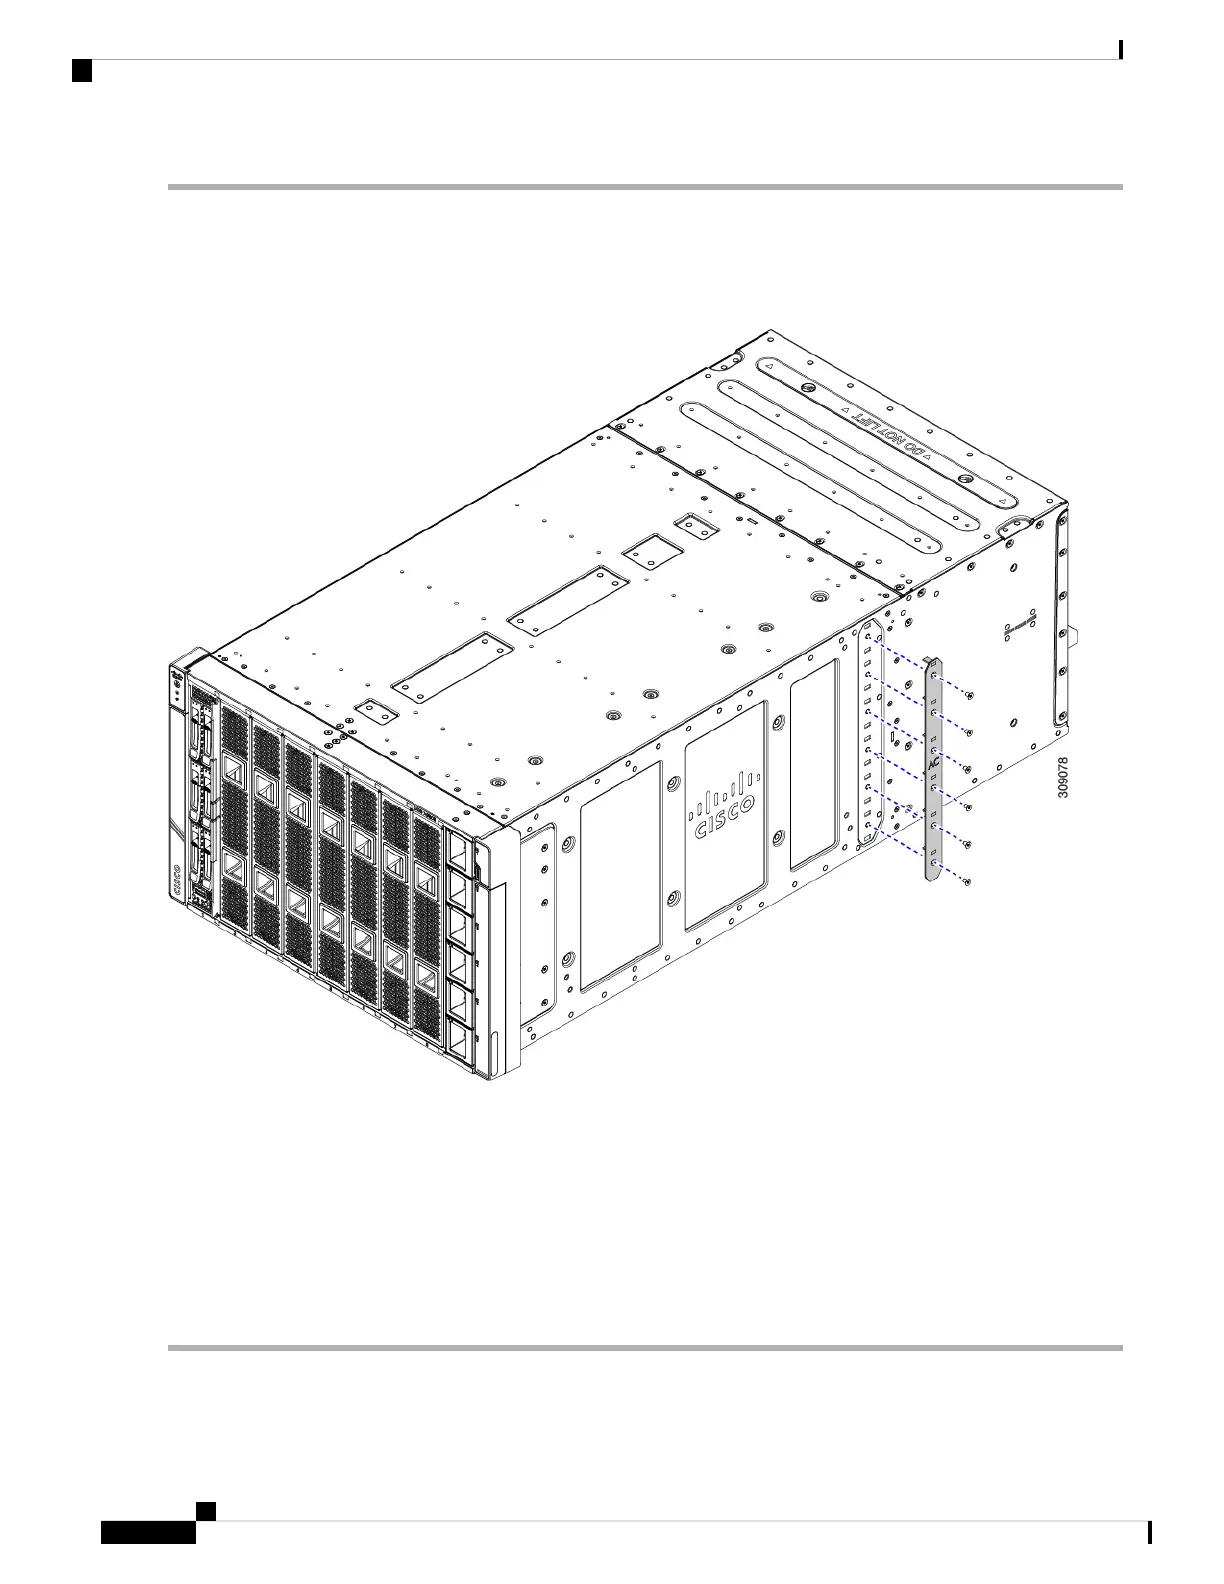
Step 1 With the chassis on an ESD-safe work area, grasp the new PSU Keying Bracket, and align it with right exterior side of
the chassis.
Step 2 Place the bracket against the side of the chassis, aligning the screwholes in the bracket with the screwholes in the chassis.
Step 3 Insert the 6 screws into the screwholes.
Step 4 Using a T10 screwdriver, secure the bracket to the chassis by tightening each screw to snug.
If you have access to a torque wrench, tighten the screws to 6 in-lb.
Step 5 Reinstall the chassis:
a) Insert the chassis into the rack.
b) Reinstall the chassis components and reconnect any cables that were disconnected.
For additional info, see Installing the Chassis, on page 32.
Cisco UCS X9508 Server Chassis Installation Guide
78
Installing and Removing Components
Installing the PSU Keying Bracket