Phoenix NVR
KIT INSTALLATION GUIDE
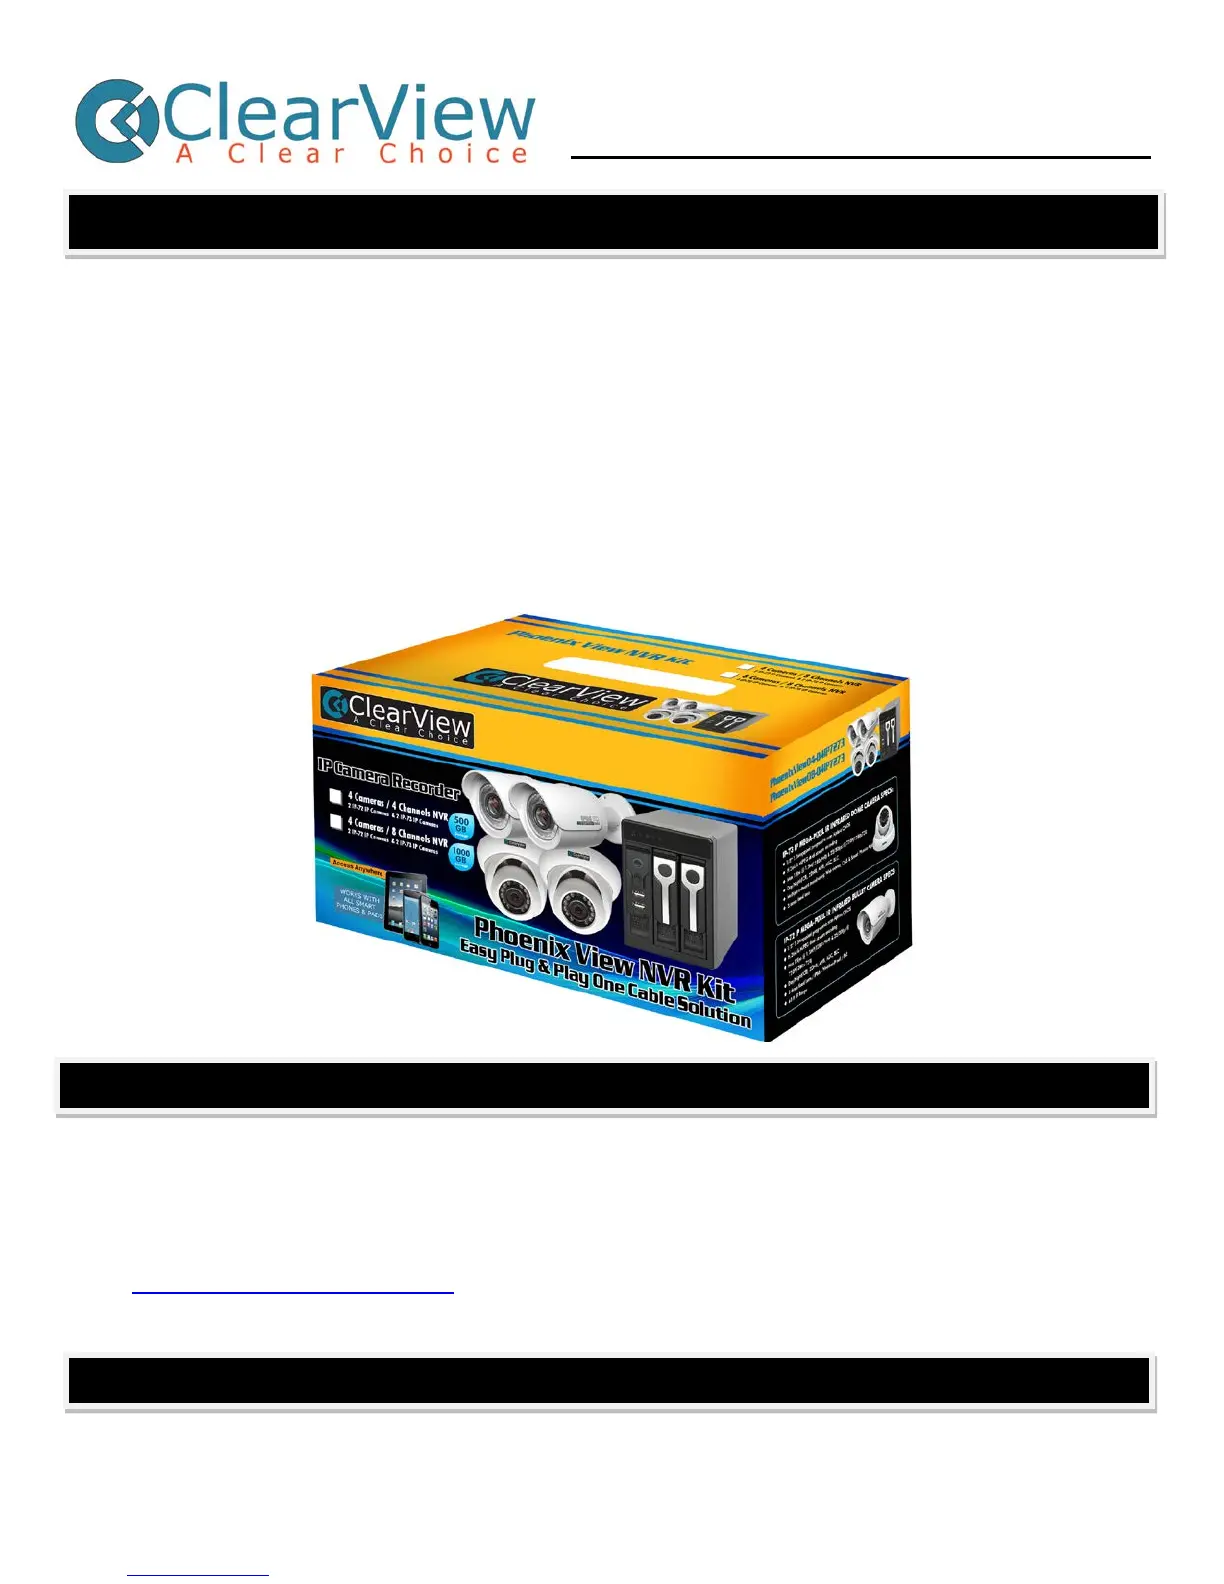
You should have these components in your NVR system package:
1 – ClearView NVR with hard drive pre-installed, and an NVR power supply.
1 – Camera POE power supply w/AC cord (Also a separate POE switch on 8 camera system).
4 or 8 – ClearView IP cameras (8 cameras included with an 8 camera system).
4 or 8 – 100 foot CAT 5 camera cables
NVR Accessory Box – Camera mounting screws, Network Cable, mount templates, NVR
remote control, USB mouse.
Report any missing components to your dealer immediately!
Why register? Registering your product confers the following benefits:
• FREE DDNS so your NVR will stay connected
• Ensures product warranty – REGISTRATION IS REQUIRED for product repairs
• New Software updates & and feature notification
• Knowledge base and video tutorials
Go to http://register.ClearViewcctv.com
and enter your information under the PRODUCT REGISTRATION
column. Filling in the form will create a MyClearView login, and you will be asked to register your NVR.
You will need the following tools for installation: An OSHA approved ladder, Phillips screwdriver, power drill &
3/4” and 3/16” bits, rubber self-seal tape or heat shrink tubing, and some caulk or sealant for outdoor cables.
A section of stiff wire and some masking tape can help run the camera cables.
Thanks for choosing ClearView - the clear choice in video surveillance!
Register Your New NVR Online


 To Next Page